
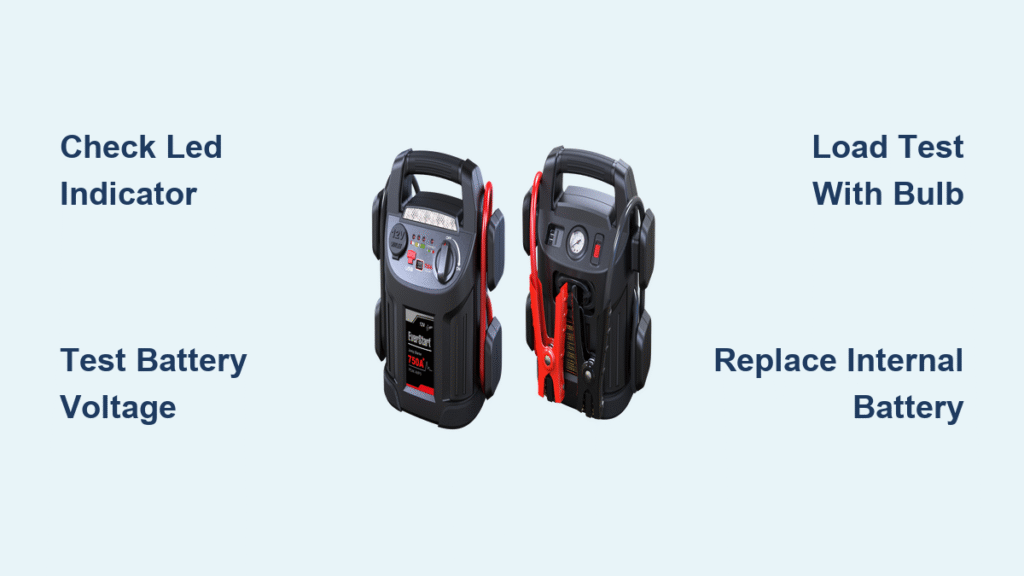
Your EverStart 750 amp jump starter shows the charging indicator lit while plugged in, but the moment you disconnect the adapter, the voltage crashes to 9.2 volts—nowhere near the 12 volts required to jump-start a vehicle. This all-too-common failure leaves you stranded with a unit that appears functional but can’t deliver power when needed. The core issue almost always points to either a dead internal battery or a malfunctioning charging circuit. Don’t toss your jump starter just yet—this guide delivers precise diagnostic steps, proven temporary fixes, and a battery replacement walkthrough that can restore your EverStart 750 amp won’t charge unit to full reliability in under an hour.
Verify Wall Adapter and External Connections
Before assuming internal failure, eliminate simple external issues that cause the EverStart 750 amp won’t charge symptom. These checks take under two minutes and prevent unnecessary disassembly:
Inspect the charging cable for physical damage
Examine the entire length of the wall adapter cable for frayed insulation, kinks near the barrel connector, or melted plastic at the plug end. A damaged cable interrupts power flow even when the LED indicates charging. If you spot any abnormalities, replace the adapter immediately—Walmart sells genuine EverStart replacements for $15.
Confirm outlet functionality with a secondary device
Plug a different 12V device (like a router or LED light) into the same outlet. If it doesn’t power on, the issue isn’t your jump starter—it’s a tripped circuit breaker or faulty outlet. Always test charging in a different outlet before proceeding.
Decode the LED charging indicator patterns
Your EverStart 750 amp uses specific light sequences to communicate status:
– Steady red light: Actively charging (normal)
– Alternating red/green flash: Charging fault (damaged battery or circuit)
– Solid green: Fully charged (should maintain 12.6V+ when unplugged)
If you see flashing lights while plugged in but voltage drops when disconnected, internal battery failure is confirmed.
Test Internal Battery Voltage and Load Capacity
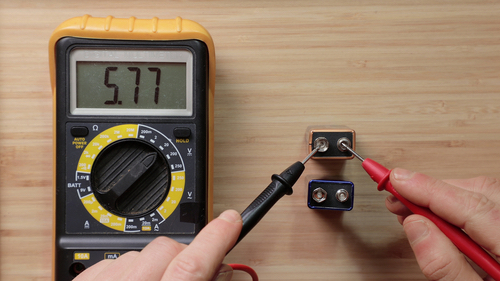
Measure Open-Circuit Voltage at Battery Terminals
Accurate diagnosis requires accessing the internal battery. After unplugging the unit:
- Remove the four Phillips screws on the bottom cover
- Carefully separate the clamshell housing
- Locate the two spade terminals on the black sealed lead-acid battery
Set your multimeter to DC voltage and probe the terminals:
– 12.4V or higher: Battery holds charge—suspect faulty protection board
– 10.5V–12.3V: Battery is weak but potentially recoverable
– Below 10.5V: Irreversible cell damage—replacement required
This reading is definitive because voltage collapse to 9.2V after unplugging indicates the battery can’t maintain charge—a classic sulfation symptom in neglected SLA batteries.
Perform Critical Load Testing
A battery showing 11.5V+ at rest may still fail under demand. Conduct this essential verification:
- Connect a 55W automotive headlamp bulb across the battery terminals
- Observe voltage for 5 seconds while the bulb is lit
- If voltage drops below 9.6V, internal resistance is too high—the battery can’t deliver jump-starting current
Pro Tip: Use insulated alligator clips to secure connections during testing. A healthy EverStart battery should maintain ≥10.5V under this 50-amp load. If it sags below 9.6V, replacement is non-negotiable—you’ll get false “charged” readings but zero cranking power.
Jump-Start Your Jump Starter: Emergency Charging Fixes
Revive Weak Batteries with Vehicle Charging
When your internal battery shows 10.5V–12.3V, this method bypasses the faulty charging circuit:
- Connect jumper cables: Red clamp to red terminal, black to black
- Start a donor vehicle and let it idle for 10–15 minutes
- Immediately disconnect after 15 minutes—do not exceed 30 minutes
Why this works: The donor vehicle’s alternator outputs 14V, forcing current into your depleted pack. Critical warning: Leaving connected longer risks thermal runaway and battery swelling. This is strictly a temporary field fix—retest with a load test afterward.
Smart Charger Recovery Protocol
For controlled external charging:
- Set your smart charger to AGM/SLA mode at 2–5 amp rate
- Clip charger leads directly to jump starter’s internal battery terminals
- Monitor voltage every 15 minutes—stop at 12.6V
- Never exceed 14.8V to prevent dangerous off-gassing
Key insight: Standard wall adapters often fail to overcome battery sulfation. A smart charger’s desulfation mode can revive marginally degraded cells. If voltage doesn’t rise within 30 minutes, the battery is beyond recovery.
Replace the Internal Battery Like a Pro

Decide Between Repair and Replacement
Most EverStart 750 amp units contain a 12V 7–9Ah sealed lead-acid battery (common model BP7-12). Consider these economics:
| Option | Cost | Viability |
|---|---|---|
| New battery | $22–$35 | Ideal for units under 2 years old |
| New jump starter | $60–$80 | Better if unit shows other failures |
| Professional repair | $40+ | Rarely cost-effective |
Warranty reality check: Opening the case voids remaining warranty. If your unit is newer than 18 months, contact Walmart for replacement first.
Battery Swap Step-by-Step
Required: Phillips screwdriver, safety glasses, nitrile gloves
- Remove baseplate: Unscrew four bottom screws and set aside
- Separate housing: Gently pry apart with plastic spudger—note thermal fuse taped to battery
- Disconnect terminals: Remove red (positive) connector first, then black (negative)
- Transfer components: Peel thermal fuse from old battery and tape to new unit
- Install replacement: Match polarity exactly—reverse connection destroys circuitry
- Reassemble: Snap housing together before replacing screws
Critical step: After reassembly, perform both open-circuit and load tests before trusting the unit in an emergency. If voltage still collapses to 9.2V, the DC-DC converter has failed—retire the unit.
Safety Protocols for Battery Handling

Never skip these precautions when servicing your EverStart 750 amp won’t charge unit:
– Wear safety glasses and chemical-resistant gloves—SLA batteries contain sulfuric acid
– Work outdoors or in well-ventilated areas—overcharged batteries emit explosive hydrogen gas
– Keep baking soda and water solution nearby to neutralize acid spills
– Dispose of old batteries properly: Return to Walmart or auto parts store—never trash them
Fire emergency response: If you detect smoke or swelling during charging, immediately move the unit outdoors and douse with baking soda. SLA battery fires require Class C extinguishers—water will worsen the reaction.
Recognize When to Retire Your Unit
Three failure patterns mean it’s time for replacement:
Persistent 9.2V symptom after battery swap
This indicates failure in the DC-DC boost converter—the circuit that transforms 12V battery power to 20V+ for jump-starting. Repair costs exceed a new unit’s price.
Physical damage signs
Battery bulging, melted housing near terminals, or visible acid leakage require immediate retirement. These indicate thermal runaway risk—do not attempt recharging.
Secondary system failures
If the air compressor emits a “clicking” sound but won’t spin after charging, low pack voltage is likely starving multiple systems. If this persists after battery replacement, internal wiring has degraded.
Prevent Future EverStart Charging Failures
Follow this maintenance schedule to avoid recurring EverStart 750 amp won’t charge issues:
– Monthly: Charge to full (12.6V+) then unplug—never store while connected
– Quarterly: Perform load test with headlamp bulb to verify capacity
– Before storage: Recharge if voltage drops below 12.4V
– Long-term storage: Use a $20 battery maintainer set to float mode
Critical storage rule: Keep your jump starter in a climate-controlled space between 50–75°F. Temperatures below freezing or above 85°F accelerate battery degradation. For garage storage, place the unit in an insulated container with silica gel packets to combat moisture.
When you consistently maintain 12.4V+, your EverStart 750 amp will deliver reliable jumps for 3+ years. Remember: that 9.2V reading isn’t a charging glitch—it’s your battery screaming for attention. By replacing the $30 internal SLA pack while your unit is young, you’ll bypass Walmart’s $80 replacement cost and keep your roadside emergencies under control. If voltage still collapses after these steps, recycle the unit responsibly—some failures simply aren’t worth the fire risk.


