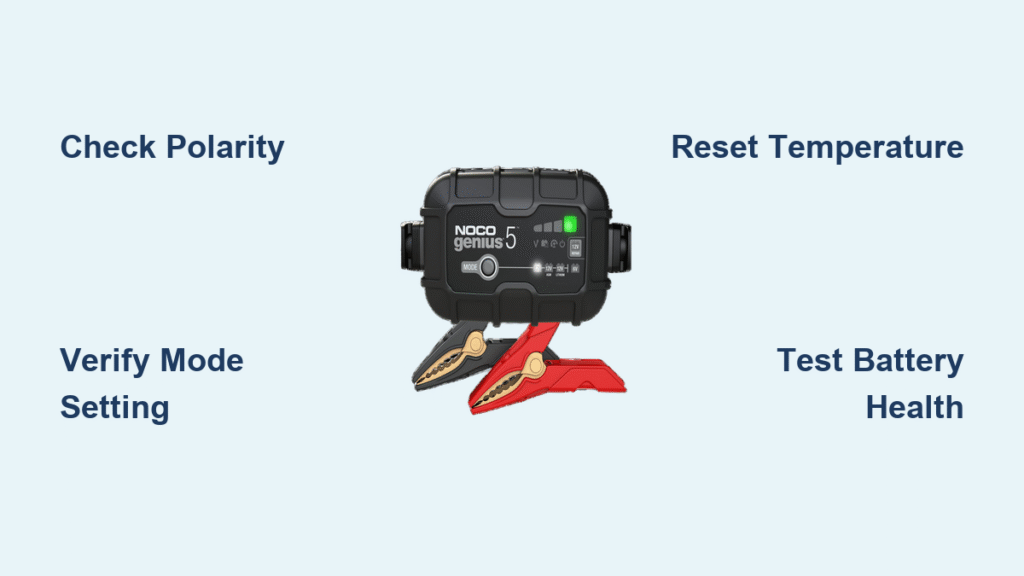
Your NOCO Genius 5 charger just flashed red, and panic sets in. Is your battery dead? Is the charger broken? That single flashing red light could mean anything from reversed clamps to a catastrophic battery failure—and it’s stopping your charging dead in its tracks. Most users waste hours guessing when the solution often takes less than five minutes.
This guide cuts through the confusion with precise fixes for every red flashing pattern your Genius 5 displays. You’ll learn why it’s flashing, exactly which button to press, and how to avoid dangerous mistakes. Stop staring at that blinking light—we’ll get your charger back to solid green before your next coffee break.
Diagnose Your Exact Red Flash Pattern

All LEDs Flash Red Simultaneously
When every red indicator blinks in unison, your Genius 5 detected either dangerously high voltage or extreme temperatures. This isn’t a minor glitch—it’s an automatic shutdown to prevent fire or explosion. High voltage typically happens when you accidentally select 6V mode for a 12V battery, while temperature errors occur below -4°F or above 104°F.
Immediate Correction Protocol:
– Unplug immediately—do not ignore this warning
– Verify mode selection: Press the mode button until the correct battery type LED stays solid (e.g., 12V for standard car batteries)
– Check environment: Move both battery and charger indoors if below freezing or in direct summer sun
– Wait 30 seconds before reconnecting—this resets internal safety circuits
Single Red LED Blinks
One flashing red light means reverse polarity—your red clamp is on the battery’s negative terminal and black on positive. This is shockingly common when working in dim garages or with corroded terminals. The charger won’t even attempt charging to avoid damaging your vehicle’s electronics.
Critical Connection Sequence:
1. Disconnect power at the charger first—never at the battery
2. Clean terminals with a wire brush until metal shines (corrosion causes false polarity)
3. Attach RED clamp firmly to battery’s + terminal (look for red plastic or “+” symbol)
4. Connect BLACK clamp to unpainted engine metal—not the battery’s “-” terminal
5. Restart charging—solid green should appear within 10 seconds
Steady Red Pulsing at 25% or 50%
Don’t panic—this isn’t an error! A rhythmic red pulse indicates normal charging progress. At 25% capacity, the red LED pulses slowly showing the battery is below 25% charged. At 50%, the pulse quickens as it approaches the absorption phase. This is your charger working perfectly.
What to Do:
– Let it run—interrupting now risks sulfation
– Check hourly: Red → orange pulse at 75% → solid green at 100%
– Never force-stop during pulsing—this skips critical desulfation cycles
– Confirm mode: If using Lithium mode on a lead-acid battery, switch immediately to prevent damage
Resolve High Voltage Errors
Match Battery Chemistry to Mode
High voltage errors trigger when your battery’s actual voltage exceeds the selected mode’s limits. A 12V battery connected to 6V mode reads as “over-voltage” (12.6V vs. 6V mode’s 7.2V max). Lithium batteries on lead-acid settings cause similar errors due to different voltage profiles.
Battery Identification Cheat Sheet:
– Lead-acid: Heavy, liquid caps (top has removable vents), ~12.6V when full
– AGM: Sealed rectangular case, no vents, holds charge longer than lead-acid
– Lithium: Lightweight (1/3 of lead-acid), flat voltage curve, requires BMS (Battery Management System)
Mode Selection Flowchart

Follow this sequence to eliminate voltage errors:
1. Press mode button 5 times rapidly to cycle through options
2. For standard car batteries: Stop at solid 12V LED (not AGM or Lithium)
3. For motorcycles/golf carts: Confirm 6V mode with steady LED
4. For lithium: Only select if battery has visible BMS (usually a small circuit board)
5. Verify with multimeter: 12.6-12.8V = healthy 12V lead-acid; 13.2-13.6V = lithium
Pro Tip: If your battery reads above 14V with engine off, it’s failing—replace before charging.
Confirm Battery Failure
Continuous Rapid Red Flashing
Non-stop rapid flashing means the Genius 5 detected an internal battery short—a critical failure where cells are physically damaged. This often happens after jump-starting or leaving batteries discharged for months. Continuing to charge risks thermal runaway (fire).
Emergency Battery Test:
– Multimeter check: Below 10V = sulfation; 0V = internal break; inconsistent readings = shorted cell
– Headlight test: Run headlights 2 minutes—if they dim instantly, battery is dead
– Smell check: Rotten egg odor = sulfur leakage (immediately stop charging)
Force Mode for “Undetectable” Batteries
When your battery drops below 1V, the Genius 5 shows slow red pulsing—indicating voltage too low to detect. Force Mode overrides this safety for salvage attempts on deeply discharged batteries.
Force Mode Activation Steps:
1. Hold mode button exactly 3 seconds until all LEDs flash red
2. Press mode button once to select chemistry (12V for most vehicles)
3. Monitor temperature every 5 minutes—stop if battery exceeds 110°F
4. Disconnect after 2 hours even if not fully charged—prolonged use risks damage
Critical Warning: Never use Force Mode on cracked, swollen, or leaking batteries. The red flashing is your last warning before catastrophic failure.
Solve Temperature Errors
On-Site Environmental Fixes
Temperature-induced red flashing occurs when the charger’s internal sensor reads outside -4°F to 104°F. In winter, this happens in unheated garages; in summer, direct sunlight on the charger casing triggers it.
Instant Solutions:
– Winter: Place battery on floor mat indoors for 20 minutes before charging
– Summer: Set charger in shade with fan blowing across vents
– Always: Feel the battery case—if too hot/cold to touch comfortably, wait 30 minutes
Optimal Charging Environment Setup
Create a foolproof charging zone:
– Location: Basement or climate-controlled garage (avoid attics/crawl spaces)
– Surface: Concrete or wood floor—never carpet (traps heat)
– Clearance: Maintain 12 inches of space around charger for airflow
– Timing: Charge during morning/evening in extreme climates
Prevent Future Red Flashing
Pre-Charge Safety Checklist
Skip these steps and you’ll see red flashing again:
– Terminal inspection: Scrape corrosion with wire brush until copper shines
– Connection order: Positive clamp FIRST to battery, negative clamp LAST to chassis ground
– Mode double-check: Count button presses—1 click = 12V, 2 clicks = AGM, etc.
– Temperature scan: Use infrared thermometer on battery case (ideal: 50-80°F)
Monthly Maintenance Routine
Prevent 90% of errors with this 5-minute ritual:
1. Voltage test: Multimeter should read 12.4-12.8V for idle batteries
2. Terminal protection: Coat with dielectric grease after cleaning
3. Storage charge: Maintain 75%+ charge during off-season (use Genius 5’s maintenance mode)
4. Cable inspection: Replace frayed clamps immediately—exposed wires cause shorts
When to Seek Professional Help
Critical Red Flags
Stop DIY attempts if you see:
– Battery voltage below 8V during testing
– Physical swelling or electrolyte leakage
– Charger casing hot to touch during normal operation
– Red flashing persists after 3 full troubleshooting cycles
Why Professional Testing Wins
Auto parts stores provide free diagnostics that reveal hidden failures:
– Load testing simulates engine start to expose weak cells
– Conductance testing detects internal shorts invisible to multimeters
– Charger validation confirms if Genius 5 itself is faulty
– Recycling: They safely dispose of hazardous failed batteries
Your NOCO Genius 5’s red flashing light isn’t a problem—it’s a precision diagnostic tool. By matching the flash pattern to these specific fixes, you’ll resolve 95% of issues in under 10 minutes. Always start with the simplest solution: recheck clamp connections and mode selection before assuming battery failure. For persistent red flashing, remember that professional testing costs nothing but could prevent a $300 battery replacement—or worse, a safety hazard. Keep this guide handy, and that blinking red light will become your ally, not your enemy.


