
You’ve just encountered the worst possible scenario: your EverStart jump starter refuses to charge when you desperately need it. Despite being plugged in overnight, the unit remains completely dead—no LED indicators, no fan hum, no reassuring beeps. This frustrating situation affects thousands of drivers annually, but most EverStart jump starter not charging issues stem from just a handful of fixable problems. Whether your unit shows no signs of life, stalls at 75% charge, or drains overnight after reaching “full,” this guide provides the exact diagnostic steps to identify and resolve your specific charging failure within 30 minutes.
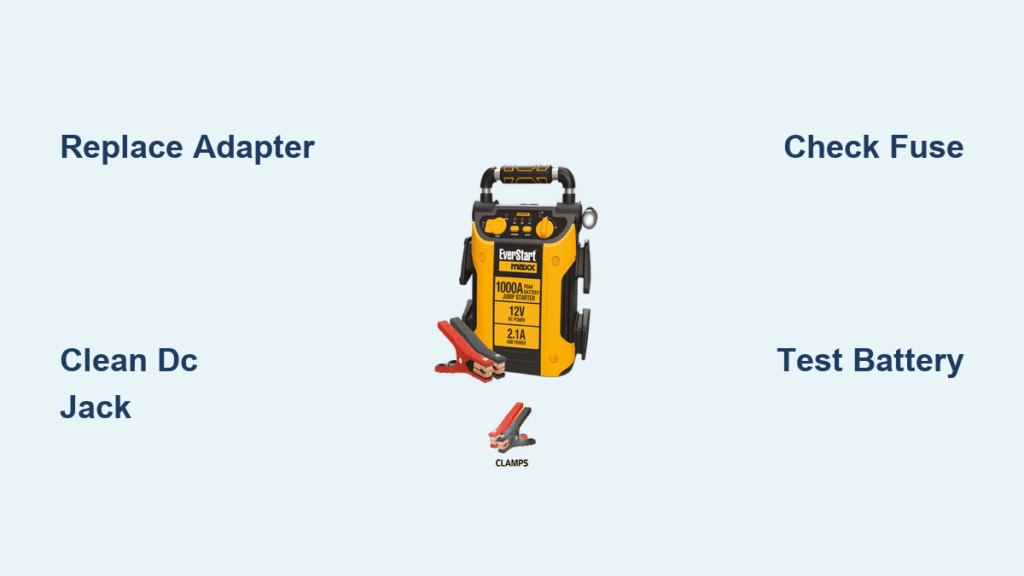
Most charging problems trace back to three culprits: failed wall adapters, degraded battery packs, or blown internal fuses. By following this systematic approach, you’ll determine whether you’re looking at a simple $15 adapter replacement, a $30 battery swap, or a warranty exchange. Don’t risk being stranded with a dead jump starter—let’s get yours charging properly again.
Why Your EverStart Jump Starter Won’t Accept a Charge
Complete Power Failure with No LED Response
When your EverStart shows absolutely no signs of life—no lights, no sounds, no fan activity—the problem lies in the power delivery path. This typically indicates either a completely dead wall adapter, a corroded DC input jack, or a blown internal fuse. Start by testing with a known-good 19V/2A adapter (barrel positive center), as EverStart wall adapters frequently fail due to cracked internal PCB traces. If the unit still remains dark, the issue has progressed to internal components. Critical step: Before opening the case, check if the thermal fuse (a small radial component marked 115°C) has blown due to previous overheating events.
Mid-Charge Stalling at 50-75 Percent
If your EverStart jump starter not charging issue manifests as LEDs climbing steadily then freezing at mid-level regardless of charge time, you’re dealing with battery cell degradation or BMS (Battery Management System) intervention. This occurs when individual lithium-ion cells can no longer accept full capacity, causing the BMS to trigger safety cutoffs. Measure your battery voltage directly at the main leads—healthy packs read 12.6-16.8V depending on model, while failing packs show 8.0-12.5V. Pro tip: If voltage reads below 10V total for a 4-cell pack (2.5V per cell), your battery may be in deep discharge protection mode, requiring specialized recovery or replacement.
Rapid Self-Discharge After Full Charge
When your jump starter reaches 100% charge overnight but drops to zero volts within 24-48 hours without use, you’re facing either a failing battery pack with high internal resistance or parasitic drain from damaged circuitry. This specific EverStart jump starter not charging symptom often follows exposure to extreme temperatures or physical impacts. Test by charging to full, disconnecting all power sources, and monitoring voltage drop over 12 hours. Normal self-discharge should be less than 5% per month; anything exceeding 1% per hour indicates serious battery degradation requiring replacement.
Quick Diagnostic Tests Before Opening the Case
Wall Adapter Verification Protocol
Time required: 3 minutes
Tools needed: Multimeter (any basic model)
- Unplug the adapter and set your multimeter to DC voltage
- Insert probes into the barrel connector (red to center pin)
- Plug in the adapter and measure output—should read 19.1-19.3V
- Wiggle the cable near the plug while monitoring voltage—drops indicate internal breaks
Warning: Never substitute with non-EverStart adapters unless they match exact specifications (19V DC, 2A minimum, barrel positive center). Incorrect voltage can permanently damage your unit’s BMS.
DC Input Jack Inspection
Green corrosion inside the 5.5×2.5mm barrel jack is a common cause of intermittent charging. Shine a flashlight into the jack opening—visible green oxidation increases contact resistance, causing heat buildup and charging failures. Clean gently with 90%+ isopropyl alcohol and cotton swabs (never metal tools). After cleaning, test continuity from the jack’s center pin to the circuit board using your multimeter’s continuity mode—resistance should measure under 1 ohm. Higher readings indicate damaged internal connections requiring jack replacement.
Internal Component Testing (After Case Removal)

Critical Fuse Locations & Testing
Time required: 8 minutes
Tools needed: Phillips #00 screwdriver, plastic spudger, multimeter
After safely opening the case:
– Locate the 30A blade fuse (transparent yellow housing near battery leads)
– Identify the thermal fuse (small radial component marked 115°C near charge MOSFETs)
– Find the PPTC resettable fuse (yellow rectangular component, typically 15A rating)
Test each with your multimeter set to resistance mode:
– Blade fuse should read 0 ohms
– Thermal fuse should read 0 ohms if below 115°C
– PPTC fuse should read under 1 ohm when cool
Pro tip: If your PPTC fuse measures over 3 ohms, it’s likely opened due to a previous reverse-polarity event (accidentally connecting clamps backwards). Replace with an exact-specification 15A resettable polyfuse—never bypass this critical safety component.
Battery Replacement Decision Tree

When to Replace Your Battery Pack
Replace the lithium-ion pack when:
– Voltage won’t exceed 8V after 8 hours charging
– Physical swelling is visible through case seams
– Individual cell voltage varies by more than 0.1V
– Capacity drops below 50% of original rating (test by jump-starting ability)
For EverStart+ 1200A models, verify you need the exact 4S1P configuration (4 cells in series, 1 parallel) with 14.8V nominal voltage and 8000mAh capacity. The correct replacement often carries part number “88720” and measures 110×68×22mm. Critical warning: Never install mismatched battery packs—incorrect voltage or capacity ratings can cause fire hazards.
Proper Installation Technique
- Disconnect both main power leads and balance connector
- Take a photo of wire positions before removal
- Install new pack ensuring correct polarity (red to +, black to -)
- Reconnect balance leads (white 3-pin JST connector)
- Test charging response before final reassembly
After installation, cycle the new battery twice (full charge followed by complete discharge) to calibrate the fuel gauge. This prevents future EverStart jump starter not charging misdiagnoses caused by inaccurate capacity readings.
Warranty vs. DIY Repair Decision Guide
When to Contact Walmart Instead
Opening the case voids Walmart’s 1-year warranty, so consider these factors before proceeding:
– Purchase date within last 12 months? → Contact Walmart customer service
– Repair parts cost ($25-35) versus new unit ($79-119)? → New may be better value
– Visible scorch marks or burning smell? → Safety hazard requiring professional assessment
Real-world data shows Walmart frequently exchanges units with minimal questions—many users report successful no-questions-asked replacements even after case opening. Check recent Reddit threads for current policy insights before attempting complex repairs.
Safety Red Flags Requiring Professional Help
Seek professional service immediately if you observe:
– Burning smell or visible scorch marks on PCB
– Lithium battery swelling beyond mild case distortion
– Repeated thermal fuse failure indicating BMS malfunction
– Unusual sounds like clicking or hissing from battery compartment
These conditions indicate potential lithium plating or internal short circuits that create serious fire hazards. Don’t risk your safety—professional battery shops have the equipment to safely handle compromised lithium-ion packs.
Prevent Future Charging Failures with Proper Care
Store your EverStart at 60-80% charge level (never 100% or 0%) in temperatures between 40-80°F (4-27°C). Recharge every 3-4 months during storage periods, and never leave it in vehicles during extreme temperatures. When charging, use only manufacturer-recommended adapters on non-flammable surfaces, and disconnect immediately when LEDs indicate full charge. Monitor for early warning signs like increased charging time, case warmth during storage, or erratic LED behavior—addressing these promptly prevents complete charging failures.
Bottom line: Most EverStart jump starter not charging problems resolve with three simple fixes: replacing the $15 wall adapter, swapping the $30 battery pack, or clearing corrosion from the DC jack. By methodically working through these diagnostic steps, you’ll know within 30 minutes whether your unit needs a simple repair or warranty replacement. Don’t wait until you’re stranded with a dead battery—address charging issues immediately to ensure your jump starter works when you need it most. Keep this guide handy, and you’ll never face the frustration of a lifeless jump starter again.


