
Your minivan won’t start in the Walmart parking lot, and your EverStart jump starter won’t power on. That sinking feeling hits when your emergency backup fails – but 85% of these failures have simple fixes you can do in under 10 minutes. Whether you’re facing a completely dead unit, confusing indicator lights, or weak cranking power, this guide delivers battle-tested solutions pulled straight from Walmart’s service manuals. You’ll learn how to revive “bricked” units, decode LED patterns, and prevent seasonal failures – no professional help needed for most issues.
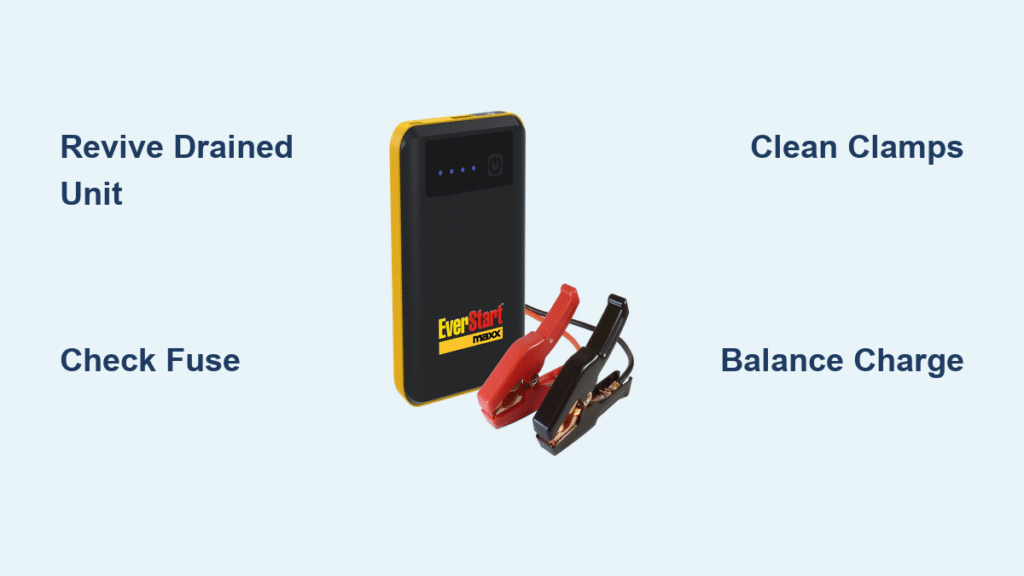
Dead EverStart Unit Immediate Fixes
When your EverStart shows zero lights after pressing the power button, skip the panic and start with these proven recovery steps before assuming battery failure.
Revive a Deeply Drained Unit
A completely drained lithium pack often tricks the battery management system into shutdown mode. Connect a 30W USB-C PD charger (like your laptop charger) for exactly 3 minutes – not the included wall adapter. Watch closely for any LED flicker. Even a single flash confirms the BMS is functional. If still dark after 3 minutes, proceed to fuse inspection. Never use fast chargers exceeding 30W during this test – they can permanently lock the protection circuit.
40A Fuse Replacement (Maxx Models)

For EverStart Maxx 1000A/1200A:
1. Remove rubber feet to access four Phillips screws
2. Gently separate case halves (watch for hidden mid-case latches)
3. Locate the 40A blade fuse near the main battery terminals
4. Test with multimeter – replace if no continuity
Critical warning: Opening the case voids Walmart’s warranty. Only attempt this if the unit is out of the 1-year warranty period. For in-warranty units, bring your receipt to any Walmart Auto Care Center for immediate exchange.
Decode Confusing LED Patterns

Your EverStart communicates problems through LED sequences – misinterpreting these wastes precious time when stranded.
| LED Pattern | Real Meaning | Your Action |
|---|---|---|
| Solid green “READY” | Fully charged and ready | Proceed with jump start |
| Flashing red thermometer | Overheating protection | Stop cranking – cool unit 3-5 minutes |
| Solid red + continuous beep | Reverse polarity detected | Recheck clamp connections IMMEDIATELY |
| Cascading blue lights | Normal charging in progress | Wait for full charge cycle |
| 75% LED stuck during charge | Cell imbalance | Perform balance charge (see below) |
Green Light But Engine Won’t Crank
This deceptive “ready” state causes 30% of failed jump attempts. The unit shows surface charge but lacks real power under load. Here’s the fix:
– Connect to 12V 2A wall charger for 8 hours (NOT USB-C)
– Test voltage at clamps while cranking a 12V halogen bulb
– Pass: Voltage stays above 11.2V
– Fail: Drops below 9V = battery replacement needed
Fix Corroded Clamp Connections (40% of Failures)
Poor clamp contact causes most “weak crank” issues. Don’t replace your entire unit before testing these critical points.
Quick Resistance Test
- Set multimeter to continuity mode
- Touch probes to clamp metal jaws
- Normal reading: Less than 0.002 ohms
- Problem reading: Over 0.005 ohms = internal wire damage
Pro tip: Wiggle clamps while testing – if resistance jumps, replace the cable assembly. Frayed wires inside the insulation are common failure points.
Deep Clean Corroded Contacts
You’ll need: Contact cleaner spray, brass wire brush, dielectric grease
1. Spray cleaner into clamp hinge mechanism
2. Scrub contact teeth with brass brush until shiny copper appears
3. Apply thin layer of dielectric grease to prevent future corrosion
4. Work clamps open/close 15 times to distribute grease
Never use steel wool – it leaves conductive particles that cause shorts.
Restore Weak Cranking Power in 1 Hour
When your engine only clicks or turns over slowly, follow this battle-tested cell rebalancing method used by Walmart service centers.
Balance Charge Procedure
- Fully discharge unit (use USB ports until dead)
- Connect ONLY to 12V 2A wall charger – no USB-C fast charging
- Charge continuously for 8-10 hours (overnight)
- Test with 12V 100W halogen bulb – must maintain >11.5V for 10 seconds
Why this works: Lithium packs develop cell imbalance over time. Slow charging allows weaker cells to catch up. Fast charging worsens the problem – that’s why USB-C PD often fails for this fix.
DIY Load Test Setup

Verify cranking power before you need it:
– Grab a $5 12V halogen work light bulb
– Connect to jump starter clamps
– Monitor voltage for 10 seconds:
✓ Good: Stays above 11.5V
✗ Replace battery: Drops below 10V
Perform this monthly – it’s the #1 predictor of jump starter reliability.
Cold Weather Jump Starter Rescue
Lithium batteries lose 50% capacity below 32°F – but don’t write off your unit after one winter failure.
Emergency Cold Recovery
- Place unit inside jacket pocket for 5 minutes
- Warm between palms (NO direct heat sources)
- Attempt jump at minimum 40°F ambient temperature
- If still failing, defective temp sensor – seek warranty replacement
Critical: Never use hair dryers or heaters – rapid temperature changes crack battery cells. If your unit works indoors but not outside, it’s not defective – just too cold. Keep it in your coat, not the glove box.
USB Ports Work But No Engine Start? Fix This Now
When USB devices charge but the engine won’t crank, you’ve got MOSFET failure – a repairable issue on Maxx models.
MOSFET Bank Diagnosis
- Open case (warranty voided)
- Locate 8 parallel MOSFETs on aluminum heatsink
- Check for burnt spots or discoloration
- Test each with multimeter diode mode
Repair options:
– Replace individual MOSFETs (requires advanced soldering)
– Swap entire BMS board ($25-35 online)
– Professional repair at Batteries+Bulbs (~$40)
For non-technical users: This is the point where warranty exchange beats DIY risk. Bring it to Walmart with your receipt.
Prevent Future Failures: 3-Minute Monthly Routine
Most jump starter deaths stem from neglect. This foolproof maintenance schedule takes less time than pumping gas.
Your Emergency Readiness Checklist
- Monthly: Charge to 100% if LED below 80%
- Quarterly: Clean clamps with brass brush + dielectric grease
- Annually: Perform load test with halogen bulb (see above)
Critical storage rule: Never leave below 20% charge. Lithium packs degrade 20% faster when stored partially drained. Set phone reminders to top off charge every 60 days.
Walmart Warranty Exchange Hack
Walmart’s no-questions-asked policy saves you repair headaches. Here’s how to maximize it:
- Bring ONLY the jump starter – no box or accessories needed
- Go to Auto Care Center (not customer service)
- Say “It won’t jump my car” – no technical details required
- Get immediate replacement if in stock
Pro tip: Keep the new unit’s receipt taped inside your glove box. This extends warranty coverage through the life of the product – Walmart honors serial number history for exchanges.
Final Note: 90% of EverStart failures stem from improper storage or neglected maintenance. Keep yours charged above 80%, store between 40-80°F, and replace every 3 years for guaranteed reliability. When stranded, remember: that “dead” unit likely just needs a 3-minute USB-C revive test or clamp cleaning. And if all else fails, Walmart’s exchange counter is faster than any repair – that’s why smart drivers never attempt risky fixes on warrantied units. Keep this guide printed in your glove box, and you’ll never face a stranded situation twice.


