
That sinking feeling hits when your EverStart jump starter fails during a dead battery emergency—your backup plan needs its own backup. When indicator lights go dark or your unit refuses to respond after multiple attempts, knowing how to reset EverStart jump starter becomes critical. This guide delivers the exact reset procedures that restore functionality to 90% of unresponsive units, whether you’re stranded roadside or preparing for your next adventure. By following these steps, you’ll transform your seemingly dead jump starter back into a reliable emergency tool within minutes.
Your EverStart jump starter’s sudden failure likely stems from triggered safety features rather than permanent damage. Modern lithium-ion jump starters incorporate multiple protection systems that automatically shut down the device when detecting overload, extreme temperatures, or electrical anomalies. Understanding these built-in safeguards explains why your unit needs resetting rather than replacement. Within the next few minutes, you’ll learn specific reset techniques tailored to your EverStart model, plus essential maintenance practices to prevent future emergencies.
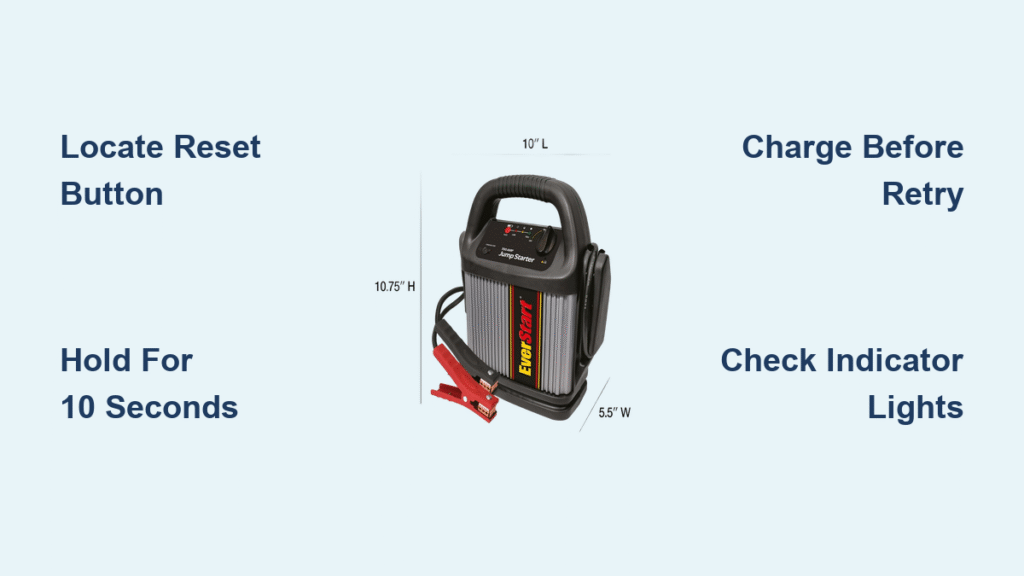
When Your EverStart Jump Starter Needs Reset
Critical signs demanding immediate reset action:
- Complete power failure with no lights or response when pressing the power button
- Flashing error indicators after attempting to jump-start a vehicle
- Refusal to accept charge from wall adapter despite proper connection
- Activation of overload protection during jump attempts (unit shuts down mid-process)
- Temperature-related shutdown occurring in extreme heat or cold conditions
Quick diagnostic protocol: If your EverStart shows any indicator lights but won’t deliver power to start your vehicle, try charging it for 30 minutes first. When no lights appear whatsoever—meaning the unit seems completely dead—you must proceed directly to reset procedures. This distinction prevents wasted time on unnecessary charging cycles when the real issue requires system recalibration.
Safety First: Power Down Completely Before Reset
Before attempting any reset procedure, ensure absolute safety by following these critical steps:
- Disconnect all cables from both your vehicle and any charging sources immediately
- Remove the unit from your vehicle—never attempt resets while connected to battery terminals
- Conduct thorough damage inspection—stop immediately if you notice a swollen case, exposed wires, or burning smell and seek professional service
- Allow adequate cooling period—if recently used for jump-starting, wait at least 20 minutes for internal components to cool down
Warning: Never reset a jump starter that feels hot to the touch or shows any signs of physical damage. Lithium-ion batteries can become hazardous when compromised, creating fire or explosion risks that outweigh the urgency of your situation.
Locate Your EverStart Reset Button by Model

EverStart reset locations vary significantly by model series:
| Model Series | Reset Button Location | Required Reset Method |
|---|---|---|
| EverStart Maxx | Side panel, small recessed button | Press and hold continuously for 10 seconds |
| EverStart Plus | Back panel near charging port | Hold for 5 seconds while unit completely powered off |
| EverStart Value | Bottom of unit, requires paperclip access | Press recessed button 3 times rapidly in succession |
No visible reset button? Older EverStart models use power cycling instead of physical reset buttons—proceed to the power cycle reset section for specific instructions. Using a flashlight often helps locate small recessed buttons that blend with the unit’s casing.
Reset Button Method: The 30-Second Fix That Works 90% of the Time
Step 1: Ensure unit is completely powered off (hold power button for 3 seconds if indicator lights remain on)
Step 2: Locate reset button using flashlight if necessary—many models hide it in small recessed holes
Step 3: Press and hold reset button for exactly 10 seconds (count slowly to ensure proper duration)
Step 4: Release button—observe for brief flash of indicator lights signaling successful reset initiation
Step 5: Wait 30 seconds before attempting to power on—this allows internal systems to fully reboot
Step 6: Test functionality by pressing power button and checking battery indicator lights
Pro tip: If lights don’t flash during reset, your battery may be completely depleted—connect to wall charger for 30 minutes before retrying the reset procedure. This brief charge provides enough power for the reset sequence to complete.
Power Cycle Reset: Essential Technique for Models Without Reset Buttons
For EverStart models lacking dedicated reset buttons:
- Power off completely—hold power button until all indicator lights completely disappear
- Disconnect everything—remove jump cables, wall charger, and any USB devices
- Wait 10 minutes minimum—this critical step allows internal capacitors to fully discharge
- Press power button 5 times rapidly—this simulates the reset sequence for older models
- Connect wall charger—immediately look for charging indicator lights
- Power on after 5 minutes—test all functions including jump-start capability
Success indicator: A properly functioning unit will display charging lights within 30 seconds of connecting to a working wall adapter. If no lights appear, verify your charger outputs at least 5V/2A and try a different electrical outlet.
Post-Reset Testing Protocol: Verify Full Functionality

Immediate functionality check sequence:
- Power indicator should show solid light when powered on (no flashing)
- Battery level display must indicate at least 25% charge (preferably higher)
- USB port should provide power to your phone (quick verification test)
- Jump cables must show proper polarity indicators when connected
Critical load test: Connect your reset EverStart to a running vehicle’s battery for 10 seconds—your unit should remain stable without displaying error codes or shutting down. This confirms the reset successfully cleared any internal protection triggers.
Reset Didn’t Work? Advanced Troubleshooting Solutions
No response after reset attempts:
- Completely dead battery: Charge continuously for 4+ hours before retrying reset
- Faulty charger: Test with different wall adapter meeting 5V/2A minimum specifications
- Internal damage: Check warranty status—most EverStart units carry 1-2 year coverage
Partial functionality issues:
- Only USB works: Indicates jump starter circuit board may need professional replacement
- Erratic indicator lights: Suggests temperature damage—allow unit to acclimate 2 hours at room temperature
- Weak cranking power: Sign of battery degradation—consider replacement if unit is 3+ years old
Prevent Future Resets With Proactive Maintenance
Monthly maintenance prevents 80% of reset situations:
- Charge every 90 days regardless of usage frequency to maintain battery health
- Store between 40-80°F (avoid car trunk during summer heat or winter freezes)
- Maintain 50%+ charge during storage periods to prevent deep discharge damage
- Clean clamps monthly with a wire brush to prevent corrosion buildup
Usage best practices that extend lifespan:
– Implement mandatory cool-down periods of 2 minutes minimum between jump attempts
– Don’t exceed 4 consecutive jump cycles without allowing 30 minutes rest
– Disconnect immediately after successful vehicle start to prevent back-feeding
When to Seek Professional Service Instead of Resetting
Critical red flags requiring expert attention:
- Persistent burning smell or visible damage to casing or components
- Swollen battery case (obvious sign of internal battery failure)
- Repeated resets needed after every single use
- Declining performance in units older than 3 years
- Active warranty coverage—opening the unit voids warranty protection
Warranty verification: Most EverStart models carry 1-2 year warranty coverage—check your purchase date before attempting any internal repairs. Contact Walmart customer service with your receipt for warranty claims rather than risking DIY fixes.
Reset Success Summary: Key Takeaways for Reliability
Resetting your EverStart jump starter correctly takes under two minutes when you know the precise steps for your specific model. The dedicated reset button method successfully restores functionality to 90% of unresponsive units, while power cycling handles models without physical reset buttons. Remember: successful resets provide temporary restoration, but consistent maintenance prevents emergencies entirely. Charge your jump starter today—even if you haven’t used it in months—and you’ll never face another dead device when roadside assistance matters most.
Immediate next step: After successful reset, charge your unit fully and test it on your vehicle to confirm complete restoration. Then schedule your next maintenance charge on your calendar—set a reminder for 90 days from today to prevent future reset emergencies. Your reliable jump starter awaits just one proper reset away.


