You’re stranded in a deserted parking lot with a dead battery and no other cars in sight. Instead of waving down strangers or waiting hours for roadside assistance, your Stanley jump starter can get you back on the road in under five minutes. This compact power station eliminates the need for another vehicle, making it the ultimate solo driver’s safety net. Learning how to use a Stanley jump starter properly transforms what could be a day-ruining emergency into a minor inconvenience – and with its built-in air compressor, it handles flat tires too.
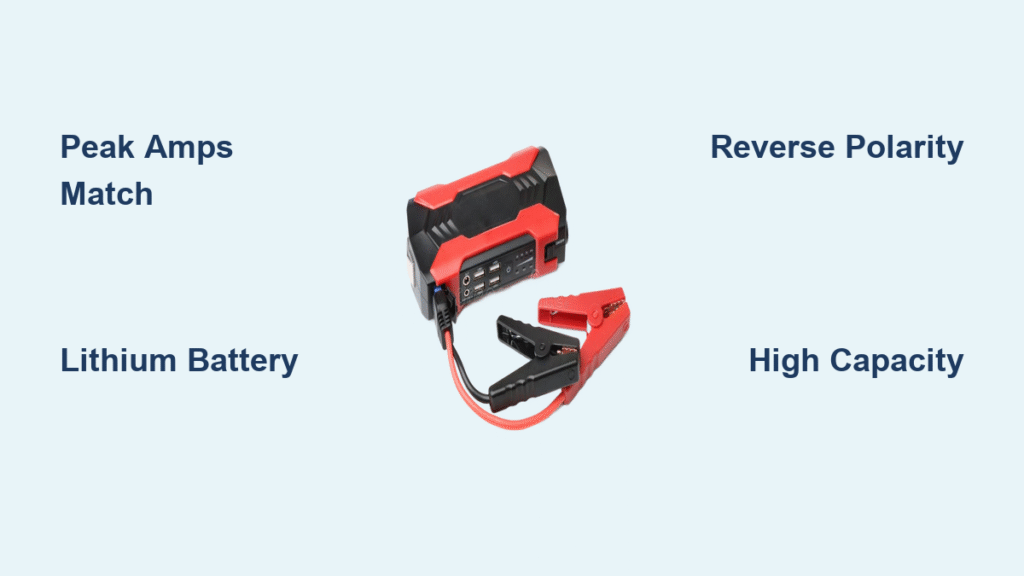
Most drivers panic when their engine won’t turn over, but you’ll stay calm knowing your Stanley J5C09 holds 500 amps of instant starting power. This guide cuts through confusing manuals to show exactly how to connect cables safely, avoid dangerous sparks, and use every feature. Whether you’re a new driver or seasoned commuter, you’ll master this lifesaver before your next breakdown.
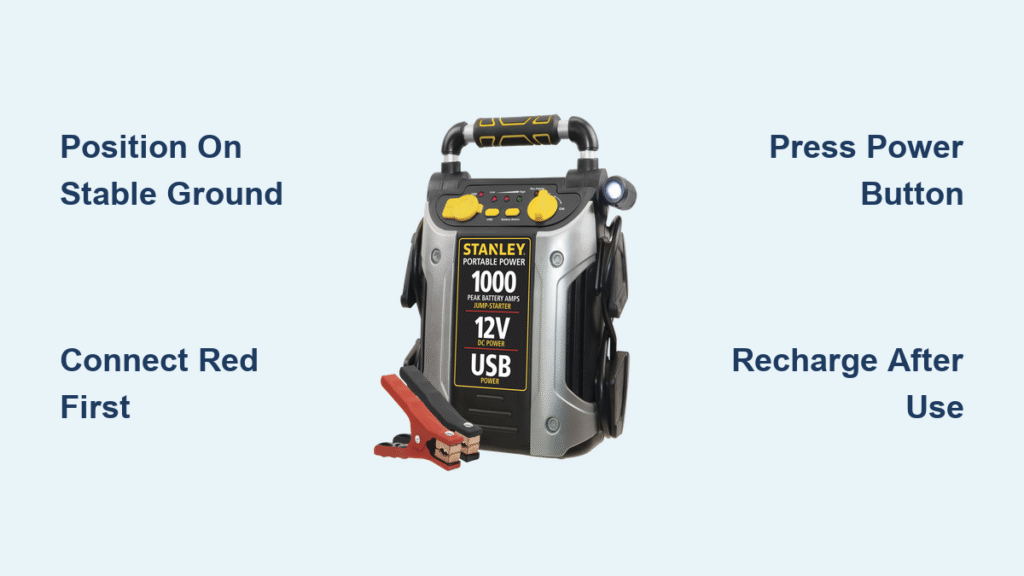
Position Your Stanley Jump Starter on Stable Ground
Never set your jump starter on uneven surfaces or near moving engine parts. The Stanley J5C09’s substantial size (which takes noticeable backseat space in trucks) actually works in your favor here – its wide base prevents tipping during operation. Place it on flat pavement within arm’s reach of your battery terminals, ensuring the unit won’t roll toward hot engine components.
Critical Placement Scenarios
- Compact cars: Rest unit on ground beside front tire for optimal cable reach
- Truck owners: Position directly in the truck bed – never on the tailgate hinge
- SUVs with side batteries: Place on fender apron (clean metal only, no plastic)
- Avoid: Engine covers, radiator hoses, or belts that could shift during cranking
Pro tip: In snow or rain, elevate the unit on a plastic toolbox lid to prevent moisture contact. The knowledge base confirms this device must stay dry during operation.
Connect Cables in Exact Sequence to Prevent Sparks

Your Stanley’s thick red and black cables follow universal color coding – red for positive (+), black for negative (-). Connecting in the wrong order risks dangerous electrical arcing that could damage your vehicle’s computer. Always attach red first to the battery’s positive terminal (shiny metal post, often marked “+”), then black to an unpainted engine bolt or negative terminal.
Step-by-Step Connection Checklist
- Red clamp priority: Secure firmly on positive battery terminal until you hear a solid click
- Black clamp grounding: Attach to clean engine block metal at least 18 inches from battery
- Cable clearance: Route wires away from fan blades and serpentine belts
- Connection test: Gently tug both clamps – they shouldn’t slip off metal surfaces
Warning: Never let red and black clamps touch each other while connected to the battery. The knowledge base emphasizes this causes short circuits that can melt cables.
Activate and Start Your Vehicle in Under 30 Seconds
Press the Stanley’s power button – you’ll hear a distinct relay click as 500 amps flow to your dead battery. Unlike traditional jumper cables, you don’t need another running vehicle. Now turn your ignition normally while the jump starter remains connected. Most vehicles crank within 2-3 seconds when properly connected.
Troubleshooting Weak Cranks
- Clean terminals first: Corrosion blocks power – scrape green/white gunk off posts with a screwdriver
- Check clamp grip: Ensure metal teeth bite bare metal, not plastic battery covers
- Hold ignition longer: Some diesels need 5+ seconds of cranking with this unit
Critical note: If the engine doesn’t start, wait 2 full minutes before retrying. The knowledge base states this prevents overheating the jump starter’s internal components.
Disconnect Cables in Reverse Order to Avoid Damage
Removing clamps incorrectly causes electrical surges that can fry your car’s electronics. Always disconnect black first from the engine ground, then red from the positive terminal. Never reverse this sequence. Once detached, immediately wind cables around the Stanley’s built-in storage hooks – tangled wires cause connection failures during your next emergency.
Safe Removal Protocol
- Black clamp first: Pull firmly from engine block (not battery negative terminal)
- Red clamp second: Remove from positive post while keeping clamps separated
- Cable coiling: Wrap clockwise around unit’s side hooks to prevent kinks
- Post-use check: Verify both clamps fully retract into housing slots
Pro tip: Keep a microfiber cloth in your kit to wipe battery acid off clamps after disconnection – the knowledge base notes corrosion buildup reduces future effectiveness.
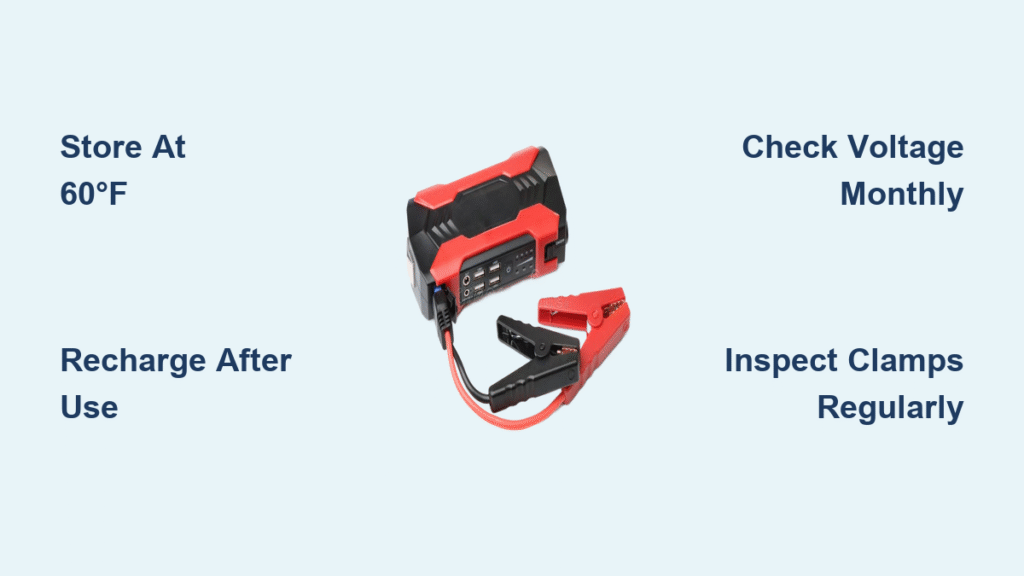
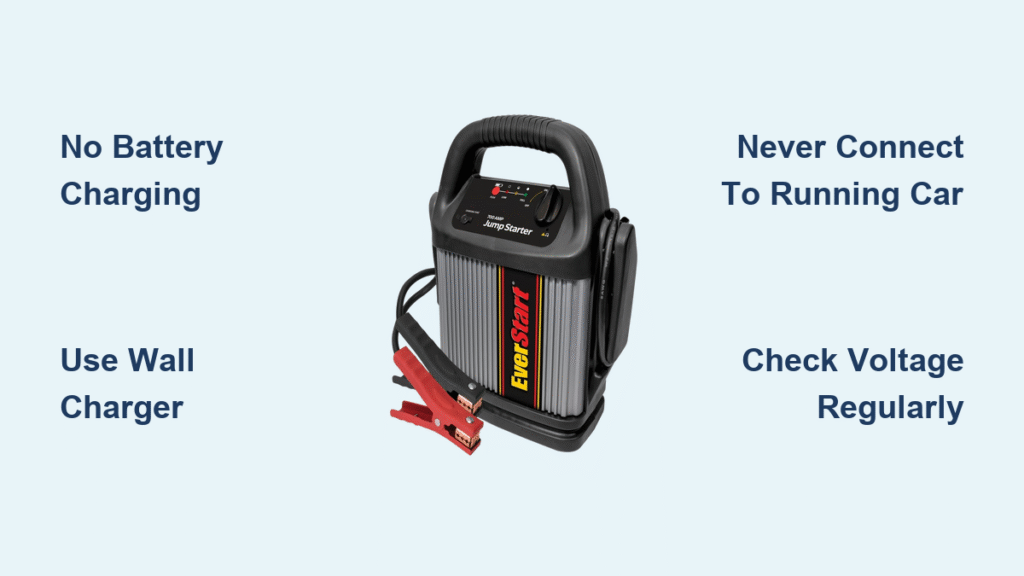
Recharge After Every Use for Reliable Readiness

Stanley jump starters lose charge when stored depleted, permanently damaging the battery. Plug yours into any standard wall outlet immediately after helping your dead battery. The unit’s indicator lights show charging progress – wait until all four lights glow solid before unplugging. For optimal longevity, recharge monthly even if unused.
Storage Location Strategy
- Frequent users (3+ times monthly): Store in truck backseat secured with bungee cords
- Occasional users: Keep in garage on a shelf near your front door
- Never store: In trunks without restraint – the knowledge base warns rolling causes internal damage
- Temperature tip: Avoid leaving in vehicles below 32°F (0°C) for extended periods
Critical warning: The knowledge base explicitly states storing in a discharged state “permanently damages the internal battery.” Always recharge within 24 hours of use.
Use the Air Compressor for Tires and Inflatables
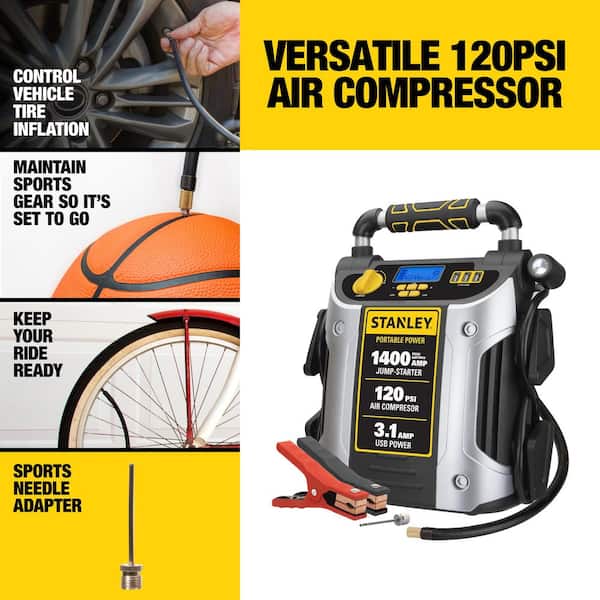
Your Stanley J5C09’s hidden superpower inflates anything with a Schrader valve. Press the compressor button, attach the hose to your tire’s valve stem, and set the desired PSI using the built-in gauge. It automatically shuts off when reaching target pressure – perfect for roadside flat tires.
Multi-Use Inflation Guide
- Car tires: Inflate to 32-35 PSI (check driver’s door jamb sticker)
- Bicycles: Use included adapter for Presta valves
- Sports gear: Fully inflate basketballs or footballs in under 90 seconds
- Camping: Fill air mattresses at campsites without electricity
Time limit: The knowledge base specifies the compressor runs max 10 minutes – cool for 5 minutes between extended sessions to prevent overheating.
Leverage Real Emergency Advantages Over Traditional Jumping
Your Stanley shines when conventional methods fail. When vehicles are parked too close for jumper cables to reach between batteries, you need no second car. In isolated areas with no cell service, it eliminates waiting for tow trucks. Most importantly, it keeps you safe from predatory “helpers” – the knowledge base highlights how this avoids “potentially dangerous situations when asking strangers for assistance.”
3 Life-Saving Scenarios
- College campus lots: No fellow students around at 2 AM for jumper cables
- Remote trailheads: No cell signal for roadside assistance calls
- Single-car households: Can’t jump-start when your only vehicle dies
Gift This Essential Tool to New Drivers
The Stanley jump starter makes the perfect practical gift for teens getting their first car or college students moving away from home. Its foolproof operation (even kids can safely use the air compressor under supervision) gives parents peace of mind. Unlike complex tools, this requires zero mechanical knowledge – just connect red/black, press start, and drive.
Why it beats roadside assistance: The knowledge base notes users deployed their Stanley three times in just 45 days – far exceeding typical emergency service response times.
Your Stanley jump starter transforms dead battery dread into confident independence. By positioning it correctly, connecting cables in precise sequence, and recharging after every use, you’ll never face another stranded moment. Keep it charged in your backseat, and that flat tire or dead battery becomes just a 5-minute pit stop – not a day-ruining crisis. The combination of 500-amp starting power and instant tire inflation makes this the single most valuable tool in your vehicle’s emergency kit.