You’re stranded in a grocery store parking lot with a dead battery as rain begins to fall. Your phone battery is at 5%, and you’re miles from help. This happens to 1 in 4 drivers annually—but with a CAT jump starter in your trunk, you can restart your car solo in under 10 minutes. Unlike traditional jumper cables requiring another vehicle, this compact device delivers instant power from its internal battery. Mastering how to use CAT jump starter transforms roadside emergencies from panic-inducing crises into minor speed bumps. In this guide, you’ll learn the exact steps to safely revive your vehicle, avoid dangerous mistakes, and maintain your device for years of reliable service.
CAT Jump Starter Parts Decoded: Battery, Cables & Clamps

Your CAT unit’s power comes from three critical components working in concert. The internal lithium-ion battery stores the electrical surge needed to crank engines, while heavy-gauge cables transfer this energy safely. Color-coded clamps—red for positive, black for negative—prevent dangerous reverse-polarity connections. Most modern models pack bonus features: bright LED lights for nighttime emergencies, USB ports to charge phones during crises, and some even include tire inflators.
Lithium vs. Lead-Acid: Choosing Your Power Source
Lithium-ion models dominate today’s market for good reason. They’re 70% lighter than lead-acid alternatives and fit in glove compartments, yet deliver enough amps for most sedans and SUVs. While lead-acid units handle diesel trucks better, their bulk makes them impractical for daily carry. For 95% of passenger vehicles, lithium’s portability and 3-5 year lifespan make it the smarter investment. Always verify your model’s specifications before buying—using an underpowered device risks damaging your vehicle’s electrical system.
Critical Pre-Use Safety Steps Before Connecting
Skipping safety prep causes 80% of jump-starting accidents. Before touching your battery, slip on thick rubber gloves to shield against electrical surges and corrosive acid. Safety glasses are non-negotiable—one spark near your eyes can cause permanent damage. These two cheap items prevent catastrophic injuries.
First-Time Setup Protocol
Never attempt a jump start with a partially charged device. Plug your CAT unit into wall power using the included charger and wait for the solid green indicator light—this initial charge takes 4-6 hours. Rushing this step leaves you with a useless brick when stranded. While charging, locate your vehicle’s positive (+) and negative (-) battery terminals. Clean corroded posts with a wire brush now, not during an emergency. This 10-minute prep saves critical time when your engine won’t turn over.
Matching Your Vehicle’s Power Needs

Using the wrong jump starter can fry your car’s computer. Verify your CAT unit’s amp rating matches your engine size: compact cars need 400-500 amps, midsize sedans require 500-600 amps, while trucks and SUVs demand 600-1000+ amps. Check your device label against your owner’s manual—diesel engines need significantly more power. Crucially, ensure your CAT outputs 12V; connecting to a 24V commercial vehicle destroys electronics. If unsure, choose a unit rated 25% higher than your minimum requirement—it’s safer to have excess power.
How to Use CAT Jump Starter: Step-by-Step Process
Vehicle Prep Checklist
Turn off ALL accessories—headlights, radio, and phone chargers drain critical power. Locate your battery (some models hide it in trunks or under seats). Identify positive (+) and negative (-) terminals—markings may be obscured by grime. If terminals show white/green corrosion, clean with a baking soda-water mix and wire brush. Never touch both terminals with metal tools—this causes dangerous short circuits.
Correct Clamp Connection Sequence
Follow this exact order to prevent explosions:
1. Attach RED clamp to positive battery terminal (+) first
2. Connect BLACK clamp to negative terminal (-) OR unpainted metal frame point
3. Verify clamps bite through corrosion by wiggling firmly
Grounding to the frame (not the battery) prevents sparks near flammable hydrogen gas. If clamps slip or spark excessively, disconnect immediately and clean terminals.
Engine Start Procedure
Power on your CAT device and wait for the “ready” indicator—this could be a solid LED, beep, or digital display message. Attempt starting immediately after readiness confirmation. Most vehicles fire up on the first try. If unsuccessful:
– Wait 60 seconds before retrying (prevents device overheating)
– Check clamp connections for security
– Verify CAT unit shows ≥75% charge
Never hold the ignition for more than 5 seconds—this strains both batteries.
Safe Post-Start Disconnection Protocol
Removing clamps incorrectly can send dangerous voltage spikes through your car’s electronics. Always follow this sequence:
1. Turn OFF your vehicle engine completely
2. Remove BLACK clamp first from ground/negative terminal
3. Remove RED clamp from positive terminal
4. Power off CAT device before storing
Frantically yanking cables while the engine runs risks $1,500+ electrical repairs. Store cables neatly coiled—never let clamps dangle near battery terminals. Recharge your CAT unit within 24 hours even if partially used; lithium batteries degrade when left depleted.
Troubleshooting Your CAT Jump Starter Failures

Why Your Device Won’t Power On
If indicator lights are dead after charging:
– Test wall outlet with another device
– Inspect charging cable for frayed wires
– Try a different USB power adapter
If lights illuminate but won’t start your car:
– Clean battery terminals with wire brush
– Ensure clamps connect to bare metal (not paint/corrosion)
– Check for “low temp” warnings—below 32°F reduces power by 30%
When the Engine Still Won’t Crank
Three failed attempts signal deeper issues:
– Your vehicle battery may be dead beyond revival (replace within 48 hours)
– Alternator failure causes repeated drain (check for dimming headlights)
– Extreme cold requires extended cranking time—wait 2 minutes between tries
Never jump start cracked, leaking, or severely swollen batteries—this risks acid burns or explosion. Call roadside assistance immediately.
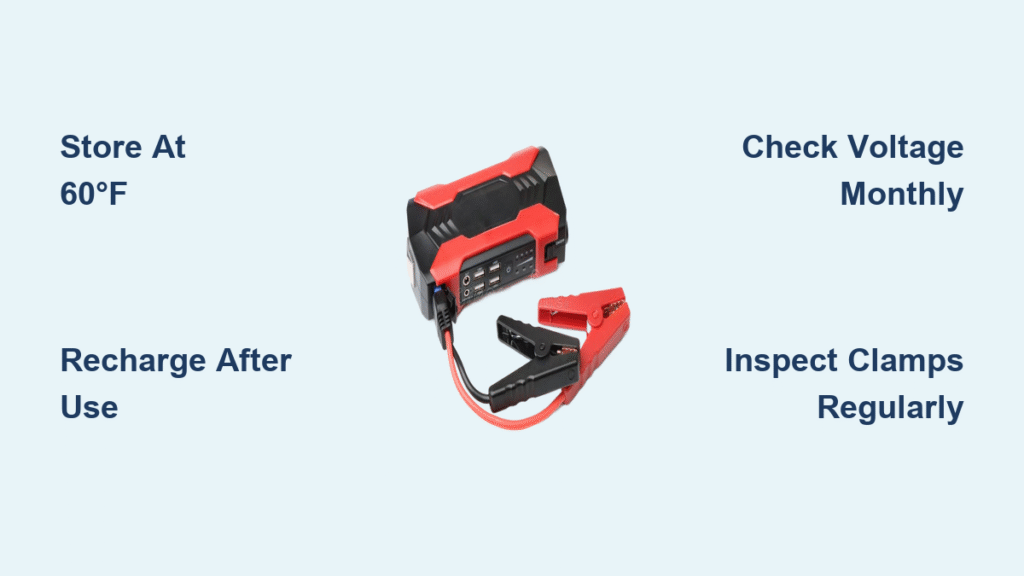
CAT Jump Starter Maintenance: Long-Term Reliability Tips
Monthly Care Routine
Prevent roadside failures with this 5-minute check:
– Verify charge level shows ≥80% on indicator lights
– Inspect cables for cuts exposing copper wires
– Wipe clamps with dry cloth to remove corrosion residue
– Store in cabin (not trunk) where temperature stays stable
Extreme heat (>140°F) or cold (<-20°F) permanently reduces battery capacity. Keep your CAT unit under the passenger seat—not in direct sun on the dashboard.
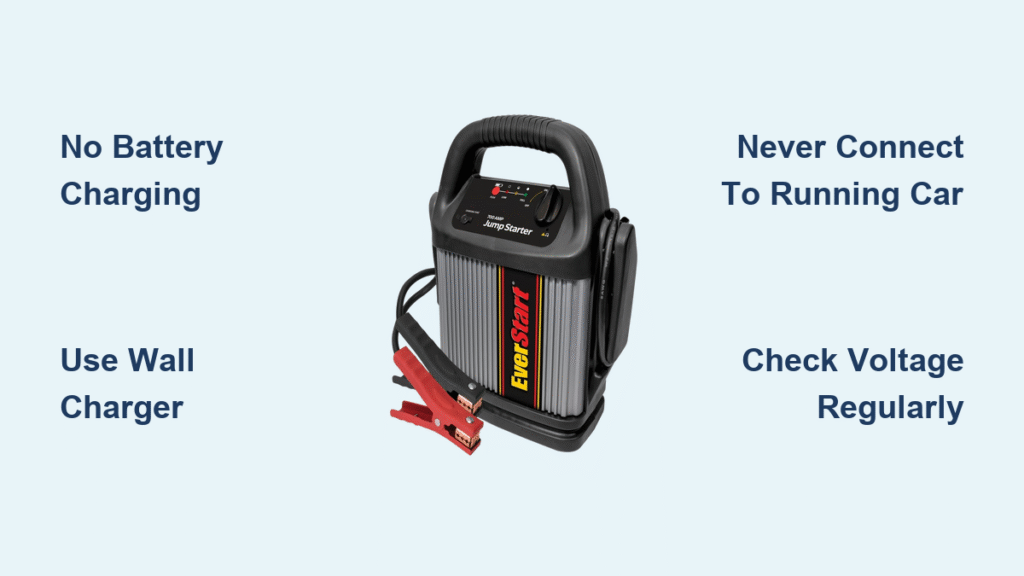
Charging Best Practices
Recharge every 3 months even if unused—lithium batteries self-discharge 5% monthly. Never store below 20% charge; this causes “voltage depression” that shortens lifespan. For maximum longevity:
– Use only manufacturer-provided charger
– Complete full charge cycles monthly
– Avoid “topping off” partial charges
– Replace after 3 years regardless of use
Realistic Performance Expectations
Your CAT jump starter delivers emergency power—not permanent battery repair. Expect these results:
– Most gasoline engines start within 30 seconds of connection
– Diesel engines may require two 10-second cranking attempts
– After starting, drive 20+ minutes to recharge your car battery
– Below 0°F, performance drops 40%—keep device warm in cabin
Never use it as a continuous power source—running accessories with CAT connected damages both batteries. It’s strictly for engine starts.
When to Call Professionals Immediately
Frequent jump starts indicate serious problems requiring expert diagnosis:
– Battery dies more than twice monthly (alternator failure likely)
– Engine starts but immediately stalls (starter or fuel system issue)
– Visible battery cracks, leaks, or terminal melting
– Electrical warning lights illuminate after starting
Attempting DIY fixes on damaged batteries risks fire. Reputable mechanics diagnose these issues for under $50—cheaper than replacing a fried engine computer.
Emergency Kit Integration Strategy
Store your CAT unit where you can grab it blindfolded—under the passenger seat beats a cluttered trunk. Pair it with these essentials:
– Jumper cable warning tags (prevents reverse connections)
– Terminal cleaning brush with baking soda paste
– Emergency thermal blanket
– Tire pressure gauge
Test your entire kit quarterly: charge the CAT unit, verify flashlight function, and check expiration dates on medical supplies. A dead emergency kit is worse than none—it creates false confidence.
Quick Reference Card
Keep this checklist taped to your device:
1. RED to POSITIVE (+) terminal
2. BLACK to NEGATIVE (-) or frame
3. Power ON CAT unit
4. Start vehicle within 30 sec
5. Remove BLACK first after shutdown
6. Recharge within 24 hours
Mastering how to use CAT jump starter means never waiting hours for roadside help again. With these precise steps, you’ll restart your car safely in any emergency while protecting your vehicle’s electronics. Remember: proper maintenance ensures your device works when -20°F mornings strike or parking lot batteries die unexpectedly. Keep your CAT unit charged and accessible—it’s the difference between missing your flight and making it with time to spare.