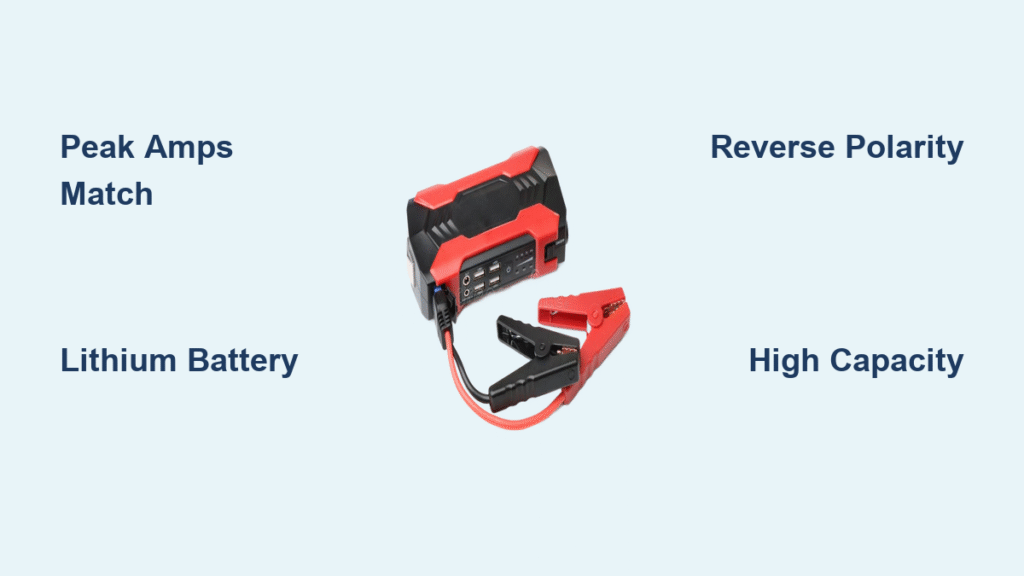
Your car won’t start and you’re stranded in a parking lot—instant panic. But with a Duralast jump starter in your trunk, you’re just minutes away from getting back on the road. These compact power packs eliminate the need for another vehicle, making dead batteries a minor inconvenience rather than a major headache. Unlike traditional jumper cables, Duralast units contain their own powerful lithium-ion battery capable of delivering multiple jump-starts without external help.
Learning how to use your Duralast jump starter properly ensures you’ll handle battery emergencies confidently, even in remote locations. This guide walks you through every critical step—from initial setup to safe disconnection—with pro tips you won’t find in the manual. You’ll discover why monthly maintenance prevents 90% of jump-start failures and how to leverage bonus features that turn this device into your ultimate roadside companion.
Prep Your Duralast Jump Starter Before First Use
Charge Device Fully to Maximum Capacity
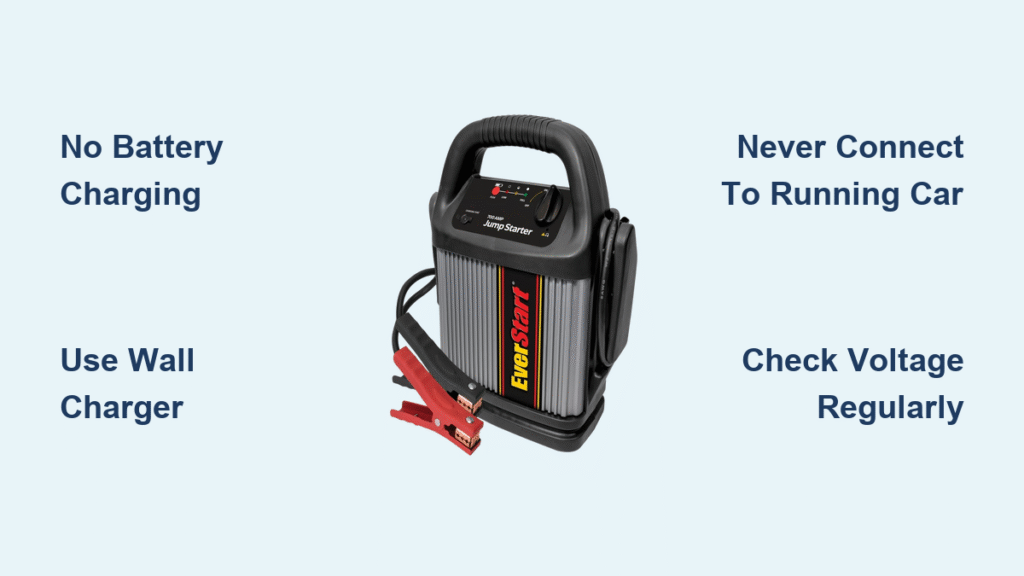
Never rely on the factory charge in your new Duralast unit. Plug it into a standard wall outlet using the included adapter and charge until all indicator lights glow solid green—typically 3-6 hours depending on model. This initial full charge optimizes battery chemistry for maximum lifespan. Critical warning: Partially charged units often fail during cold-weather jumps when you need them most. Always verify 100% charge before storing in your vehicle.
Locate and Prepare Battery Terminals
Pop your hood and identify your car battery’s positive (+) and negative (-) terminals. Clean corrosion with a wire brush until you see shiny metal—this isn’t optional. Corroded posts create resistance that can reduce jump power by 40%, causing failed starts. If your terminals are heavily corroded, neutralize acid residue with a baking soda/water solution before cleaning.
Position for Optimal Safety and Access
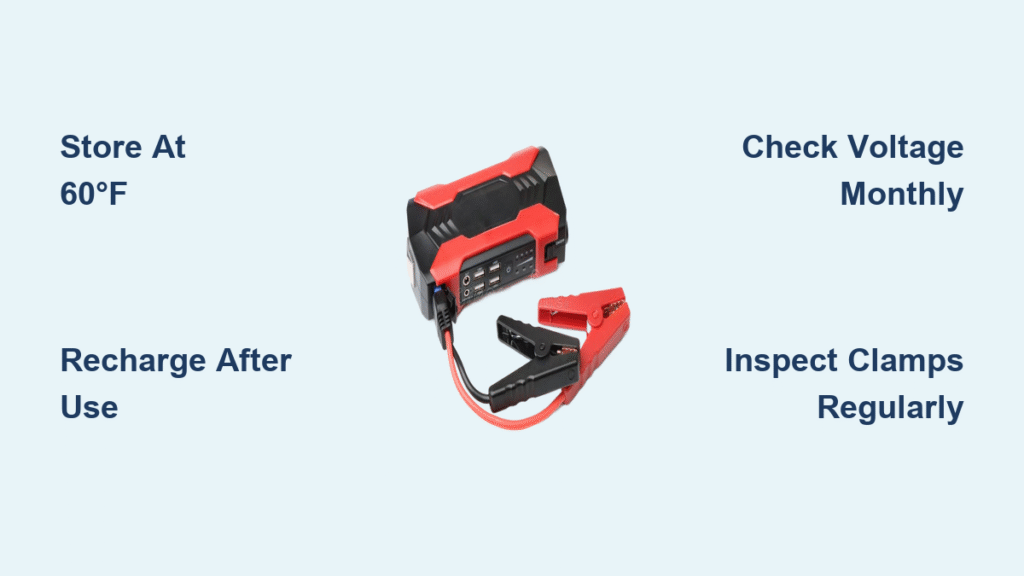
Place your Duralast unit on a stable, non-conductive surface like your tire sidewall or trunk ledge—not directly on the engine block. Ensure cables reach comfortably without stretching. Pro tip: In freezing conditions, keep the unit in your passenger cabin for 10 minutes before use. Lithium-ion batteries lose 30% capacity below 32°F (0°C), and warming it restores critical power.
Connect Cables to Your Duralast Jump Starter Correctly

Attach Red Positive Clamp First with Firm Contact
Secure the red clamp to your battery’s positive (+) terminal until you hear a distinct click. Test the connection by gently wiggling the clamp—it should not budge. Loose connections create arcing that can damage sensitive vehicle electronics. If your battery has plastic terminal covers, remove them completely before clamping.
Connect Black Negative Clamp Using Best Practice Method
While some guides suggest grounding to engine metal, Duralast’s spark-proof technology works safest with direct negative terminal connection. Clamp firmly to the black (-) post, ensuring metal-to-metal contact. Critical check: If your unit has reverse polarity indicators (red lights or beeping), disconnect immediately and swap clamps. Never force connections—reposition until indicators show correct polarity.
Verify Connection Status Before Powering On
Your Duralast will signal readiness through status lights. Solid green means “safe to start”; flashing red indicates improper connection. Wait 10 seconds after clamping for internal capacitors to stabilize—this prevents voltage spikes that could fry your car’s computer. Expert note: If lights don’t activate, check for blown fuses in your vehicle’s fuse box before assuming jump starter failure.
Safely Start Your Engine with Duralast Jump Starter
Activate Power Only After Secure Connections
Turn the Duralast power switch to “ON” only after both clamps are secured. Powering on prematurely risks dangerous sparking near battery gases. Hold the power button for 2 full seconds to engage the boost mode—most units require this intentional activation to prevent accidental discharge.
Execute Proper Cranking Technique
Turn your ignition key fully to “START” position and hold for no more than 3 seconds. If the engine doesn’t catch, wait exactly 30 seconds before retrying—this allows the jump starter’s internal circuitry to reset. Urgent warning: More than 3 attempts in quick succession can overheat the unit, triggering automatic shutdown that requires 15 minutes to reset.
Confirm Successful Start and Idle Time
Once your engine runs, let it idle for 2-3 minutes before disconnecting. This critical period allows your alternator to begin replenishing the car battery. Revving the engine immediately after jump-starting provides no meaningful charge and strains the starter motor. Watch your dashboard battery gauge—it should rise from “low” to normal within 60 seconds.
Disconnect Without Damaging Your Vehicle
Power Down Jump Starter Before Cable Removal
Switch your Duralast to “OFF” before touching any clamps. Removing cables while powered creates electrical arcs that can damage modern vehicle computers costing thousands to replace. Listen for the unit’s power-down beep as confirmation.
Remove Clamps in Reverse Order Safely
Detach the black negative clamp first, then the red positive clamp. Store cables immediately in their designated slots—never let loose clamps dangle near battery terminals. Pro tip: Wipe clamps with a dry microfiber cloth after use to prevent corrosion buildup that reduces conductivity.
Condition Check Before Storing
Press your Duralast’s charge indicator button. If below 75%, recharge immediately. Units stored below 50% capacity enter “deep sleep” mode that requires specialized equipment to revive. Store in your trunk’s interior (not exposed to direct sun) where temperatures stay between 40-80°F.
Troubleshoot Common Jump Starter Failures

Diagnose No Power From Unit
Check charge level first—most failures are simply low battery. If fully charged but inactive, inspect the wall adapter for damage and test in another outlet. Critical insight: Extreme cold (<14°F/-10°C) temporarily disables lithium-ion units; warm against your body for 5 minutes before retrying.
Fix Engine Cranking But Not Starting
Rapid clicking indicates insufficient power transfer. Reclamp both cables after cleaning terminals—corrosion is the culprit 75% of the time. Wait 5 full minutes after reconnection to allow partial battery recharge before cranking again. If still failing, your car battery may be dead beyond jump-starting.
Handle Overheating Cables Immediately
Warm cables are normal, but excessively hot clamps signal dangerous resistance. Disconnect immediately and check for:
– Paint or grease on battery posts
– Clamp teeth biting through corrosion
– Frayed cable insulation near connectors
Replace damaged cables before next use—never tape over exposed wires.
Maintain Peak Performance for Reliable Jumps

Monthly Charge and Test Routine
Press your Duralast’s status button every 30 days. Recharge if below 75%—lithium-ion batteries degrade fastest when stored at low charge. After testing, run your car for 20 minutes to fully recharge its battery, preventing “surface charge” issues that cause repeated failures.
Deep Clean Terminal Contacts Quarterly
Use a toothbrush dipped in vinegar to scrub clamp teeth, then dry thoroughly. For stubborn corrosion, apply dielectric grease to terminals after cleaning—it prevents future buildup while improving conductivity. Never use water near electrical components.
Optimize Storage Conditions Year-Round
Avoid trunk storage during summer months when temperatures exceed 120°F—heat permanently degrades battery capacity. In winter, store under passenger seats where residual cabin heat protects the unit. Ideal storage charge is 60-80% for maximum lifespan.
Maximize Bonus Features You’re Not Using
Charge Phones During Blackouts
Your Duralast’s USB ports deliver 2.1A fast charging—enough to fully power a smartphone twice per jump-start cycle. Pro tip: Plug devices in before starting your car; the unit’s power management prevents voltage spikes from damaging electronics.
Activate Emergency Lighting Strategically
Press the LED button once for steady floodlight (lasts 8+ hours), twice for SOS mode. During nighttime jumps, position the unit so light illuminates battery terminals without blinding you. The strobe mode has saved stranded drivers by attracting highway patrol attention within minutes.
Operate Built-In Air Compressor Correctly
For models with inflators:
1. Unscrew valve cap from tire
2. Press compressor nozzle firmly onto valve stem
3. Set target PSI using digital display
4. Hold trigger until auto-shutoff clicks
Never exceed 5 minutes continuous use—allow 10 minutes cooldown between sessions to prevent motor burnout.
Critical Safety Precautions Every User Must Follow
Prevent Hydrogen Gas Ignition
Work in open areas only—batteries emit explosive hydrogen during jumps. Keep all flames/sparks away, and never lean over the battery while connecting. Duralast’s spark-proof design reduces risk but doesn’t eliminate it in enclosed spaces like garages.
Avoid Starter Motor Damage
Limit cranking to 3-second bursts with 30-second rests. Overcranking generates heat that melts starter solenoid contacts—a $300 repair. If your engine doesn’t start after 3 attempts, your issue likely requires professional diagnosis beyond jump-starting.
Inspect for Hidden Damage Monthly
Check cables for:
– Exposed copper wires
– Cracked insulation near clamps
– Bent or corroded clamp teeth
Damaged units should be replaced immediately—your local auto parts store will recycle old units when you buy new.
Your Duralast jump starter delivers 20-30 reliable starts per charge when maintained properly, making it indispensable for family road trips and daily commutes. Remember that jump-starting is a temporary fix—always follow up with a full battery charge using a dedicated charger within 24 hours to prevent sulfation damage. Monthly charging and terminal cleaning prevent 95% of jump-start failures, so set calendar reminders to test your unit.
Pro tip: Practice the entire jump-start process in your driveway once a year. This 10-minute rehearsal builds muscle memory so you’ll stay calm and efficient when stranded at 2 AM in a deserted parking lot. Keep your Duralast charged above 75% year-round, and it will reliably rescue you from dead-battery disasters for years to come.