Your car battery dies in the middle of a crowded parking lot with no help in sight. Before you call roadside assistance and wait hours for help, reach into your trunk for your Vector jump starter. This compact 14-ounce device can revive most dead batteries in under a minute without needing another vehicle—making it the ultimate roadside emergency tool every driver should own.
Whether you’re stranded with a dead battery on a cold winter morning or need to restart your boat engine at the marina, knowing exactly how to use Vector jump starter properly could save you hundreds in towing fees. This guide cuts through the confusion and delivers the exact steps you need to safely jump-start any vehicle with confidence.
Stop wasting time searching for “how to use vector jump starter” when you’re already stranded. Learn the right way now so you’ll be prepared when disaster strikes.
Vector SS6LV Jump Starter Capabilities Revealed
Why 1200 Amps Beats Traditional Jump Boxes
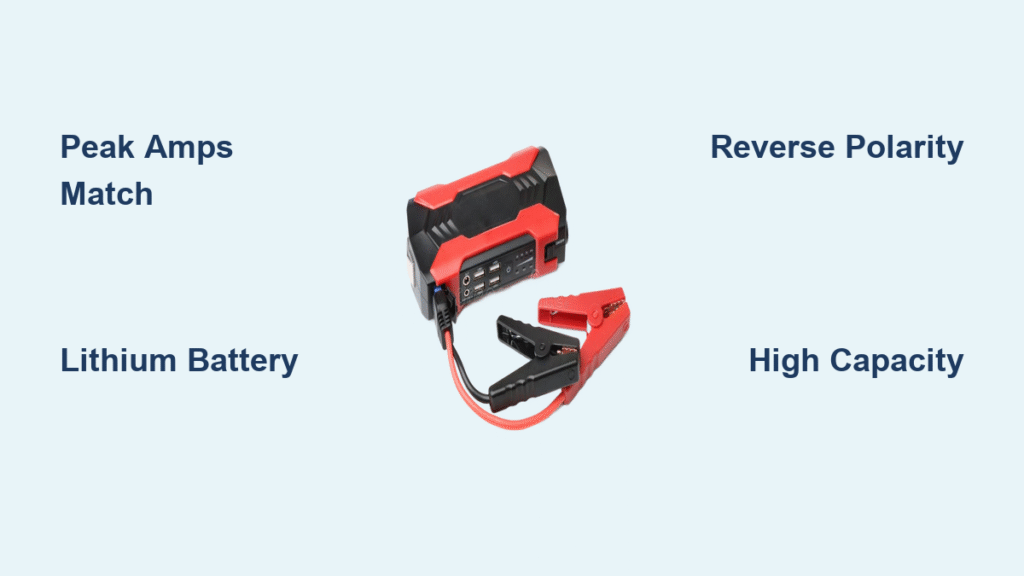
The Vector SS6LV delivers 1200 peak amps from its lithium polymer battery in a package smaller than your smartphone. Unlike bulky lead-acid jump starters that lose charge quickly, this 11.1-volt unit maintains 80% of its power after 12 months in storage. At just 7 x 3 inches, you’ll forget it’s even in your trunk until you need it most.
Vehicle Compatibility You Can Trust
This jump starter handles everything from compact cars to full-size V8 trucks and boats with standard 12V systems. The secret? Vector’s patented surge technology delivers the exact power spike your starter motor needs without overwhelming your vehicle’s electronics. If your vehicle has a standard 12V battery (which 99% of cars and trucks do), the SS6LV will start it—period.
First-Time Setup That Prevents Future Headaches
Proper Initial Charging Sequence
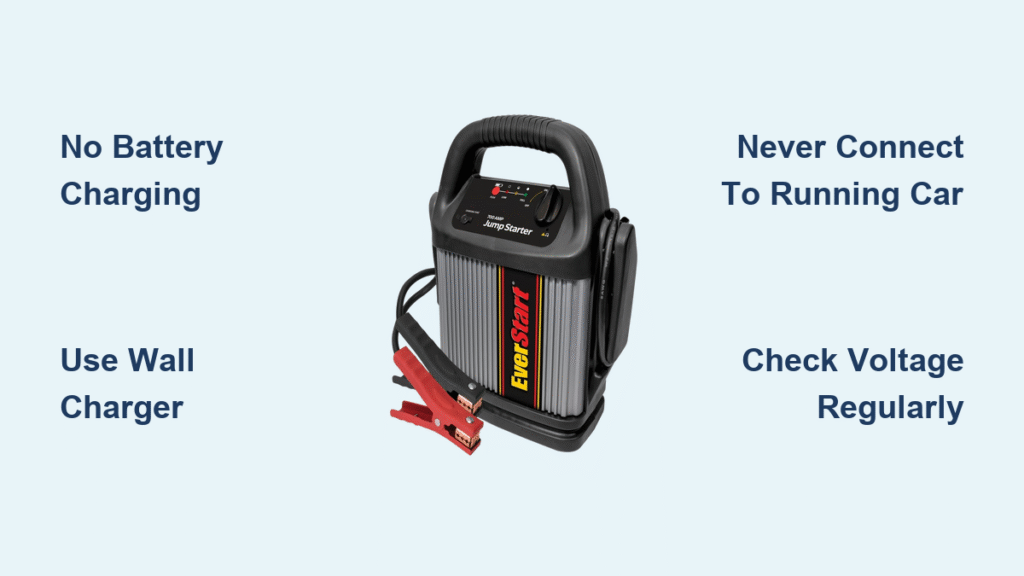
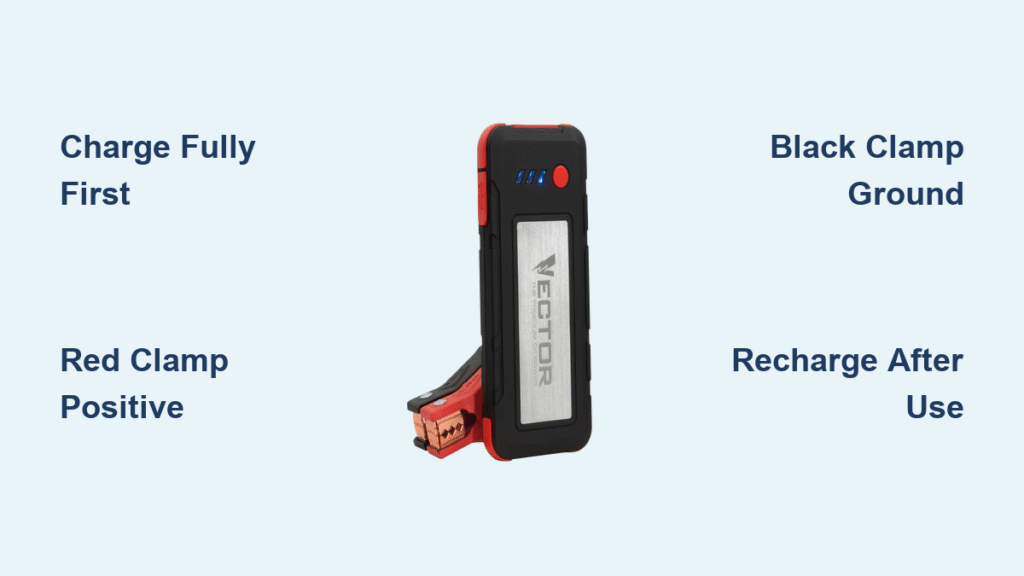
Before your Vector jump starter can save you, it needs a full charge. Plug the included AC adapter into any standard wall outlet and connect to the unit’s charging port. The LED indicator will glow red during charging and turn green when complete—typically taking 4-6 hours. Never skip this step—using the unit while partially charged reduces its effectiveness and lifespan.
Storage System That Keeps Everything Ready
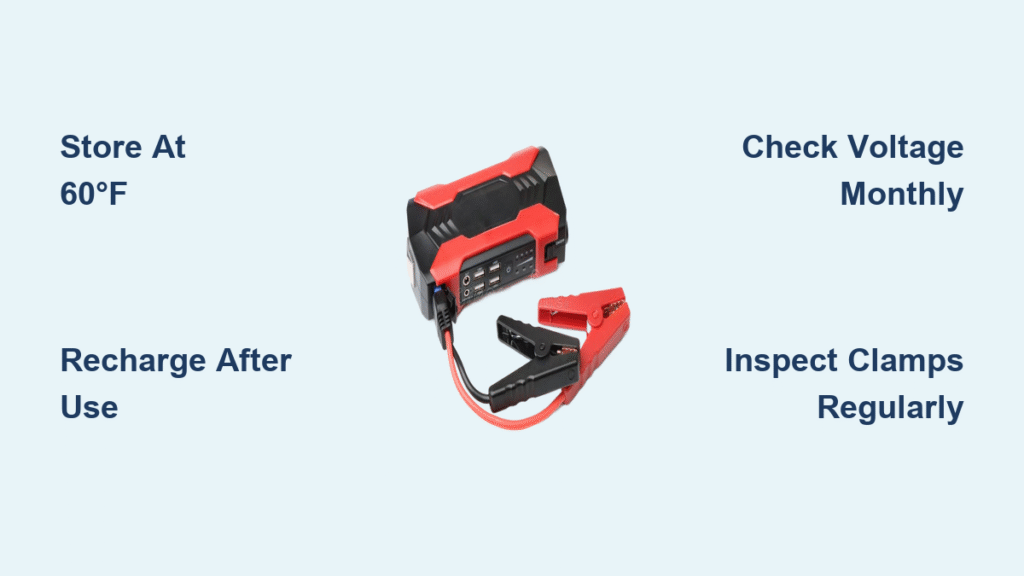
Store your fully charged Vector in its original storage box under your driver’s seat (not the trunk—accessibility matters when stranded). Keep the alligator clamps neatly coiled and secured with the included strap. Pro tip: Tape a printed copy of this guide inside the storage box—when you’re stressed with a dead battery, muscle memory fails but written instructions don’t.
Critical Safety Checks Before Connecting Clamps
Battery Inspection Protocol You Must Follow
Never attempt to jump-start a frozen battery—it can explode violently. Before connecting, inspect your car battery for cracks, leaks, or bulging sides. If you see white corrosion or smell sulfur (rotten eggs), wear safety glasses and gloves before proceeding. If the battery case is damaged, call for professional help—no jump starter is worth risking injury.
Vector Unit Damage Assessment
Examine your jump starter for frayed cables, cracked housing, or bent clamp jaws before each use. Warning: If the unit shows any physical damage, contact Vector customer service at (866) 584-5504 before attempting to use it. Using a damaged unit could cause sparks near flammable battery gases.
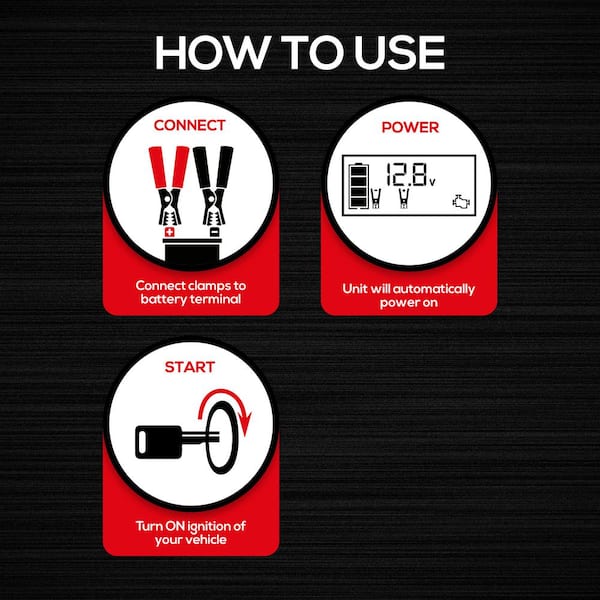
Exact Connection Steps for Instant Engine Starts

Foolproof Clamp Attachment Method
Step 1: Open the red “Engine Start” cover on your Vector unit—this activates the jump circuit.
Step 2: Insert the clamps into their ports (they only fit one way—don’t force them).
Step 3: Attach the red clamp to your battery’s positive (+) terminal—ensure metal-to-metal contact by scraping off corrosion if needed.
Step 4: Connect the black clamp to a clean, unpainted metal surface on your engine block (not the negative terminal)—this grounds the circuit safely.
Step 5: Watch for the green LED—this confirms proper connection. If you see red, disconnect immediately and check connections.
Step 6: Start your engine immediately—Vector’s lithium technology delivers instant power with no waiting period.
What the LED Colors Really Mean
- Solid Green LED: Perfect connection—start your engine now
- Blinking Green LED: Unit is charging—wait for solid green
- Solid Red LED: Connection problem—check clamp positions
- Blinking Red LED: Unit needs charging or has overheated
Failed Start Recovery Procedure
If your engine doesn’t start on the first try, turn the ignition completely off. Disconnect the black clamp first, then the red clamp. Wait 2 minutes—your engine may be flooded from repeated cranking attempts. Reconnect and try again. Most vehicles start within 3 attempts. If it still won’t start, your problem may be something other than a dead battery.
Safe Disconnection Sequence That Prevents Sparks
Critical Post-Jump Protocol
Always disconnect in reverse order: black clamp first, then red clamp. Removing the positive clamp first creates a path for sparks to jump to grounded metal—potentially igniting battery gases. After successful starting, immediately disconnect and close the red “Engine Start” cover to preserve battery life.
Mandatory Recharging Rule
Recharge your Vector within 24 hours of any jump-start attempt, even if it started your car on the first try. Lithium batteries degrade fastest when stored at low charge levels. Plug it in while you grab coffee after your jump—most users forget this step and wonder why their jump starter fails months later.
Hidden Features You’re Not Using Properly
USB Charging Activation Shortcut
Press the red power button once to activate both USB ports (one USB-A and one USB-C). Unlike cheap power banks, Vector delivers full 3.1-amp fast charging to both ports simultaneously—perfect for charging your phone while driving to your destination after a jump. Warning: Don’t use USB ports while jump-starting—this drains power from the critical starting circuit.
Emergency Work Light Technique
Press the red button twice to activate the bright LED work light—ideal for nighttime emergencies. The light stays on for 30 minutes before auto-shutting off to preserve battery. Pro tip: Use this light to inspect your battery terminals before connecting clamps—you’ll avoid many connection issues.
Maintenance Schedule That Doubles Lifespan
The 3-Month Storage Rule
Even if unused, recharge your Vector every 3 months. Lithium batteries deteriorate when left at low charge for extended periods. Set a calendar reminder—this simple habit prevents 90% of “my jump starter died” complaints. Fully charged units maintain 80% capacity for up to 12 months in storage.
Post-Jump Ritual Checklist
After every successful jump-start:
1. Wipe clamps clean with a dry cloth
2. Inspect cables for nicks or frays
3. Fully recharge the unit (4+ hours)
4. Store in original case with all components
Troubleshooting Red LED Failures Fast
Three-Second Connection Diagnostic
When you see a red LED during connection:
– First check: Are clamps making solid metal contact? (Scrape terminals if corroded)
– Second check: Is the Vector unit fully charged? (Green indicator light when powered on)
– Third check: Has the unit been used recently? (Allow 5 minutes cooling time)
Most common fix: People connect the black clamp to the battery negative terminal instead of the engine block. Move it to bare metal on the engine for a safer ground connection.
Warranty Registration That Saves Hundreds
The 10-Day Registration Deadline
Register your Vector at www.vectormfg.com within 10 days using model code VEC012APM and your sales receipt. This simple step extends your warranty from 1 to 2 years—covering the entire lifespan of most jump starters. Warning: Unregistered units only receive 1 year coverage from purchase date.
When to Call Customer Service
Contact Vector at (866) 584-5504 if:
– Unit won’t hold a charge after proper recharging
– Clamps show internal corrosion (white powder)
– LED indicators malfunction consistently
– Unit feels unusually hot during normal use
Key Takeaway: Your Vector SS6LV can deliver up to 30 jump starts per charge when properly maintained, but the critical factor is immediate recharging after each use. Follow the exact connection sequence, store it accessible in your vehicle, and register your warranty—these three habits ensure you’ll never get stranded with a dead battery again.
Pro Tip: Test your jump starter monthly by starting your car with it, even when your battery works fine. This verifies functionality before you actually need it—most people discover their jump starter is dead only when they need it most. Keep this guide in your glove compartment—you’ll thank yourself when your battery dies at 2 AM.