
Your Craftsman jump starter sits in the trunk, ready to rescue you from a dead battery—but only if it’s properly charged. Finding yourself stranded with a powerless jump starter defeats its entire purpose. Whether you’re charging a brand new unit or reviving one that’s been sitting in storage, getting the charge right ensures your jump starter will deliver when you need it most.
Different Craftsman models use various charging methods, from built-in wall plugs to USB-C ports, each with specific indicators and timing. This guide walks you through the exact steps for your model, helping you avoid common mistakes that can damage your unit or leave you underprepared for emergencies.
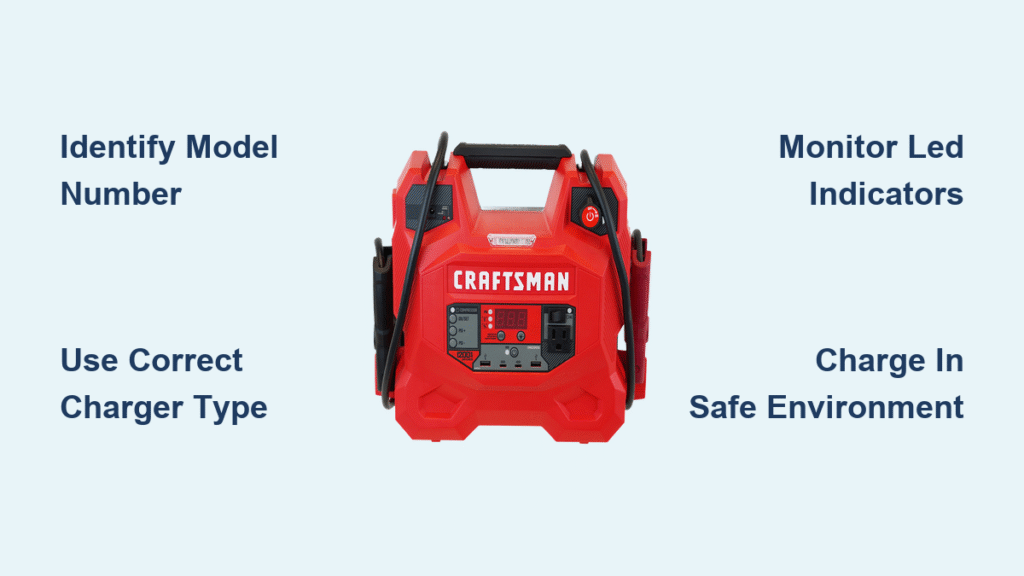
Identify Your Craftsman Model Number Before Charging

Before plugging anything in, locate your model number. Craftsman jump starters fall into three distinct charging categories, each requiring different approaches. Check the label on your unit’s bottom or side panel.
Built-in wall charger models: CMXCESM256, CMXCESM259, and similar units feature flip-out AC plugs hidden in the back or side. These charge directly from any 120V household outlet.
External adapter models: CMXCESM258, CMXCESM260, and related series use separate charging adapters. These require the provided AC adapter connected to a labeled charging port.
USB-C charging models: Newer 2023+ production units include USB-C ports marked with charging symbols. These accept power delivery cables and various USB power sources.
Charge CMXCESM256 and CMXCESM259 Built-In Plug Models Correctly
Extend AC Plug Fully Before Power Connection
Flip your unit over to find the recessed AC plug. Press the release button and pull the prongs outward until they click into locked position. The prongs should extend fully—partial extension prevents proper electrical contact.
Connect Directly to Wall Outlet—No Extension Cords
Plug directly into a standard 120V wall outlet. Avoid extension cords or power strips, which can reduce charging efficiency. The unit should rest on a stable, non-conductive surface during charging.
Monitor Red-to-Green LED Transition During Charging
Red light indicates active charging. Green light means charging complete. Initial charge from empty takes 3-5 hours. If no lights appear within 30 seconds, check your outlet with another device.
Pro tip: New units benefit from an extended 24-hour first charge to condition battery cells for maximum capacity and longevity.
Connect CMXCESM258 and CMXCESM260 External Adapter Models Properly
Insert Adapter Firmly into DC IN Port
Locate the port labeled “CHARGE” or “DC IN” on your unit’s side. Insert the provided adapter firmly until fully seated. A loose connection causes slow or failed charging.
Follow Correct Power Connection Sequence
First, connect the adapter to your jump starter, then plug into the wall outlet. This sequence prevents electrical spikes that can damage internal circuits.
Interpret Blinking Red and Green Indicator Patterns
Blinking red signals active charging. Solid green indicates 100% charge. Blinking green shows 80% charge—useful when you need partial power quickly.
Charging time varies: Expect 4-6 hours for full capacity, depending on your battery size. Larger capacity units take longer but provide more jump starts per charge.
Fast-Charge USB-C Models in 2-3 Hours
Use Only 60W+ Power Delivery USB-C Cables
Use a USB-C cable rated for power delivery—minimum 60W capability. Standard phone charging cables won’t provide sufficient power. The cable should feel substantial, not thin and flimsy.
Connect to High-Wattage Power Sources for Best Results
Connect to a USB-C power adapter, vehicle USB port, or power bank. Higher wattage adapters (20W+) trigger fast charging mode shown by orange indicator lights.
Watch Blue LED System for Charge Status Updates
Blue pulsing light confirms active charging. Solid blue indicates full charge. Orange light appears during fast charging with 20W+ input sources.
Speed advantage: USB-C models charge in 2-3 hours versus 4-6 for traditional methods, making them ideal for frequent travelers.
Decode Your Craftsman Jump Starter’s LED Signals
Understand Four-Bar LED vs. Digital Percentage Displays
Four-bar LED displays show 25% increments—three bars means 75% charge. Digital percentage displays provide exact readings like “87%”. Voltage readouts display current battery level—12.6V equals fully charged.
Recognize Critical Warning Light Patterns Immediately
Flashing red and green indicates temperature fault. Move your unit to a cooler location and wait 30 minutes before retrying. Rapid blinking red signals internal battery failure—discontinue use immediately.
Troubleshoot No Light Response When Plugged In
When plugged in shows no lights, first test your power outlet with another device. Check cable connections for security and damage. Inspect charging ports for debris or corrosion that blocks electrical contact.
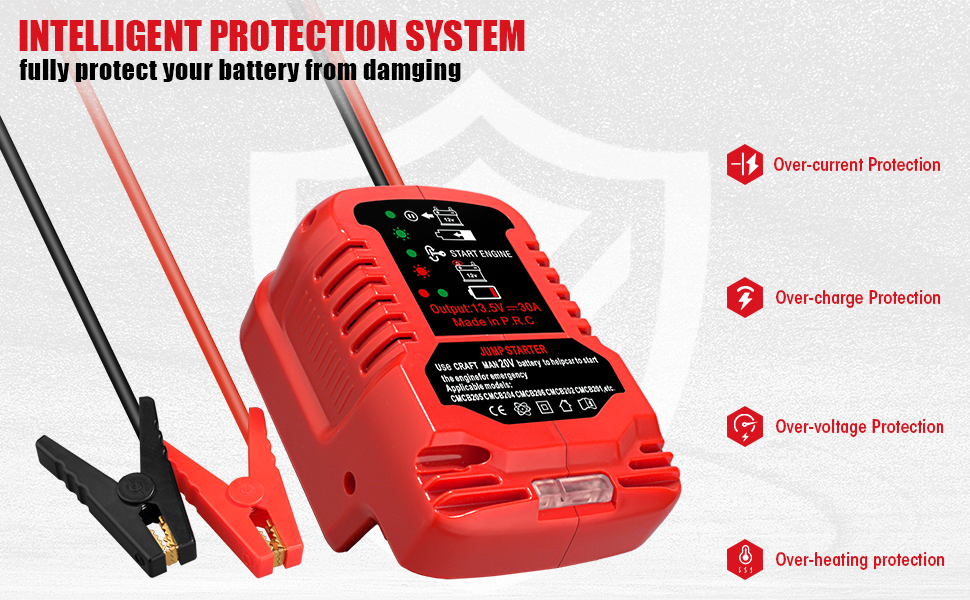
Prevent Damage with Proper Charging Safety Measures
Charge Only in Well-Ventilated, Temperature-Controlled Areas
Charge in well-ventilated areas away from open flames or sparks. Position on stable, non-conductive surfaces like wood or plastic tables. Avoid metal surfaces that can cause short circuits.
Never Charge Outside Safe Temperature Range
Critical warning: Never charge below 32°F (0°C) or above 104°F (40°C). These extremes damage battery cells permanently. Ideal range: 50°F-77°F (10°C-25°C) for optimal charging efficiency.
Inspect Components Before Every Charging Session
Examine cables and connectors for cracks, fraying, or corrosion. Damaged components create fire hazards and charging failures. Clean contact points with a dry cloth if you notice buildup or discoloration.
Fix Common Craftsman Jump Starter Charging Problems
Follow Step-by-Step Unit Won’t Charge Checklist
- Verify outlet functionality with a lamp or phone charger
- Check all cable connections—loose connections cause 90% of charging failures
- Inspect charging port for debris using a flashlight
- Test with different power adapter if available
- Allow 30-minute rest period if unit feels warm
Speed Up Slow Charging with These Proven Methods
Use original or high-quality replacement adapters only. Cheap aftermarket adapters provide insufficient power. Clean charging port contacts monthly with a dry cloth. Ensure ambient temperature stays within 50°F-77°F range.
Respond Immediately to Overheating During Charging
Disconnect immediately if the unit becomes hot to touch. Move to a cooler location and allow 1-hour cooling period. Check ventilation slots for dust blockage. Never charge in enclosed spaces like glove compartments.
Match Charging Method to Your Battery Type

Optimize Lithium-Ion Model Charging (8000-20000mAh)
These units accept 12V-15V DC input at 1.5A-2.5A standard rate. Expect 500-1000 charge cycles before noticeable capacity reduction. Store at 40-60% charge for long-term storage.
Maintain Lead-Acid Models Properly (12-22Ah)
Require 12V-14.4V DC input with 1-2A trickle charge. Perform monthly equalization charges for optimal performance. Expect 200-300 charge cycles from sealed lead-acid batteries.
Maximize Jump Starter Lifespan with Smart Charging Habits
Complete 24-Hour Conditioning Charge for New Units
Charge new units for 24 continuous hours before initial use. This extended conditioning phase maximizes battery capacity and extends overall lifespan. Don’t interrupt this first charge cycle.
Establish Regular Recharge Schedule Regardless of Usage
Recharge after every use regardless of remaining capacity. For stored units, recharge every 3 months minimum. Never store below 50% charge—this causes permanent capacity loss.
Prepare for Storage at Optimal 70-80% Charge Level
After charging completes, disconnect immediately to prevent overcharging. Allow 5-10 minutes for internal circuits to stabilize. Store at 70-80% charge level for maximum battery lifespan during extended storage.
Verify Full Charge with Model-Specific Indicator System
| Model Series | Charging Method | Time to Full | Indicator System |
|---|---|---|---|
| CMXCESM256 | Built-in AC plug | 3-4 hours | Red/Green LED |
| CMXCESM258 | External adapter | 4-5 hours | 4-bar LED |
| CMXCESM259 | Built-in AC plug | 3-4 hours | Digital display |
| CMXCESM260 | External adapter | 5-6 hours | 4-bar LED |
| USB-C models | USB-C port | 2-3 hours | Blue LED system |
Your Craftsman jump starter will provide years of reliable service when charged correctly. Follow these specific steps for your model, maintain proper storage habits, and you’ll never face the frustration of a dead jump starter when you need it most. Critical reminder: Never store with dead battery—this causes irreversible damage and voids warranty coverage. Check charge levels monthly and recharge to 50% minimum to keep your emergency power ready for action.


