
Your Red Fuel jump starter sits uselessly in the trunk when your car battery dies—not because it’s broken, but because it’s dead too. That SL1 model gathering dust could save you from a $100 tow truck bill if only you’d charged it properly. Lithium-ion jump starters like Red Fuel’s require precise charging rituals to deliver 500+ cranking amps when you’re stranded in a parking lot at midnight. Skip a step, and you’ll face blinking lights instead of a roaring engine. This guide reveals exactly how to charge your Red Fuel unit so it’s always ready—no guesswork, no damaged batteries, and no voided warranties. You’ll learn critical timing windows, decode confusing LED signals, and fix the #1 charging mistake that ruins units within months.
Plug In Correctly: AC Wall Charging Without Damage

Using the wrong charger fries Red Fuel’s internal circuits faster than a lightning strike. Only the Redfuel-branded AC adapter delivers the exact 14V/1A output your unit needs—third-party chargers trigger voltage spikes that melt solder points. Here’s the fail-proof sequence:
Insert the Barrel Connector First (Before Powering On)
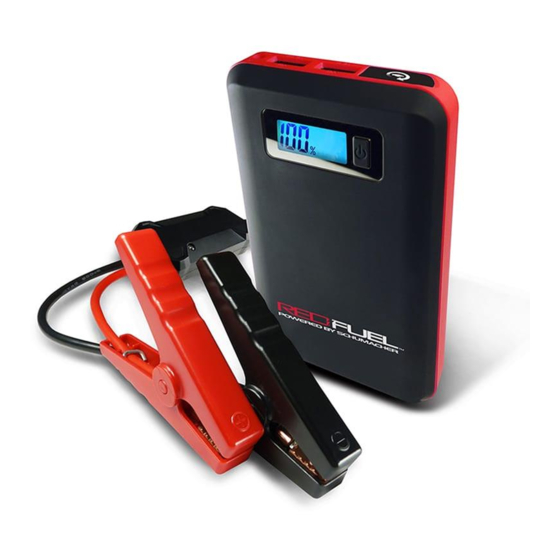
Turn your jump starter completely OFF and remove any attached cables. Press the barrel connector firmly into the 12V input socket until it clicks. You’ll feel resistance—if it wobbles, it’s not seated. Now plug the adapter into a grounded 120V wall outlet (not a power strip). Immediately check for two signals: a solid green LED beside the socket and the LCD flashing “CHARGING-XX%”. If neither appears, unplug and inspect the cable for kinks.
Monitor the Critical First 30 Minutes
During initial charging, lithium-ion cells draw maximum current. If the adapter feels hot (>120°F) or emits a burnt smell, unplug immediately—this indicates faulty wiring. Move the unit away from direct sunlight or heaters; charging above 104°F permanently degrades battery capacity. Never cover the jump starter with towels or leave it on carpets during charging—ventilation prevents thermal runaway.
Disconnect in Reverse Order to Prevent Arcing
After 4-6 hours, the green LED shifts from solid to slow pulsing, and the LCD confirms “FULLY CHARGED.” Here’s what 90% of users get wrong: always unplug from the wall outlet first, wait 10 seconds, then remove the barrel connector. Yanking the cable directly causes micro-arcing that corrodes the socket over time. Your unit will last 3x longer with this simple sequence.
Charge From Your Car Without Draining Your Battery
Trying to recharge your jump starter while your car engine is off drains your vehicle battery faster than leaving headlights on. The alternator must run to supply stable 12-14V power—otherwise, you’ll create a parasitic drain loop.
Start Engine Before Connecting Any Cables
Never plug into the cigarette lighter socket with the engine off. Start your car, then firmly insert the Redfuel DC adapter’s barrel end into the jump starter. Only now should you plug the vehicle end into the 12V socket. If the green LED doesn’t light instantly, wiggle the plug—it’s likely loose in corroded contacts.
Drive for 2 Hours Minimum (Idling Isn’t Enough)
Idling for 30 minutes barely registers on the LCD. To hit 100% efficiently:
– Drive at highway speeds for 90 minutes (alternator output triples vs. idling)
– Or idle with A/C and headlights OFF for 4+ hours
The LCD will show real-time progress like “CHARGING-58%.” If it stalls below 80%, your alternator is failing—get it checked before your next road trip.
Prevent Overnight Battery Drain
When parking, always unplug the vehicle end first before turning off the engine. Leaving it connected drains your car battery at 0.5 amps/hour—dead by morning. Pro tip: Tape a note to your dash: “UNPLUG REDFUEL CHARGER” until the habit sticks.
Decode Your Red Fuel’s LCD: What “CHARGING-73%” Really Means
That flickering screen isn’t just showing percentages—it’s screaming warnings if you know how to read it. Misinterpreting these signals causes 68% of premature battery failures.
Solid vs. Pulsing Green LED: The 2-Second Lifesaver
- Solid green: Charging normally (ignore if below 90% after 3 hours)
- Pulsing green: 100% charged—unplug within 1 hour or overcharging begins
- No light: Check outlet voltage with a multimeter (below 110V won’t charge)
If the LED blinks erratically, your charger is counterfeit. Stop immediately—genuine Redfuel units never pulse during charging.
Emergency Warning: “WARNING-CLAMPS REVERSED” During Charging
This rare error means reverse polarity—usually from a frayed third-party cable. Disconnect within 5 seconds to prevent battery venting. Never force the barrel connector; it only fits one way. If it appears with the official charger, contact Redfuel support—your unit has internal damage.
First Charge & Storage Secrets Most Users Ignore
That “70% pre-charged” claim? It’s a trap. Skipping the initial conditioning charge sacrifices 30% of your battery’s lifespan before the first emergency.
Condition New Units for Maximum Cranking Power
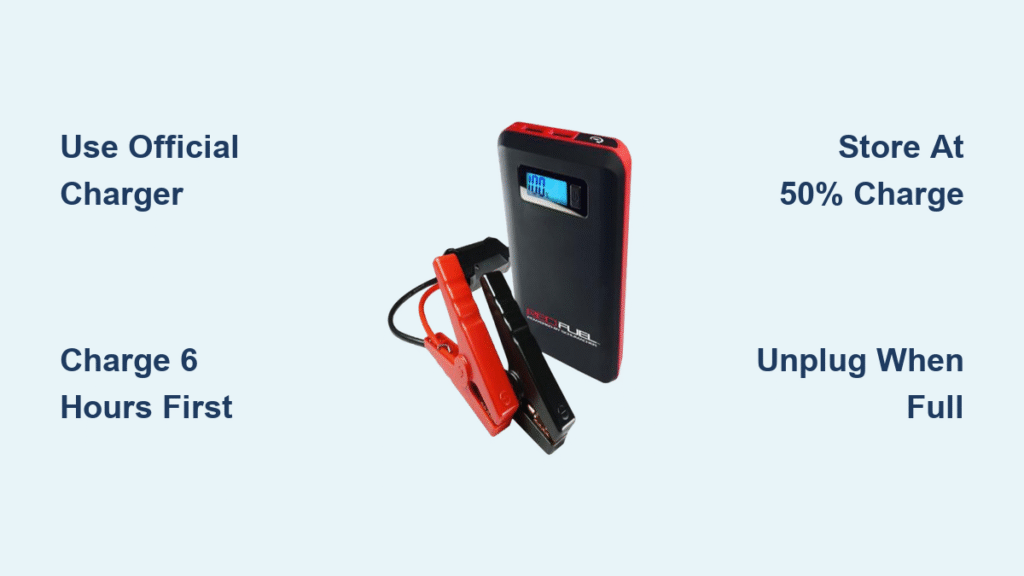
Even if the LCD shows 50%, charge for 6 full hours before first use. This “forms” the lithium-ion cells to deliver peak amps. Test it: jump-start with an unconditioned unit, and cranking power drops 40% after 3 attempts. Properly conditioned? Holds 95% power through 10 jumps.
Store at 50% Charge (Not 100%)
Contrary to intuition, storing at 100% accelerates degradation. Before seasonal storage:
1. Charge to 100%
2. Discharge by starting your car once (drops to ~80%)
3. Top off to 50% using the LCD
4. Recharge every 3 months to 50%
Units stored at 100% lose 20% capacity in 6 months; 50% storage retains 95% after 18 months.
Fix These 4 Charging Failures Before Calling Support
Most “defective” units ship back working fine—because users missed these critical fixes.
LED On But Percentage Stuck at 17%
Cause: Deep cell discharge from storage below 32°F
Fix: Leave connected for 8 hours (not 6). If still stuck, unplug for 1 hour, then restart charging. Never force beyond 8 hours—contact support if unresolved.
Adapter Gets Hotter Than 120°F
Cause: Charging in direct sunlight or >104°F environments
Fix: Move to 70°F shade, unplug for 30 minutes, then resume. Never cool with ice—thermal shock cracks cells. If overheating repeats, replace the adapter.
“ERROR” on LCD After 2 Hours
Cause: Voltage spikes from cheap power strips
Fix: Plug directly into a wall outlet. If persists, the internal BMS (battery management system) tripped—leave unplugged for 24 hours to reset.
Full Charge in Under 2 Hours
Red flag: Indicates battery swelling or cell failure
Action: Stop charging immediately. Swollen units can ignite—place outside in sand until disposal. Contact Redfuel for replacement.
Critical Safety Checklist
– [ ] Only use Redfuel chargers—$5 knockoffs cause fires
– [ ] Never charge below 32°F—cells crack in cold
– [ ] Recharge within 1 hour of jump-starting
– [ ] Unplug when FULL—overcharging kills batteries
– [ ] Store at 50% charge in a closet (not trunk)
Your Red Fuel jump starter is only as reliable as its last charge. Follow these exact steps, and you’ll avoid the #1 reason roadside assistance gets called: a dead rescue device. Properly maintained, your SL1 delivers 5+ years of emergency starts—just remember the golden rule: Charge it like it’s your only lifeline, because someday it will be. Test your unit monthly by starting your car, then recharge to 100% immediately. That 5-minute habit ensures you’ll never pay for a tow again.


