
Your instant power jump box sits in the trunk for months—until that dreaded morning when your car won’t turn over. You grab it confidently, only to find the indicator dead. Sound familiar? Proper charging isn’t just plugging it in; it’s the difference between a reliable rescue tool and an expensive paperweight. This guide walks you through the exact steps to charge your jump box correctly, keep it ready for emergencies, and avoid the common mistakes that kill these devices prematurely.
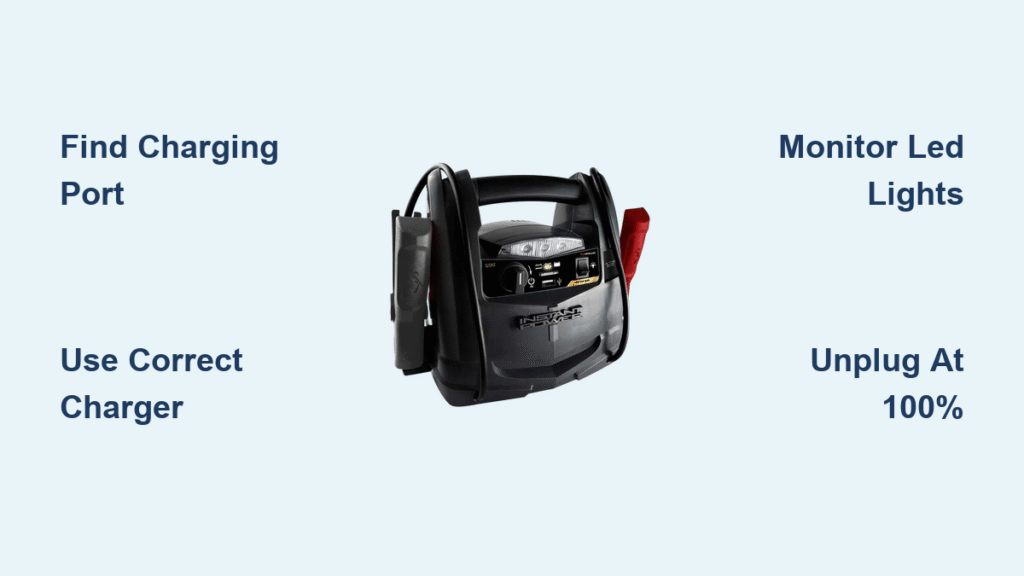
Find Your Jump Box Charging Port (Hidden Behind Rubber Flap)

Flip the rubber dust cover labeled “IN,” “DC-IN,” or “CHARGE” on short side panels or under the handle. Modern units use one of three connector types requiring specific chargers:
- 15V barrel jack (5.5 mm diameter – most common)
- USB-C PD (30-60W required)
- Micro-USB (older, low-capacity models)
Critical warning: Never force connections. The plug must slide in smoothly with zero wobble. Forcing causes pin damage that blocks charging entirely. If your port shows lint buildup or corrosion, use compressed air before inserting any cable—this solves 90% of “dead port” issues.
Match Your Charger to Input Type Exactly
Using incorrect voltage destroys batteries instantly. Verify these matches:
| Jump Box Port | Required Charger | Danger Zone |
|---|---|---|
| 15V barrel jack | 15V/1A wall adapter | 20V laptop chargers |
| USB-C PD | 30W+ Power Delivery | Standard phone chargers |
| Micro-USB | 5V/2A phone charger | Fast-charging adapters |
Pro tip: If you lost your original charger, check the port label for voltage specs. A 15V barrel jack requires EXACTLY 15V—no substitutions. Third-party chargers MUST carry UL/CE certification to prevent fire risks.
Plug In Safely: The 3-Step Sequence That Prevents Damage
Skip this safety check and risk permanent damage:
- Inspect case for swelling, cracks, or leakage – Discontinue use if found
- Check cable for fraying or melted spots – Replace if damaged
- Verify dry conditions – No moisture on ports or cables
Follow this connection order:
1. Plug wall adapter into outlet FIRST
2. THEN connect cable to jump box
3. Wait 3-5 seconds for red LED activation
No light? Immediately swap to a known-good adapter. Most “dead” units simply need port cleaning or correct voltage matching. Never reverse this sequence—plugging into the jump box first creates dangerous sparks.
Decode LED Charging Lights: What Blinking Red Really Means

Your jump box communicates through indicator patterns—learn this language to avoid under/overcharging:
| LED Pattern | Charge Level | Action Required |
|---|---|---|
| Blinking red | 0-25% | Continue charging (4-6 hrs remaining) |
| Solid red | 25-75% | Monitor progress (2-3 hrs left) |
| Red/green alternating | 75-95% | Nearly full (30-60 mins left) |
| Solid green | 100% | UNPLUG IMMEDIATELY |
Time estimates by capacity:
– 8,000-12,000 mAh units: 2-4 hours
– 24,000 mAh units: 6-7 hours
– Lead-acid models: 8-12 hours (avoid these)
Verify Full Charge With Multimeter Test
When solid green appears, confirm readiness in 30 seconds:
1. Disconnect charger
2. Set multimeter to DC voltage
3. Touch probes to positive/negative clamps
4. 12.6-13.2V = fully charged
5. Below 12.0V = needs more time
Critical note: Lithium units showing 12.0V or lower won’t crank large engines. Always verify voltage before emergency use.
Stop Charging at Exactly 100% to Prevent Battery Death
The moment solid green appears, unplug wall adapter FIRST, then disconnect from jump box. Leaving it plugged overnight degrades lithium cells 20% faster per incident. Set phone timers for these max durations:
- Small units (8,000-12,000 mAh): 4 hours
- Large units (24,000 mAh): 7 hours
- Never exceed 8 hours
Store at 60-80% Charge for Maximum Lifespan
Never store fully charged or dead. For long-term storage:
1. Charge to 70% (solid red or mid-bar indicator)
2. Snap rubber port cover shut
3. Store in climate-controlled space between 41-68°F (5-20°C)
Temperature kill zones:
– ❌ Below 32°F (0°C) – Causes permanent capacity loss
– ❌ Above 77°F (25°C) – Accelerates degradation
– ❌ Inside vehicles – Summer heat exceeds 140°F
Check charge level monthly using the display. Recharge if below 70% to maintain emergency readiness.
Fix “No Charging Indicator” in 5 Minutes Flat

Follow this diagnostic flow when plugging in yields zero lights:
- Test outlet with another device (e.g., phone charger)
- Try different wall adapter with matching voltage
- Clean port with compressed air – Lint is #1 culprit
- Check cable continuity with multimeter (replace if >0.2Ω resistance)
- Try car charging via 12V socket (if supported)
90% of cases resolve at step 3. Use short air bursts from 6 inches away—never metal objects that could damage contacts. If still unresponsive, battery degradation likely requires unit replacement.
Why Your Jump Box Stuck at 75% Needs Capacity Testing
Stalling at 75% indicates battery degradation. Lithium cells lose 20% capacity after 300-500 cycles. Test actual performance:
- Discharge unit for 10 minutes at 5A (using 12V accessory)
- Measure delivered amp-hours with multimeter
- Compare to label rating (e.g., 24,000 mAh = 24 Ah)
If delivered capacity is 15% below label, replacement is urgent. Weak jump boxes fail during critical cold-weather starts. Never risk being stranded with degraded units.
Monthly Maintenance Checklist for Emergency Readiness
Spend 5 minutes monthly to avoid dead jump boxes:
- [ ] Display shows 70%+ charge – Recharge if lower
- [ ] Clamps corrosion-free – Clean with isopropyl alcohol
- [ ] Case undamaged – No cracks or swelling
- [ ] Charging port clean/dry – Use compressed air
Quarterly Deep Cycle for Fuel Gauge Accuracy
Every 3 months, perform this recalibration:
1. Discharge to 30% by powering a 12V accessory 10 mins
2. Recharge to 100% using correct procedure
3. Verify voltage reaches 12.6V+ at full charge
This prevents “phantom low” readings where the display shows 50% but unit dies instantly during jump-starts. Skip this and risk inaccurate emergency readiness assessments.
Critical Voltage Check Before Jump-Starting a Dead Car
Never assume solid green means “ready”. Always verify voltage first:
1. Check display for 100% indicator
2. Measure clamps with multimeter
3. Confirm ≥12.6V for lithium units
Anything below 12.4V lacks sufficient cranking amps for most vehicles. A 12.2V reading might start a small engine but will fail on trucks or cold mornings. This 10-second check prevents the worst-case scenario: your jump box dying mid-crank with no second vehicle available.
Emergency shortcut: If voltage is 12.3-12.5V, connect jump box to dead battery and wait 2 minutes before cranking—this allows partial charge transfer to stabilize the system.
Your instant power jump box is only as reliable as your charging habits. Master these precise steps—matching voltages, monitoring LED patterns, and storing at 60-80% charge—and you’ll transform it from a potential paperweight into a decade-long roadside savior. Remember: The 5 minutes you spend monthly on maintenance saves hours of freezing roadside waits. Keep this guide in your glovebox, check your jump box’s charge level every time you fill your gas tank, and never face that sinking “dead rescue device” panic again. Proper charging isn’t just maintenance—it’s your insurance policy against automotive emergencies.


