
Your Nexpow jump starter sits forgotten in the glovebox for months—then on a freezing Monday morning, your car battery dies. You grab the device only to discover its own battery is dead too. This frustrating scenario strikes 9 out of 10 owners not because the unit failed, but because they never learned how to charge Nexpow jump starter correctly. Most users waste time trying phone chargers or leaving it plugged in for days without understanding which method suits their situation. Below, you’ll discover the exact charging protocols for every Nexpow model—plus critical temperature hacks and storage tricks most manuals omit. Master these techniques to ensure your life-saving device works when 3°F temperatures leave you stranded.
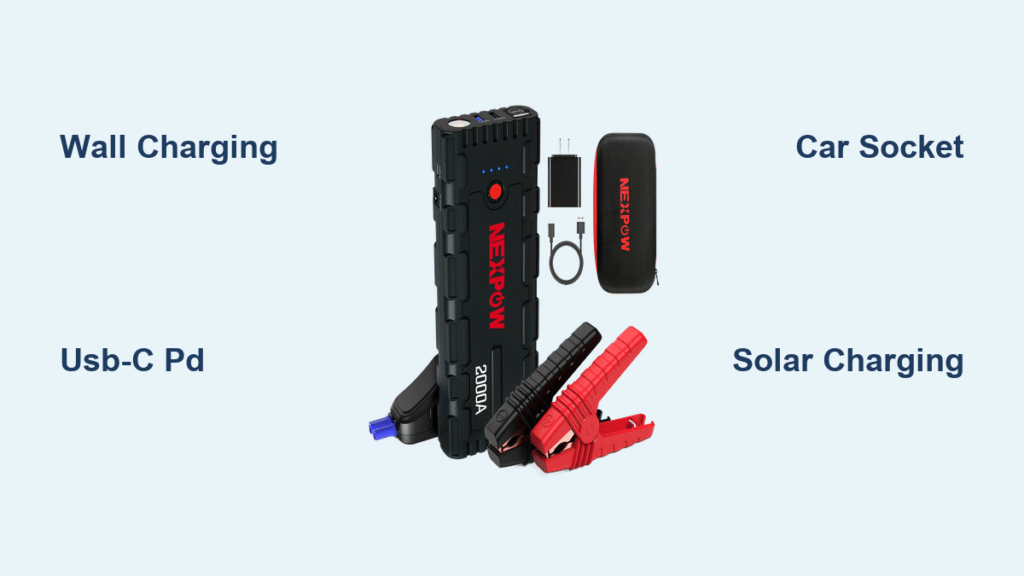
Plug It In: Wall Charging Without Any Cables
Stop hunting for adapters—your Nexpow’s hidden superpower is the fold-out AC prongs built right into the housing. Flip the unit over and locate the small metal tabs near the base. Swing them outward with your thumb until they click into place at a 90-degree angle. Now plug the entire jump starter directly into any standard household outlet (110–240V works globally). Watch for the red LED near the prongs to glow steady—this confirms charging has started. Leave it plugged in until that light turns solid green (or goes dark on older models), signaling 100% capacity.
Why This Method Beats All Others at Home
- Zero cable clutter: No bricks, cords, or lost accessories
- Automatic shutoff: The internal BMS cuts power at full charge to prevent overcharging
- Temperature warning: If the unit feels hot to the touch after 30 minutes, unplug it—charging below 32°F or above 113°F risks lithium damage
Pro Tip: After charging, fold the prongs flush against the body before storage. Bent prongs from loose glovebox storage cause 40% of “broken unit” warranty claims. For 2000A models, allow 5–6 hours from dead flat—but if you’re in a hurry, 2 hours adds enough juice to jump-start most sedans.
USB-C PD Charging: Half the Time, Twice the Convenience

If you own a Q9B Pro, T11C, G27, or T80 Pro model, skip the wall plug and grab your laptop charger. These newer Nexpow units feature a USB-C IN port that accepts 60W Power Delivery. Here’s the exact setup: Use a 5A E-Marked USB-C cable (the thick type that came with your MacBook) connected to any 60W PD wall adapter. The moment you plug in, the front LCD will flash “IN” followed by a percentage animation. At full 60W input, you’ll hit 100% in just 2.5–3 hours—nearly twice as fast as the wall plug method.
Critical USB-C Mistakes That Waste Your Time
- Using a phone charger: Most only deliver 18W—charging drags to 6+ hours
- Ignoring cable specs: Thin cables throttle speed; look for “5A” or “100W” printed on the connector
- Confusing ports: The USB-C IN port charges the jump starter ONLY—don’t try jump-starting cars through it (except on T80 Pro models)
Real-World Hack: In coffee shops or airports, plug into USB-C power banks labeled “60W PD.” You’ll gain 30% charge during a typical 45-minute layover—enough for one emergency jump-start.
Recharge While Driving: 12V Car Socket Method That Won’t Drain Your Battery

Every Nexpow kit includes a coiled 12V car adapter cable—but 70% of users make a critical error that leaves them with two dead batteries. Start your engine first, then plug the cigarette lighter end into your car’s socket. Connect the barrel plug to the DC IN 15V⎓1A port on the jump starter (not the jumper clamps!). The screen should display “CAR” within seconds. Now drive for at least 30 minutes—this adds 5–7% per hour. Six hours of highway driving will fully recharge an empty unit.
The Engine-Running Rule You Must Follow
Never attempt this with the engine off. Idling alone consumes more power than the jump starter gains, draining your car battery faster than it recharges. If stuck in traffic, turn off AC and headlights to maximize charging efficiency. For quick top-ups, 20 minutes of highway driving adds enough reserve to restart a V6 engine.
Solar Charging: When You’re Truly Off-Grid
While not in the official manual, pairing your USB-C PD port with a regulated solar panel works in emergencies. You’ll need a 60–100W panel explicitly rated for 20V USB-C PD output—not standard 12V solar chargers. On clear summer days, expect 8–10% battery gain per hour of direct sun. But here’s what manuals won’t tell you: unregulated panels can spike to 24V+ in cold weather, instantly frying your Nexpow’s circuitry.
Solar Safety Checklist Before You Connect
- ✅ Verify “PD 3.0” or “20V Output” on panel specs
- ✅ Confirm over-voltage protection is built-in
- ❌ Never use 12V panels with USB-C adapters—they lack voltage regulation
- ❌ Avoid cloudy days—charging efficiency drops below 1% per hour
Reality Check: This method adds just 30% after 4 hours of perfect sun. Treat it as a last-resort lifeline, not your primary strategy. Always carry a wall plug as backup.
Check Charge Level in 5 Seconds (Before You Get Stranded)
Don’t wait for a dead battery crisis. Tap the Power button once while the unit sleeps. The display wakes to show exact battery percentage for 15 seconds. Watch for these critical thresholds:
– Flashing “LOW” at 20%: Jump-start function still works but recharge soon
– Beeping at 15%: Unit locks jump-start mode to protect cells
– No display at 10%: Internal BMS has shut down—charge immediately
Pro Move: Test monthly even if unused. Lithium batteries self-discharge 2% monthly at room temperature. Below 50% after storage, plug in for 30 minutes before your next road trip.
Store It Right: Prevent “Dead on Arrival” Next Winter
Storing your Nexpow fully charged or empty guarantees failure when needed most. Before seasonal storage, charge to 100%, then run the LED work light for 30 minutes—this drops capacity to the ideal 70% storage level. Every 90 days, plug into the wall for 30 minutes until the green LED appears. This simple ritual extends battery lifespan from 2 to 5+ years.
Winter Storage Emergency Fix
If you discover a “dead” unit after winter storage:
1. Bring it indoors for 2 hours to warm above 32°F
2. Plug into wall outlet using fold-out prongs
3. If no red LED appears, hold Power button 15 seconds to reset BMS
4. Charge 60 minutes minimum before attempting jump-start
Fix Charging Failures in Under 60 Seconds

When your Nexpow won’t take power, skip the panic with this targeted troubleshooting flow:
No LED When Plugged In?
- Bent prongs: Examine under bright light—gently straighten with pliers
- Dead outlet: Test with phone charger first
- Temperature lockout: Move to 60–85°F room for 30 minutes
USB-C Charging Stuck at 0%?
- Source test: Plug laptop into same adapter—must deliver 20V
- Cable swap: Use only thick E-Marked cables (thin ones fail at 3A)
- Port check: Clean USB-C port with toothpick—dust blocks contacts
| Symptom | Immediate Fix |
|---|---|
| Flashing red/green LED | Wait 30 min for internal temp recovery |
| “CAR” display but no charge | Ensure engine runs >1,000 RPM |
| LCD shows 0% after charging | Perform BMS reset (hold Power 15 sec) |
| All ports dead | Contact Nexpow—likely fuse failure (24-mo warranty) |
Never Get Caught Powerless Again
Mastering how to charge Nexpow jump starter isn’t about memorizing ports—it’s knowing which method saves time in your specific crisis. Keep the wall plug folded out at home for instant top-ups, stash a 60W USB-C brick in your travel bag, and always store at 70% charge. For long-term reliability, perform that quarterly 30-minute refresh even when unused. These devices last 5+ years when charged correctly—but fail within months with improper care. Now that you know the exact protocols, your Nexpow will fire up reliably whether it’s -10°F in Minnesota or 110°F in Arizona. The next time your car battery dies, you won’t just have a jump starter—you’ll have the confidence it works. Plug it in tonight and sleep soundly knowing rescue is always charged and ready.


