
Your portable jump starter just rescued you from a dead battery, but now it’s running on fumes. If you don’t charge a portable jump starter correctly after use, you risk being stranded during your next emergency. Lithium-ion models lose 5-10% capacity after a single jump-start, while lead-acid units degrade faster when left partially drained. Proper charging isn’t just about restoring power—it’s about maximizing cranking amps and extending your device’s 3-5 year lifespan.
This guide cuts through the confusion with precise steps for every charging method, critical safety checks, and troubleshooting for common failures. You’ll learn why skipping the first-time charge voids warranties, how USB-C PD cuts charging time by half, and why storing at 100% charge destroys batteries. Follow these protocols to ensure your jump starter delivers 500+ cold-cranking amps when you need it most.
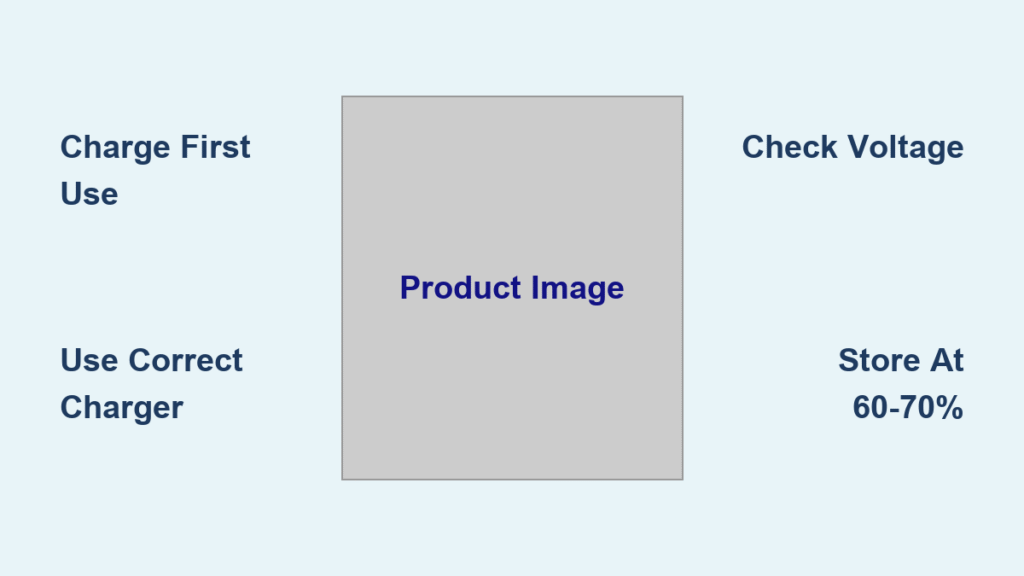
Charge Before First Use to Avoid Warranty Denial
Never deploy a new jump starter without a full factory charge cycle. Manufacturers ship lithium-ion units at 30-50% capacity and lead-acid models at 60-70%—deliberately low to prevent shipping hazards. Skipping this initial charge risks permanent battery damage and voids most warranties. A partially charged unit may deliver weak cranks or fail entirely on a cold morning.
Set aside 2-7 hours based on your model’s capacity. A 20,000mAh lithium unit takes 7.5 hours with a standard 1A adapter but only 2.5 hours with USB-C PD. During this first charge, monitor for swelling or overheating—signs of internal defects that require immediate replacement. Ignoring this step is the #1 cause of “dead on arrival” complaints that manufacturers won’t cover.
Choose Your Charging Method Based on Urgency

Wall Adapter Method for Reliable Home Charging
This is your safest option for routine maintenance. Plug the DC adapter into your jump starter’s barrel port first (never reverse the order), then into a grounded wall outlet. Never use third-party chargers—mismatched voltage can trigger thermal runaway in lithium packs. Watch for critical indicator lights:
- Solid red: Charging normally (typical for 85% of the cycle)
- Solid green/blue: Fully charged (disconnect within 24 hours)
- Rapid red/green flashes: Immediate disconnect required (overheating or short circuit)
Charge only in temperatures between 32°F–104°F. A garage in direct sunlight can exceed 120°F, cooking the battery. If your unit feels warm to the touch, unplug it—excessive heat during charging permanently reduces capacity.
Car Charger Method for Road Trip Top-Ups
Revive your jump starter while driving to avoid “dead battery on dead battery” scenarios. Always start your vehicle first—connecting to a dormant car battery drains both systems. Insert the car charger into the 12V socket, then attach to your jump starter. You’ll gain 8-10% charge every 30 minutes of driving, ideal for topping off after jump-starting another vehicle.
Crucially, never leave it connected overnight in a parked car. Even with the engine off, parasitic drain can deplete your vehicle’s battery below 11.8V—the threshold where modern ECUs shut down. Unplug immediately after reaching 90% charge (usually 1-2 hours of driving).
USB-C PD Charging for 60% Faster Power Recovery
If your unit supports USB-C Power Delivery (common in 2022+ lithium models), this is the fastest method. Use a certified 30-100W PD charger—cheap knockoffs often deliver unstable voltage that fries the battery management system. The jump starter auto-negotiates 15V/3A or 20V/5A charging, filling a 12,000mAh unit in 1.5 hours versus 4.5 hours with a standard adapter.
Pro Tip: Keep a 65W laptop PD charger in your emergency kit. It doubles as a jump starter charger and powers your phone during breakdowns—no need to carry multiple adapters.
Calculate Exact Charging Time with Capacity Charts
Don’t guess—use this verified reference based on 85% charge efficiency:
| Battery Capacity | 1A Wall Charger | 2A Wall Charger | USB-C PD (45W) |
|---|---|---|---|
| 6,000mAh | 2.5 hours | 1.3 hours | 0.8 hours |
| 12,000mAh | 4.5 hours | 2.3 hours | 1.5 hours |
| 20,000mAh | 7.5 hours | 3.8 hours | 2.5 hours |
Always add 15-30 minutes beyond the table time. The final “trickle phase” balances cell voltage—a critical step for lithium longevity. If your unit shows 100% before these extra minutes, it’s likely displaying a false full charge.
Verify Full Charge with Professional Methods
Visual Confirmation Beyond Indicator Lights
LED indicators lie 20% of the time due to faulty sensors. Cross-verify with:
– Digital displays: Must read 12.6-12.8V (lead-acid) or 16.4-16.8V (lithium)
– Audible cues: One confirmation beep on select Noco and NOCO models
– Physical checks: No warmth after 30 minutes of “full charge” status
If your unit claims full charge but voltage reads below 12.1V (lead-acid) or 15.9V (lithium), restart charging—this indicates sulfation or cell imbalance.
Voltage Testing with a Multimeter
For 100% certainty, test with these steps:
1. Disconnect all chargers for 10 minutes
2. Set multimeter to DC 20V range
3. Touch red probe to positive clamp, black to negative
4. Reject if:
– Lead-acid reads <12.6V at full charge
– Lithium reads <16.4V (indicates degraded cells)
– Voltage drops >0.3V under 1-amp load
This catches “surface charge” deception where units show full voltage but collapse under load.
Set Proper Storage Schedule to Prevent Irreversible Damage
After Every Use Protocol
Recharge within 24 hours—even if you only used 5% capacity. Lithium-ion batteries suffer “voltage depression” when stored below 20% charge, permanently reducing cranking power. A single jump-start can deplete 10% of capacity; waiting weeks before recharging accelerates degradation by 300%.
After charging, store with clamps covered to prevent accidental short circuits. Never leave jumper cables attached—metal contact with keys or tools can trigger violent discharges.
Long-Term Storage for Seasonal Vehicles
For RVs or classic cars stored >90 days:
– Charge to 60-70% (not 100%!)
– Store between 40°F–70°F in a climate-controlled space
– Recharge quarterly to maintain 60-70% level
– Never store in trunks—summer heat exceeds 140°F, melting internal components
Storing at 100% charge stresses lithium cells, while 0% causes lead-acid sulfation. Both scenarios kill batteries in under 6 months.
Fix Common Charging Problems in Under 10 Minutes
No LED Response? Diagnose Systematically
- Test the outlet with a lamp (30% of “dead units” have faulty power sources)
- Inspect the charger fuse—replace 1A fuses if blown
- Clean the DC port with compressed air (debris causes 40% of connection failures)
- Try a different cable—frayed wires are common in car chargers
If still unresponsive, contact the manufacturer. Lithium units with no LED activity often have BMS lockouts requiring professional reset.
Rapid Flashing Lights: Temperature Emergency
This indicates thermal runaway risk. Immediately disconnect and move to 70°F environment. Wait 30 minutes before retrying. If flashing persists:
– Check charger rating (e.g., a 10A automotive charger will overheat a 2A jump starter)
– Never charge below 32°F—lithium plating causes internal shorts
– Replace if unit exceeds 130°F during charging (normal max is 113°F)
Charge Percentage Stuck at 80%?
Likely causes:
– Aging battery: Internal resistance blocks full charge (replace if >2 years old)
– Underrated charger: Upgrade to 2A adapter for units >10,000mAh
– Cell imbalance: Requires slow 0.1C recovery charge (12+ hours at low current)
For lead-acid models, try a “recondition” cycle on smart chargers to break sulfate crystals.
Maintain Peak Performance with Monthly Rituals
Critical Monthly Checks
During routine car maintenance:
– Inspect for swelling (a 5mm bulge means immediate replacement)
– Clean terminals with microfiber cloth—corrosion increases resistance by 70%
– Verify charge level—top up if below 80% (use voltage test for accuracy)
– Test clamp springs—weak tension causes arcing during jumps
Swollen batteries are fire hazards—never ignore this sign.
Annual Stress Testing Protocol
Every 12 months:
1. Fully charge the unit
2. Perform controlled jump-start on a vehicle with known-good battery
3. Measure cranking time—should exceed 5 seconds at 0°F
4. Check cable flexibility—stiffness indicates insulation breakdown
If cranking power drops below 70% of original specs, replace the unit. Degraded jump starters fail catastrophically in emergencies.
Quick Emergency Reference for Charging Failures
When your jump starter won’t charge:
1. Confirm power source functionality (test outlet/car socket)
2. Clear port debris with toothpick (gentle scraping only)
3. Swap chargers/cables using compatible replacements
4. Contact manufacturer—do not attempt DIY repairs on lithium units
Remember: A jump starter at 75% charge may crank a weak battery but fails on completely dead cells. Always maintain above 80% charge for true emergency readiness. Keep a printed voltage chart in your glovebox—when temperatures drop below 20°F, even “full” units lose 30% cranking power.
Pro Tip: During winter months, store your jump starter indoors and charge it weekly. Cold temperatures increase internal resistance, making units appear dead when they’re actually just thermally shocked. Plug it in for 30 minutes before use to restore full capacity.


