
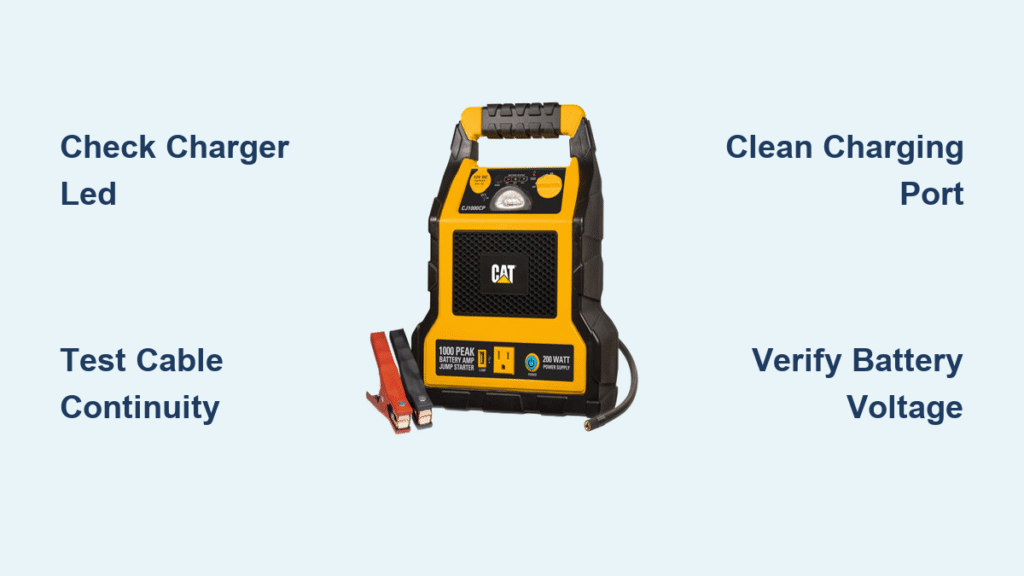
You’re stranded with a dead car battery, reach for your CAT jump starter only to discover it won’t charge—leaving you in a panic. When your CAT jump starter not charging, this isn’t just an inconvenience; it’s an emergency that could leave you stranded. This guide delivers systematic troubleshooting steps to diagnose and fix your CAT jump starter charging issues, whether you’re dealing with a completely dead unit or intermittent charging problems that leave you vulnerable when you need power most.
Immediate Diagnostic Checks Before Repair Attempts
Before disassembling your jump starter, complete these critical checks in under two minutes:
Visual Inspection Protocol
Scan your CAT jump starter for these red flags that explain why your unit won’t accept charge:
– Physical deformities: Swollen battery casing indicates dangerous internal failure
– Corrosion signs: White or green powder around terminals or charging port
– Connection integrity: Loose clamps or frayed cables compromising electrical flow
– LED status: No lights when plugged in suggests power delivery failure
Pro Tip: If your CAT jump starter feels unusually light, it may have lost electrolyte—immediately stop charging attempts and isolate the unit.
Power Source Verification
Most “CAT jump starter not charging” issues stem from faulty power delivery:
1. Test your wall outlet with another device to confirm power
2. Try multiple USB ports if using a computer or car adapter
3. Check if the charger LED illuminates (if equipped)
4. Listen for faint buzzing—indicates active but failing charger
Critical Warning: If the charger becomes excessively hot (>50°C) or emits burning smells, unplug immediately and replace the adapter.
Battery Health Assessment Techniques
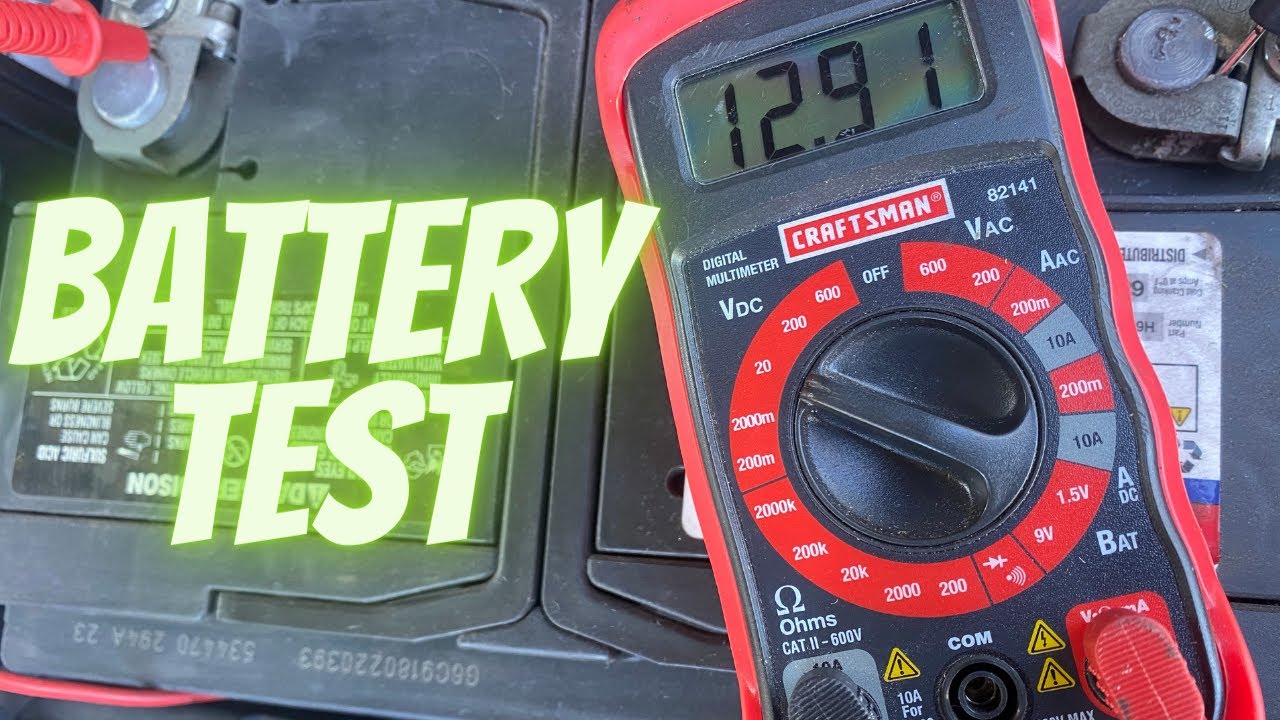
Voltage Testing Procedure
Your CAT jump starter’s battery voltage reveals its true condition:
- Disconnect from charger and wait 30 minutes for stabilization
- Set multimeter to DC voltage (20V range)
- Touch probes to battery terminals: red to positive (+), black to negative (-)
- Interpret results:
– 12.6V+: Fully charged (shouldn’t need charging)
– 11.5-12.5V: Needs charging (normal operation)
– 9-11.4V: Deeply discharged but potentially recoverable
– Below 9V: Critical failure requiring battery replacement
Pro Tip: A reading of 0.0V indicates battery management system (BMS) shutdown—common when batteries drop below 2.5V per cell.
Load Testing for Hidden Failures
Many CAT jump starters show normal voltage but collapse under actual load:
- Connect a 12V automotive bulb (21W) to the battery terminals
- Measure voltage while the bulb is illuminated
- Pass: Voltage stays above 11.0V for 30+ seconds
- Fail: Immediate voltage drop below 11.0V indicates weak cells
Expert Note: Lithium-ion batteries in CAT jump starters typically lose 20% capacity after 300-500 charge cycles—age-related degradation explains many “not charging” complaints.
Charger and Cable Troubleshooting
Adapter Performance Testing
Faulty chargers cause 60% of “CAT jump starter not charging” cases:
Output Verification Steps:
1. Disconnect charger from jump starter
2. Measure voltage at charger tip with multimeter
3. Compare to specifications:
– 5V systems: 4.75-5.25V
– 12V systems: 11.4-12.6V
– Significant deviation indicates failed adapter
Current Test: Connect a 12V 21W bulb as load—voltage should drop less than 5%. Greater drop means insufficient current delivery.
Cable Failure Diagnosis
USB cables fail internally without visible damage:
Continuity Test:
1. Set multimeter to continuity mode
2. Test each wire end-to-end
3. Good cable: Less than 1Ω resistance per conductor
4. Bad cable: Open circuit or high resistance (>5Ω)
Quick Fix: Swap in a known-good cable from your phone—many CAT jump starters use standard USB connections.
Internal Component Inspection (Advanced)
When to Open the Case
Only proceed if:
– Unit is out of warranty
– You’re comfortable with basic electronics
– You have precision screwdrivers and safety glasses
Critical Warning: Opening your CAT jump starter voids warranty. Contact CAT support first if under warranty period.
Internal Failure Indicators
Inside the unit, look for these common problems:
Battery Connections:
– Cold solder joints (dull, cracked appearance)
– Broken wire strands at battery tabs
– Corrosion on metal contacts (white/green buildup)
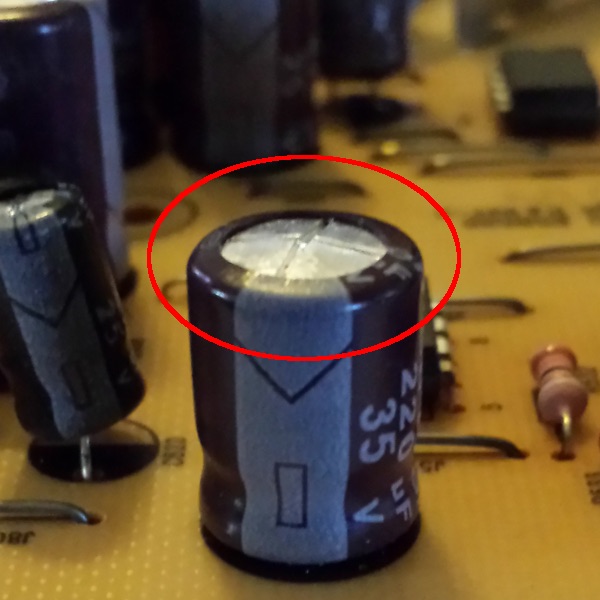
Circuit Board Issues:
– Burnt or blackened components near charging circuit
– Swollen capacitors (convex tops indicate failure)
– Cracked solder joints around charging port
– Disconnected thermal sensors causing safety shutdowns
Safety-First Repair Protocol

Mandatory Pre-Work Checklist
Before touching any components:
– Disconnect all power sources
– Work in well-ventilated area away from ignition sources
– Remove metal jewelry that could cause short circuits
– Have Class C fire extinguisher nearby (rated for electrical fires)
– Use insulated tools only to prevent accidental shorts
Critical Rule: Never attempt to charge a swollen or leaking battery—this creates fire and explosion hazards.
Immediate Solutions for Common Failures
5-Minute Fixes That Work
Try these first before considering complex repairs:
- Different power source: Test with wall outlet → car USB → computer USB
- Cable swap: Use phone charging cable (if compatible with your CAT model)
- Port cleaning: Dip cotton swab in 90%+ isopropyl alcohol and gently scrub contacts
- Reset procedure: Hold power button for 30 seconds while plugged in
When to Replace vs Repair
Replace immediately if:
– Battery voltage reads 0.0V (BMS shutdown)
– Physical swelling or electrolyte leakage present
– Unit is more than 3 years old
– Multiple previous repairs unsuccessful
Repair cost analysis: Professional repair typically costs 40-60% of a new unit. If your CAT jump starter is less than 2 years old, repair often makes financial sense.
Preventive Maintenance Schedule
Monthly Care Routine
- Visual inspection for physical damage
- LED indicator functionality check
- Cable condition assessment
- Port cleaning if debris observed
Optimal Storage Practices
- Store at 40-60% charge level
- Maintain temperature between 0°C and 45°C
- Avoid direct sunlight and high humidity
- Recharge every 3-6 months during storage
Pro Tip: Never store your CAT jump starter fully discharged—this accelerates sulfation in lead-acid variants and deep discharge damage in lithium models.
Emergency Workarounds When Stranded
Jump-Starting Without a Functional CAT Unit
If your CAT jump starter won’t charge but you need to start your vehicle:
- Traditional jumper cables: Get assistance from another vehicle
- Portable power banks: Some high-capacity models (20,000mAh+) can jump small engines
- Roadside assistance: Most insurance policies include free jump services
- Push-start: For manual transmission vehicles only
Temporary Charging Solutions
For USB-based CAT models:
– Use laptop USB port (slower charging)
– Car USB adapter with engine running
– High-capacity power bank (reverse charging)
For barrel connector models:
– Compatible laptop adapter (match voltage exactly)
– Variable bench power supply (current limited to 1A)
– Car inverter with correct adapter plug
Final Diagnostic Flowchart
Follow this sequence to pinpoint your CAT jump starter not charging issue:
Start → Is charger LED illuminated? → No → Test outlet and adapter → Yes → Cable continuity verified? → No → Replace cable → Yes → Port clean and undamaged? → No → Deep clean port → Yes → Battery voltage above 9V? → No → Battery replacement needed → Yes → Load test passes? → No → Battery replacement → Yes → Unit functional
Critical Takeaway: Most CAT jump starter not charging issues originate from simple causes—faulty cables, dirty ports, or incompatible chargers—not catastrophic battery failure. Always start with basic troubleshooting before considering complex repairs or replacement.
When in doubt: Contact CAT customer support with your test results—many manufacturers provide troubleshooting assistance even for out-of-warranty units. Document your voltage readings and symptoms for faster resolution. If your CAT jump starter shows physical swelling or leakage, discontinue use immediately and dispose of it properly at a battery recycling facility.


