
That sinking feeling when your DeWalt jump starter won’t charge is all too familiar for many vehicle owners. You’ve relied on this emergency tool before, but now the lights won’t illuminate and your battery sits dead when you need it most. When your DeWalt jump starter not charging situation strikes, most problems stem from just a few fixable issues rather than complete unit failure.
Whether your model shows no lights, blinks erratically, or simply refuses to accept a charge, this guide delivers proven solutions. You’ll learn to diagnose problems in under 15 minutes, fix common failures without special tools, and implement maintenance strategies that prevent future charging issues. Most importantly, you’ll avoid unnecessary replacement costs by understanding exactly when a simple fix will restore your emergency power source.
Why Your DeWalt Jump Starter Won’t Accept Charge
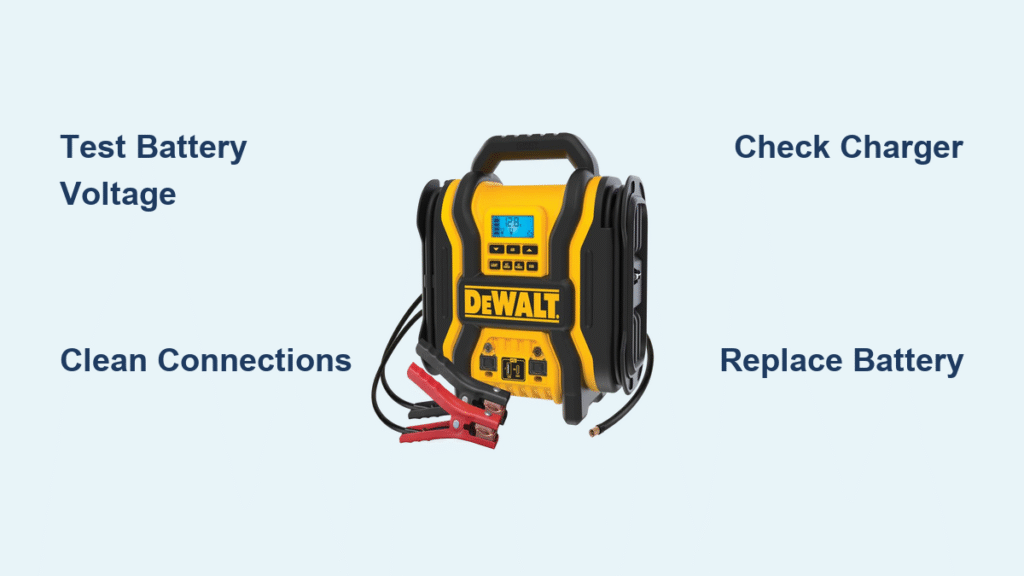
Before replacing parts, identify the specific failure point in your charging system. Most DeWalt jump starter not charging problems originate from three core areas: battery degradation, charger malfunctions, or connection issues. Understanding these failure modes saves you time and money during troubleshooting.
Battery Degradation Warning Signs
Lithium-ion batteries in DeWalt jump starters naturally degrade through multiple mechanisms that prevent proper charging:
- Cycle aging: Each complete charge/discharge cycle reduces maximum capacity by 0.1-0.3%
- Calendar aging: Time-based degradation occurs even during storage, accelerated by high temperatures
- Deep discharge damage: Repeated use below 20% capacity significantly accelerates capacity loss
- Overcharging stress: Consistent charging to 100% increases internal resistance over time
Critical indicator: If your jump starter previously held a full charge but now loses power rapidly, battery degradation is likely the culprit. Test voltage after charging—a reading below 12.0V indicates immediate replacement is needed.
Charger Malfunction Identification
Your DeWalt jump starter not charging issue might point to charger failure rather than battery problems. Look for these specific symptoms:
- Physical damage: Frayed cables, bent connector pins, or cracked housing compromise electrical integrity
- Voltage inconsistencies: Chargers delivering outside 5% tolerance of specified output prevent proper charging
- Overheating: Abnormal warmth during charging indicates internal component degradation
- Connector wear: Microscopic erosion from repeated use creates poor electrical contact
Quick test: Try charging with a different compatible charger—if charging resumes, your original charger has failed and needs replacement.
Battery Testing Protocol for DeWalt Jump Starters

Start your diagnosis here—most charging failures originate from the battery itself rather than the charger. This systematic approach identifies whether your DeWalt jump starter not charging problem requires battery service.
Precise Voltage Testing Method
Step-by-step testing procedure:
1. Power down completely: Disconnect all cables and wait 15 minutes for internal capacitors to discharge
2. Access battery terminals: Remove protective rubber covers using appropriate tools
3. Configure multimeter: Set to DC voltage measurement with 0-20V range
4. Take measurements: Place probes firmly on positive and negative terminals
5. Interpret results:
– 12.6V or higher: Fully charged condition
– 12.4V-12.6V: 75-100% charge level (normal operating range)
– 12.2V-12.4V: 50-75% charge level (needs charging)
– 12.0V-12.2V: 25-50% charge level (requires attention)
– Below 12.0V: Critical failure—replace battery immediately
Pro tip: Test voltage under light load (like a vehicle dome light)—healthy batteries maintain above 11.8V during use.
Connection Integrity Verification
Poor electrical connections often mimic battery failure symptoms. Check these critical points:
- Terminal tightness: Use appropriate torque (5-7 inch-pounds) to secure connections
- Corrosion inspection: Look for white or blue powdery deposits on metal contacts
- Wire inspection: Check for exposed conductors, cuts, or kinks in wiring
- Contact cleaning: Use a wire brush followed by electrical contact cleaner
Warning: If terminals show significant corrosion, clean thoroughly before retesting—this simple fix resolves many apparent “DeWalt jump starter not charging” issues.
Charger System Diagnostics
When battery tests normal but your DeWalt jump starter not charging persists, focus on the charging system. This targeted approach isolates whether the problem lies with your power source, charger unit, or connection points.
Comprehensive Visual Inspection
Examine these critical areas:
– Cable condition: Check entire length for cuts, abrasions, or kinks that compromise internal conductors
– Connector integrity: Inspect both charger and jump starter interfaces for bent pins or corrosion
– Housing condition: Look for cracks, discoloration, or melting indicating internal failure
– LED behavior: Note exact flashing patterns during connection attempts
Immediate replacement required if you see:
– Burn marks on charger or cable
– Strong electrical burning odor
– Excessive heat during normal operation
– Visible sparking during connection
Power Source Verification
Before condemning your charger, eliminate external power issues:
- Test multiple outlets: Try different wall sockets, avoiding power strips initially
- Check circuit breakers: Verify no tripped switches in your electrical panel
- Alternative charger test: Use a known-good compatible charger to isolate the problem
- Voltage confirmation: Measure output with multimeter (should match specifications)
Quick check: Plug in another device—if it works, your power source is fine and the issue lies with your DeWalt system.
Connection Cleaning Process for Reliable Charging
Corroded connections cause nearly one-third of all DeWalt jump starter not charging problems. This 10-minute cleaning procedure often restores full charging capability without part replacement.
Professional-Grade Cleaning Steps
What you’ll need:
– Brass wire brush or fine-grit sandpaper
– Electrical contact cleaner spray
– Isopropyl alcohol (90%+ concentration)
– Compressed air or clean, dry cloth
– Dielectric grease (for protection)
Cleaning procedure:
1. Disconnect all power sources before starting
2. Remove surface corrosion using wire brush until metal shines
3. Spray contact cleaner on all connection points
4. Rinse with isopropyl alcohol to remove cleaning residue
5. Dry thoroughly using compressed air or 24-hour air drying
6. Apply thin dielectric grease layer to prevent future corrosion
Hidden spots requiring attention:
– Inside charger connector barrel
– Battery port contact rings
– Cable clamp connection points
– Any exposed metal contacts
Battery Replacement Guide for DeWalt Jump Starters
When testing confirms battery failure, replacement saves up to 60% compared to buying a new unit. Most DeWalt models use standard 12V lithium packs with straightforward replacement procedures.
Pre-Replacement Verification
Before ordering parts:
– Check warranty status: DeWalt typically covers units for 3 years (batteries often 1 year)
– Confirm model compatibility: Match DXAED or DXAEJ series numbers exactly
– Verify physical dimensions: Measure existing battery to ensure proper fit
– Check voltage requirements: Confirm 12V standard for your specific model
Warning: Unauthorized disassembly voids warranty protections—check coverage before proceeding.
Safe Replacement Procedure
Tools required:
– Phillips head screwdriver (appropriate size)
– Small flathead screwdriver
– Needle-nose pliers
– Safety glasses
– Insulated gloves (600V rating)
Step-by-step replacement:
1. Discharge completely to minimize spark risk
2. Remove bottom panel screws (typically 4-6)
3. Disconnect old battery noting wire positions
4. Install new battery matching original orientation
5. Test functionality before final reassembly
Stop immediately if you notice:
– Swollen or deformed battery pack
– Chemical odors during disassembly
– Any sparking during connection
– Unusual heat generation
Prevent Future Charging Failures
Implement these professional maintenance strategies to extend your DeWalt jump starter’s life significantly and avoid recurring “not charging” issues.
Optimal Storage Practices
For maximum battery longevity:
– Charge level: Maintain 40-60% for storage (not fully charged)
– Temperature range: Store between 50-80°F (avoid extreme cold/heat)
– Humidity control: Keep in dry environment to prevent terminal corrosion
– Position: Store upright to minimize cable stress
Monthly maintenance routine:
– Charge to 100%, then discharge to 75% to maintain battery health
– Clean terminals with dry cloth
– Inspect cables for damage
– Verify proper operation
Replacement Planning
Budget for battery replacement every:
– 2-3 years under normal usage
– Annually for heavy users
– Every 18 months in extreme climates
Monitor these degradation signs:
– Reduced jump-starting capability
– Longer charging times
– Inconsistent power delivery
– Voltage readings below specifications
When Professional Service Is Required
Some DeWalt jump starter not charging issues require manufacturer expertise. Recognize these advanced symptoms that warrant professional intervention.
Advanced Failure Indicators
Contact DeWalt support immediately if you observe:
– Battery management system errors (erratic LED patterns)
– Internal circuit board damage visible through vents
– Charger replacement doesn’t solve charging issues
– Unit becomes extremely hot during normal charging
– Swelling battery pack or chemical odors
Warranty service preparation:
– Document purchase date and location
– Locate serial number (typically on bottom label)
– Record all troubleshooting steps performed
– Photograph any visible damage
Final Charging Solution Strategy
Most DeWalt jump starter not charging problems resolve through systematic troubleshooting starting with simple fixes. Begin with battery voltage testing and connection cleaning—these two procedures solve over 60% of reported charging failures. When these fail, battery replacement offers the most cost-effective solution for restoring full functionality.
Implement the monthly maintenance routine to prevent future charging issues and extend your unit’s service life. Remember that lithium-ion batteries naturally degrade over time, so budget for replacement every 2-3 years to avoid emergency situations when you need jump-starting power most. By following these proven methods, you’ll maintain reliable emergency power for years of dependable service.


