That irritating whine from your jump starter on the garage shelf isn’t just annoying—it’s a critical warning signal. When your portable power pack emits high-pitched squeals, persistent beeping, or engine-synchronized whines, it’s communicating specific failures that could leave you stranded during your next emergency. This guide reveals exactly what each sound means and provides proven fixes verified by thousands of DIY repairs.
Most jump starter noises stem from preventable battery maintenance issues. A sudden high-pitched whine typically indicates a critically low internal battery, while continuous beeping after jump-starting often points to vehicle system conflicts. Understanding these sound signatures lets you diagnose problems in under 5 minutes and restore reliable operation before your next roadside emergency.
How to Stop a High-Pitched Whine During Storage

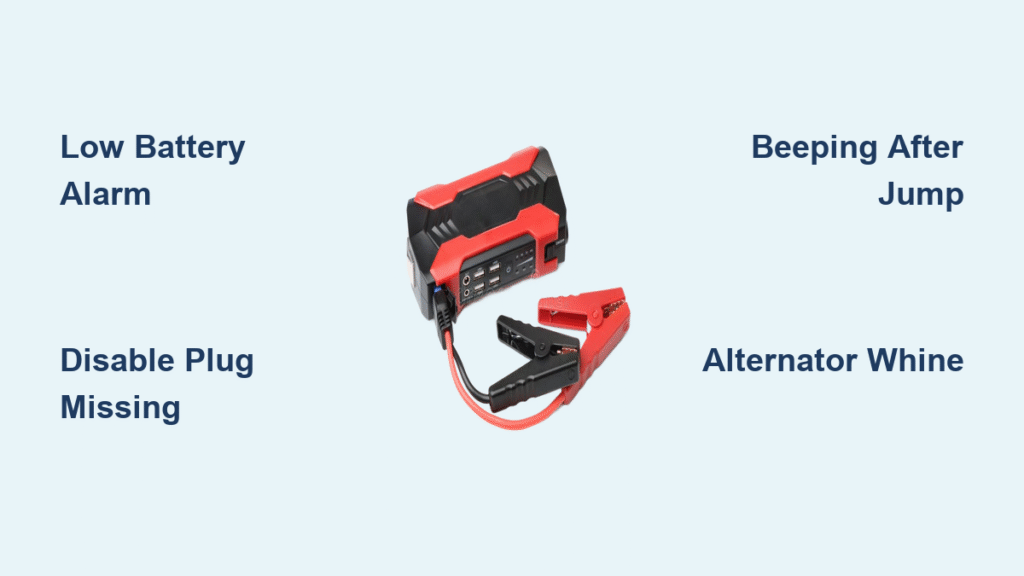
That steady electronic squeal from your stored jump starter almost always signals a depleted internal battery triggering the low-voltage alarm circuit. This occurs when the pack drops below critical thresholds—11.8 volts for lead-acid units or 3.0 volts per lithium cell. Units like the Peak PKCOBJ commonly develop this issue after 12+ months in storage, especially when battery-status LEDs show no bars.
Locate the Critical Alarm Disable Plug
Your first troubleshooting target is a small plastic cap or jumper labeled “Alarm Disable,” “Storage Mode,” or “Transport” near the charging barrel jack. This component silences the alarm during storage but often gets dislodged during handling.
Visual Inspection Checklist:
– Check for partial dislodgement or complete absence of the plug
– Verify LED indicators show no lights (signaling <5% charge)
– Inspect for corrosion around the charging port that could interrupt connections
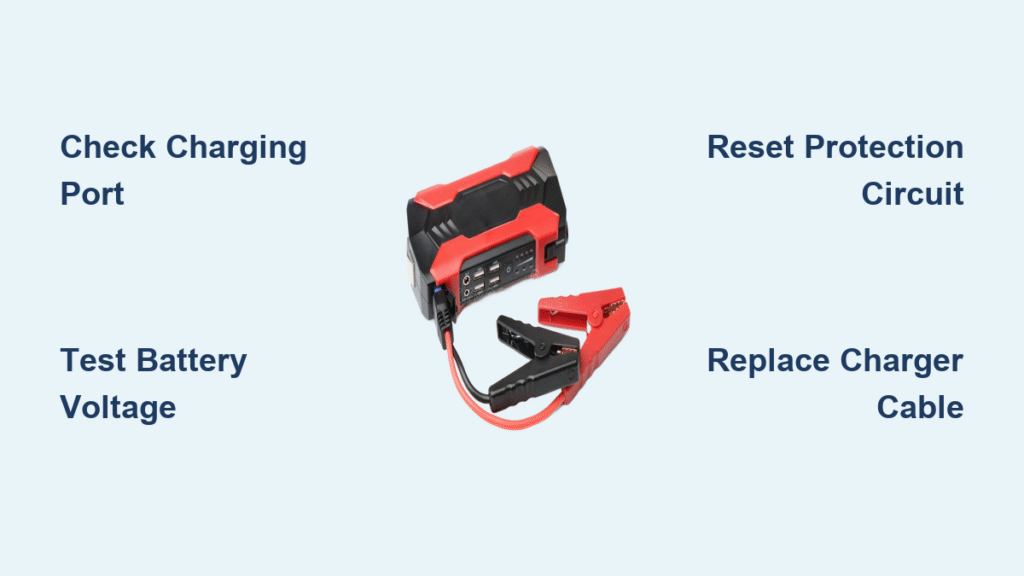
Execute the Charge Recovery Protocol
- Remove all accessories including USB cables and clamp connections
- Firmly re-insert the alarm-disable plug until you feel/hear a click
- Connect wall charger for the manufacturer’s recommended duration:
– 4-6 hours for sealed lead-acid units (like Peak PKCOBJ)
– 2-3 hours for lithium-ion models - Monitor during initial charging in a ventilated area—swelling or overheating requires immediate disconnection
If the noise persists after full charging, your internal battery likely needs replacement, especially if the unit exceeds three years old. This alarm circuit won’t deactivate until the battery reaches safe operating voltage.
Fix Continuous Beeping After Jump-Starting Your Vehicle
When your car starts successfully but beeping continues, immediate source identification is critical. This identical sound to door-open warnings often originates from either the vehicle’s body control module or the jump starter itself—confusing many owners into unnecessary repairs.
Isolate the Noise Source Correctly
Critical First Actions:
– Remove the jump starter from the vehicle cabin entirely
– Close all doors and cycle keyless entry lock/unlock functions
– Listen for synchronization with door lock chirps (vehicle origin)
Pro Tip: Cover the jump starter with a towel—if beeping continues, the vehicle is the culprit. Toyota Tacoma owners frequently report this issue when leaving jump packs inside the cabin post-jump.
Reset Vehicle Body Control Module (BCM)
Most modern vehicles store “low voltage detected” codes triggering persistent chimes. Follow this verified reset sequence:
- Disconnect negative battery cable for exactly 30 minutes
- Reconnect cable and fully close driver’s door within 10 seconds
- Test system by locking/unlocking with key fob
If beeping continues, scan for B-codes using an OBD-II scanner. Aftermarket trackers or dealer-installed alarms often activate during voltage drops—common culprits in Toyota and Honda models.
Diagnose Engine RPM-Synchronized Whining After Jump-Start

That rhythmic “rrrrr” sound rising and falling with engine speed usually indicates alternator stress—not jump starter failure. This develops when jump-starting deeply discharged batteries (like after overnight ignition drain), forcing the alternator into maximum field excitation that exposes marginal bearings or diode issues.
Perform the Belt-Off Test (30 Seconds)
- Photograph serpentine belt routing before removal
- Remove belt using a serpentine tool (14mm socket typically required)
- Start engine for 15-30 seconds (accessories won’t function)
- Noise disappearance confirms alternator or accessory drive failure
Warning: Never run engine without belt for more than 30 seconds—overheating risks immediate damage.
Verify Electrical System Health
With engine running, disconnect the alternator’s field plug—if noise stops, replace the alternator. Simultaneously check voltage at battery terminals:
| Voltage Reading | Diagnosis | Action |
|---|---|---|
| 13.8-14.4V | Normal operation | Monitor for changes |
| >15.0V | Voltage regulator failure | Replace alternator immediately |
| >500mV AC ripple | Diode trio failure | Replace alternator |
Honda Odyssey and Toyota Tacoma owners commonly resolve this by installing Denso remanufactured alternators (RockAuto p/n 210-0687).
Replace Internal Batteries Without Costly Replacement
When jump starter alarms persist after charging attempts, internal battery replacement saves 70% over buying new. Most units use standardized packs requiring basic tools and 20 minutes of work.
SLA Battery Replacement (Peak PKCOBJ Example)
Critical Specifications:
– Battery type: 12V 17Ah sealed lead-acid (U1-7 equivalent)
– Cost: $35-45 for quality replacement
– Tools: Phillips screwdriver, needle-nose pliers
Step-by-Step Replacement:
1. Remove 4-6 bottom housing screws (often hidden under rubber feet)
2. Disconnect red (+) terminal first using insulated pliers
3. Note wire routing paths before black (-) terminal removal
4. Install new battery maintaining identical polarity
5. Test all functions before final reassembly
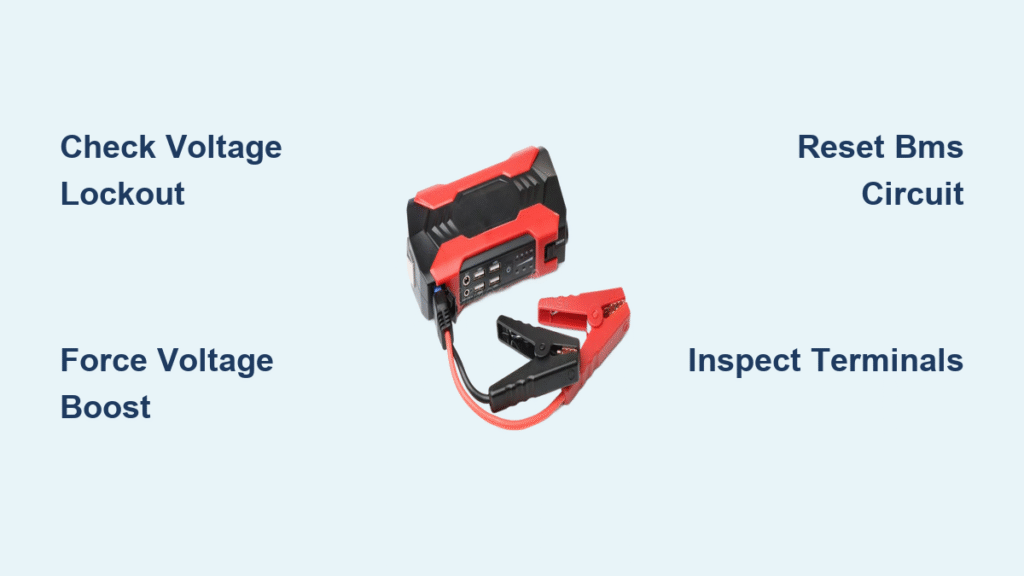
Expert Note: Lithium-ion jump starters (like NOCO models) rarely support user battery replacement due to integrated BMS systems—check warranty terms first.
Prevent 90% of Noise Issues With Smart Storage
Proper storage eliminates most jump starter alarms before they start. Follow these manufacturer-backed protocols to avoid recurring noise emergencies.
Quarterly Maintenance Schedule
- Charge every 90 days regardless of use (lithium loses ~2%, SLA ~5% monthly)
- Store between 32-80°F (0-27°C)—avoid vehicle trunks in extreme climates
- Always activate storage mode by inserting transport plug before storage
Time-Saving Shortcut: Set phone calendar reminders labeled “Jump Starter Charge Day” for January 1, April 1, etc. This takes 2 minutes but prevents 90% of storage-related alarms.
Critical Warning Thresholds
- Recharge immediately when capacity drops below 70% (3-4 LED bars)
- Replace batteries exceeding 3 years old—even if charging normally
- Never store units with accessories plugged in (causes parasitic drain)
Units stored below freezing develop permanent capacity loss—always bring them indoors during winter months.
Quick Reference Noise Troubleshooting Chart
| Sound Type | Most Likely Cause | Immediate Fix | Long-Term Solution |
|---|---|---|---|
| High electronic squeal | Low-battery alarm | Re-seat disable plug | Charge or replace internal battery |
| Continuous dashboard beep | BCM low-voltage code | Disconnect car battery 30 min | Scan for B-codes, check aftermarket trackers |
| RPM-synchronized whine | Overstressed alternator | Belt-off test | Replace with Denso remanufactured alternator |
| Soft whirring (rare) | Internal cooling fan | Clean air vents | Replace fan if bearing fails |
Final Note: Most jump starter making noise issues resolve through proper battery maintenance and alarm disable plug management. Monthly visual checks (5 minutes) and quarterly charging prevent 90% of problems. When noises persist after basic troubleshooting, internal battery replacement typically costs less than $50 versus $100+ for new units. Always store your jump starter with the transport plug inserted and at 50-70% charge—this simple habit eliminates storage alarms while maximizing battery lifespan. For persistent vehicle-side beeping, remember: the jump starter is rarely the culprit after disconnection—focus your diagnosis on the vehicle’s body control module and aftermarket accessories.
