
Your Anker jump starter blinks red and green lights when you need it most—stranded with a dead car battery. This frustrating scenario affects thousands of users who discover their emergency device has failed after sitting unused for just 2-4 years. The blinking lights aren’t random; they’re communicating specific problems with your Anker jump starter. Most issues can be diagnosed within minutes, and some blinking patterns have simple fixes that get you back on the road.
This guide reveals exactly what your Anker’s blinking lights mean, provides proven diagnostic steps that work when others fail, and shows you when replacement is the only option. You’ll learn why these devices commonly fail during first emergency use and how to prevent future disappointments.
Why Your Anker Jump Starter Blinks Red and Green During Jump Attempts
The red and green LEDs flashing simultaneously on your Anker Compact Car Jump Starter (model A1501) signals a critical power delivery problem. This blinking pattern appears immediately when you plug in the jump leads—even before connecting to your car battery. Unlike normal operation where lights turn solid green when ready, this blinking indicates your unit detects it cannot safely provide adequate power.
What you’re actually seeing: The jump starter recognizes a voltage mismatch between its internal battery and your car’s dead battery. Some users report successfully jump-starting their vehicles despite the blinking lights (like Patrick2), while others experience complete failure (as documented by mark.little and mitchr1). The blinking serves as both a warning and diagnostic indicator—your Anker is trying to tell you why it won’t deliver power.
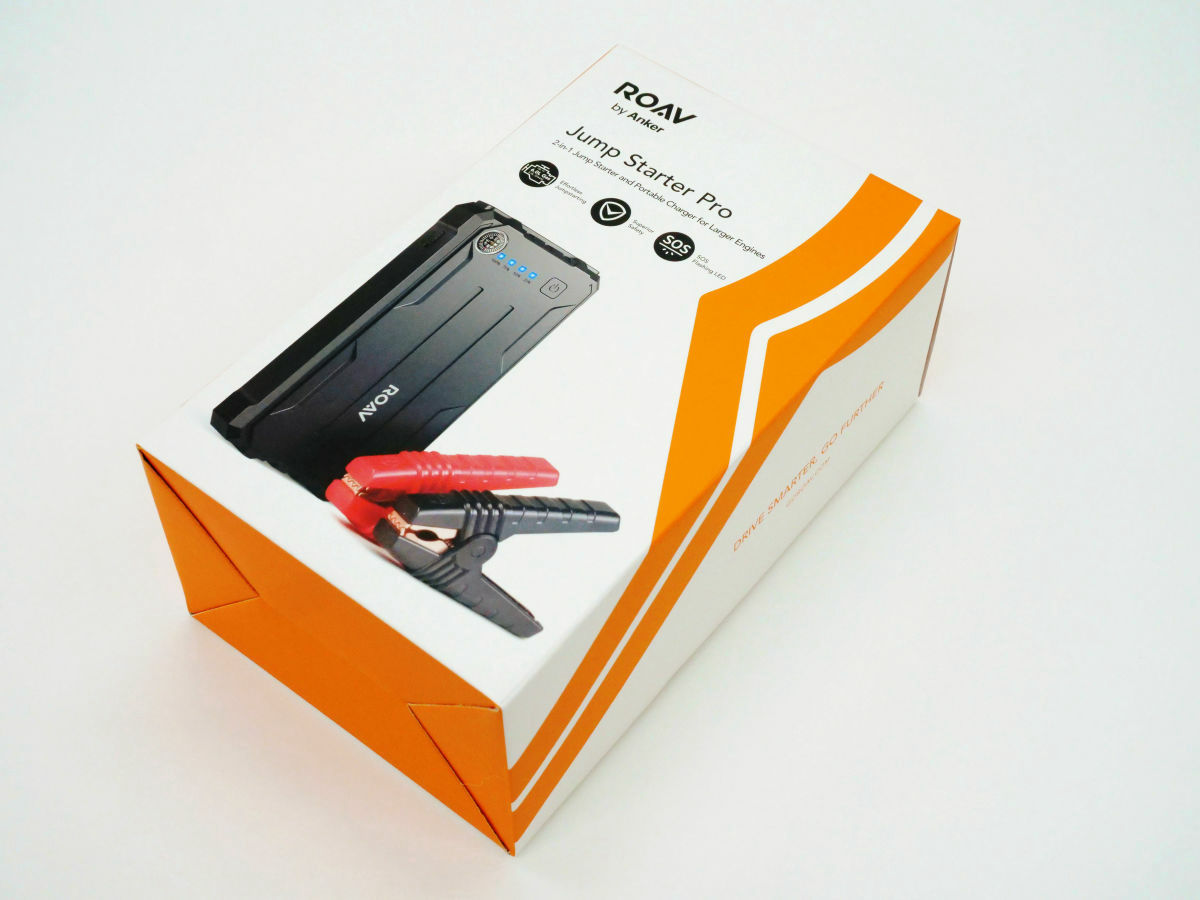
Roav Pro 1000A All LEDs Blinking: The Hidden Factory Defect Pattern

When all four LEDs on your Roav Jump Starter Pro 1000A blink within five seconds of plugging in the USB cable, you’ve encountered a factory defect not mentioned in any official documentation. This specific blinking pattern persists regardless of which USB cable or power source you try, even when meeting the minimum 5V/3A power delivery requirement.
Critical distinction: Unlike other blinking issues, this pattern indicates hardware failure requiring immediate replacement. No amount of charging or troubleshooting will resolve this problem. If your Roav Pro displays this blinking sequence across multiple power sources, contact Anker support immediately—your unit is defective from manufacturing.
Engine Size Limits That Trigger Anker Jump Starter Blinking
Your Anker jump starter may blink red and green because you’re exceeding its strict engine compatibility limits. The Compact Car Jump Starter and A1501 models support maximum 3.0L gasoline engines and 2.5L diesel engines—exceeding these specs triggers the blinking lights as a safety mechanism.
Real-world consequence: If you own a vehicle with a larger engine (like many modern SUVs or trucks), your Anker will blink when attempting jump-starts, even with a fully charged unit. Before assuming device failure, verify your engine size against Anker’s compatibility matrix. The blinking serves as protection against dangerous overloads that could damage your jump starter or vehicle electrical system.
How Battery Degradation Causes False Full Charge Indicators
The brutal reality of lithium-ion technology means your Anker jump starter’s battery degrades significantly during 2-4 years of storage, even without use. Users report 100% failure rates for units left unused this long, despite showing “full charge” indicators. This degradation causes false positive readings where your unit displays 4-5 LED bars but contains insufficient power for actual jump-starting.
User evidence: mitchr1 documented three separate A1501 units failing after four years of storage, each charged every 3-6 months with only 4-5 total uses. The charge indicators became wildly inaccurate—showing full capacity while the chemical composition had deteriorated beyond functional levels. This explains why so many users discover their emergency device dead when first needed.
3 Proven Diagnostic Steps for Blinking Anker Jump Starters
When red-green blinking appears, follow these specific diagnostic steps before declaring your unit dead:
Verify Actual Charge Level
Charge your jump starter overnight using the original cable, ignoring what the indicator lights show. Many users discover their “full” unit was actually at critically low capacity. Battery degradation makes charge indicators unreliable after extended storage.
Perform the Voltage-Lowering Test
- Turn on your car’s headlights for 30 seconds
- This slightly drops the battery voltage
- Attempt the jump start again
- Check if LEDs turn solid green instead of blinking
This simple trick bypasses voltage mismatch issues that commonly trigger blinking lights.
Try the Alternative Connection Sequence
When standard connections fail:
– Connect red clamp to positive terminal (standard)
– Connect black clamp to negative cable instead of battery terminal
– Turn on headlights
– Press reset button for 5+ seconds
– Attempt jump start
This method has revived “failed” units for multiple users by addressing grounding issues that trigger blinking patterns.
When Your Anker Jump Starter Needs Replacement (Not Repair)
Use this definitive replacement checklist to determine if your blinking Anker is beyond repair:
- Age factor: If your unit is 2+ years old and this is your first emergency use
- Multiple failures: When all diagnostic steps fail consecutively
- Warranty status: Most failures occur after warranty expiration
- Roav Pro specific: All LEDs blinking means immediate replacement needed
Critical insight: Anker’s warranty typically expires before these common failure points occur. As inactiveRC noted: “Sucks the only time I needed to use this was… after the warranties ran out.” If your unit fails the diagnostic flowchart after proper charging, replacement is your only practical option.
Monthly Testing Protocol to Prevent Emergency Failures
The “charge every 6 months” advice in manuals isn’t sufficient to maintain reliability. Implement this more rigorous monthly testing protocol:
- Monthly functional test: Connect to a known good battery
- LED verification: Confirm lights turn solid green (not blinking)
- Power validation: Test jump-start capability on your vehicle
- USB functionality check: Verify phone charging capability
Storage reality: Lithium-ion batteries need monthly attention to maintain reliability for emergency use. The brutal truth is these devices aren’t designed for true long-term storage—monthly testing prevents the disappointment of discovering failure during an actual emergency.
Repurposing Your Blinking Anker Jump Starter as a Power Bank
Before discarding your blinking Anker, test these remaining functions:
- Power bank capability: Many “failed” units still charge phones and tablets
- Flashlight function: LED flashlight often works even after jump failure
- Home battery pack: As mitchr1 discovered, failed units make “giant battery packs at home”
Practical value: Test your blinking Anker by attempting to charge a phone for 10 minutes. If it delivers power, repurpose it as an emergency phone charger. This secondary functionality often remains operational long after jump-start capability fails.
Choose Your Next Jump Starter Strategically
Users consistently report switching to alternative brands after multiple Anker failures. mitchr1 invested $200 in three non-functional Anker units before finding success with an unnamed competitor that worked immediately on their 2015 Toyota RAV4 (2.5L engine).
Strategic insight: Don’t invest heavily in lithium-ion jump starters for vehicles you rarely use. Consider traditional lead-acid jump boxes for better storage tolerance, despite their weight. For daily drivers, budget for jump starter replacement every 18-24 months regardless of brand—the battery chemistry limitations affect all lithium jump starters similarly.
Your Anker jump starter’s blinking lights tell a specific story about battery health, compatibility, or failure. By understanding these patterns and implementing monthly testing, you can avoid emergency disappointments. When replacement becomes necessary, choose your next jump starter based on realistic expectations of lithium-ion battery limitations rather than marketing promises. The blinking lights aren’t the end of the road—they’re your first diagnostic tool for getting back on the road.


