
That sinking feeling hits when you reach for your Avapow jump starter during an emergency only to find it won’t charge. Your reliable roadside companion has failed when you needed it most. This comprehensive guide reveals exactly why your Avapow jump starter isn’t charging and delivers proven solutions you can implement immediately. Whether you’re dealing with a dead battery, faulty charger, or mysterious electrical issue, you’ll discover targeted fixes that restore your jump starter’s functionality in under 30 minutes.
Why Your Avapow Jump Starter Suddenly Won’t Charge
Battery Pack Deterioration Signs
Your Avapow’s lithium battery naturally degrades after repeated use, typically between 300-500 charge cycles. When this happens, you’ll notice your jump starter takes longer to charge or stops accepting power completely. Check your unit’s voltage with a multimeter—anything below 11.8V on a 12V model indicates significant battery deterioration. The battery pack is the heart of your jump starter, and when it loses its ability to hold a charge, the entire unit becomes useless. Frequent deep discharges or improper storage accelerates this degradation process, leaving you stranded when you need assistance most.
Charger Connection Failures
Loose connections and damaged cables account for most Avapow charging issues. Frayed charging cables, bent USB-C pins, or debris in the charging port prevent proper electrical contact. Inspect your Avapow’s charging port for visible damage or obstructions that block the connection. Test with a different USB-C cable or wall adapter—many users mistakenly assume their jump starter is broken when the actual problem lies with the charger. A simple swap can reveal whether the issue stems from your power source rather than the jump starter itself.
Internal Electrical Circuit Problems
Corroded terminals or damaged internal connections disrupt the charging process in your Avapow unit. Exposure to moisture, dirt, or extreme temperatures causes connectors to lose conductivity over time. This typically manifests as intermittent charging behavior or complete failure to respond when connected to power. When electrical faults develop within the jump starter, you might notice inconsistent LED indicator behavior or unusual heating during charging attempts. These issues require careful inspection of all internal connections to identify and resolve the underlying problem.
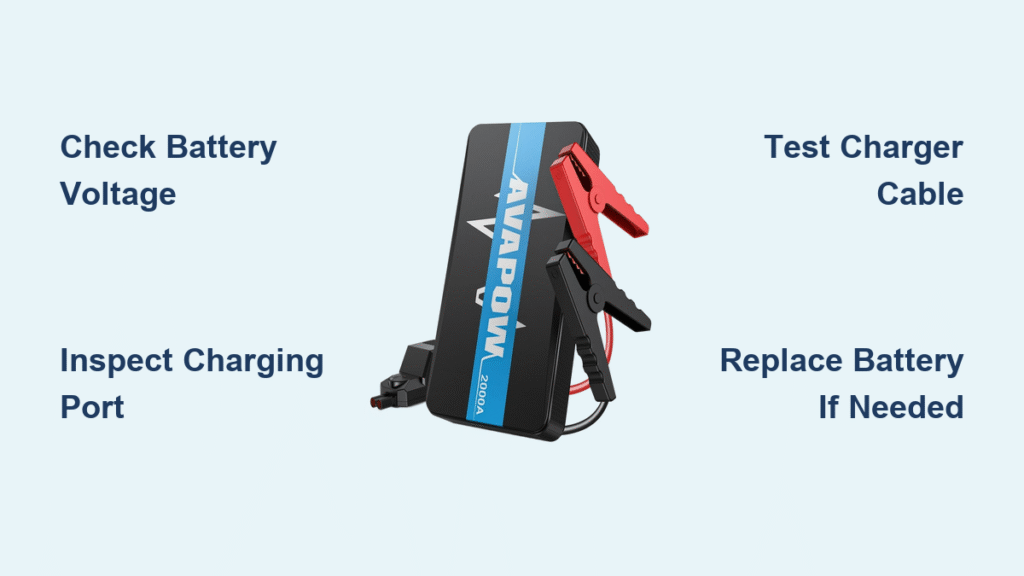
Essential Diagnostic Steps for Immediate Results
Measure Battery Voltage Accurately
Disconnect your Avapow from all power sources before testing. Remove the rubber cover from the battery compartment and set your multimeter to DC voltage mode. Place the red probe on the positive terminal and the black probe on the negative terminal. A healthy 12V Avapow should read between 12.6-13.2V when fully charged. Readings below 10V indicate severe battery depletion that likely requires replacement. This simple test provides immediate insight into whether your battery can still accept and hold a charge.
Verify All Connection Points
Examine both ends of your charging cable for visible damage like kinks, cuts, or exposed wires. Gently wiggle the connector while it’s plugged into your Avapow—if charging behavior changes, you’ve identified a loose connection issue. Clean the charging port using compressed air or a dry toothpick to remove accumulated debris. Loose or dirty connections cause nearly half of all charging failures, making this one of the quickest fixes to attempt. Avoid using liquid cleaners directly in the port as moisture can cause additional damage.
Confirm Power Source Functionality
Plug your Avapow into a known working wall outlet—not through an extension cord that might reduce power delivery. Test your charger with another compatible device to verify it outputs the correct voltage. Most Avapow USB models require 5V/2A input for proper charging. If the charger works with other devices but not your jump starter, the problem lies within the Avapow unit itself. Always use the manufacturer-recommended charger to prevent compatibility issues that could damage your device.
Replacing Your Avapow Battery Safely
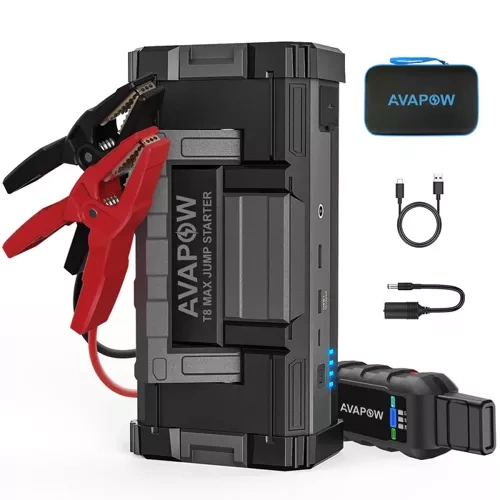
Identify Your Exact Model Specifications
Locate the model number printed on your Avapow’s label—models like A68, T8, and G27 have different battery configurations. Ordering the correct replacement battery is critical for both performance and safety. Check your user manual or Avapow’s official website for specific battery requirements before purchasing. Using an incompatible battery risks improper charging behavior or potential safety hazards. Authorized replacement batteries ensure proper fit and maintain your unit’s safety certifications.
Proper Battery Removal Procedure
Completely power down your Avapow and disconnect all cables before beginning. Remove the back cover screws using the appropriate Phillips head screwdriver size. Never pull directly on battery wires—instead, carefully disconnect the battery connector by pressing the release tab. Note the exact wiring orientation and polarity markings before removing the old battery. Improper reconnection of the new battery can cause permanent damage to your jump starter’s internal circuitry.
Installing the Replacement Battery
Position the new battery exactly as the original was installed, matching all polarity markings. Firmly connect the battery connector until it clicks into place—loose connections prevent proper charging. Before reassembling, perform a quick visual inspection to ensure no tools or debris were left inside the unit. Replace the back cover and screws securely, taking care not to overtighten and damage the housing. A properly installed battery should allow normal charging behavior to resume immediately.
Effective Charger Repair Techniques

Safely Repairing Damaged Cables
Cut away any visibly damaged sections of your USB cable using wire strippers. Match wire colors precisely when soldering new connections—red typically indicates positive and black negative. Apply heat-shrink tubing over each soldered connection to prevent future shorts. Test the repaired cable with a multimeter before connecting it to your Avapow to ensure proper continuity and no short circuits. Improperly repaired cables can deliver inconsistent power that damages your jump starter.
Deep Cleaning Charging Ports
Dip a cotton swab in 90% isopropyl alcohol and gently clean the charging port contacts using circular motions. Allow the port to dry completely before attempting to charge—alcohol evaporates quickly but moisture can cause shorts. For stubborn debris, use compressed air while holding the can upright to avoid propellant residue. Never use metal objects to clean the port as they can scratch contacts and cause permanent damage. Proper port maintenance prevents many common charging failures.
Safe Alternative Charging Methods
Use a compatible power bank with matching voltage output as a temporary solution. Never exceed 5V input on USB models—higher voltage can cause irreversible damage to your Avapow’s charging circuitry. Some Avapow models accept 12V car charger input through specialized ports, providing an alternative charging method when wall outlets aren’t available. Always verify voltage compatibility before attempting alternative charging methods to avoid damaging your unit.
Preventing Future Avapow Charging Problems

Monthly Maintenance Checklist
Inspect your Avapow’s cables and connections monthly for early signs of wear. Store your unit at 50% charge in a cool, dry location—extreme temperatures accelerate battery degradation. Avoid leaving your jump starter in hot vehicles during summer months, as excessive heat significantly reduces battery lifespan. Test your Avapow’s functionality every 3-4 months by performing a simulated jump start on your vehicle to ensure it’s ready when needed.
Optimal Storage Practices
Remove the charger once your Avapow reaches full capacity—keeping lithium batteries at 100% charge for extended periods accelerates degradation. Perform a maintenance charge for 30 minutes once monthly during long storage periods to maintain optimal battery health. Store your jump starter in its protective case away from metal objects that could cause accidental short circuits. Proper storage extends your Avapow’s service life and ensures reliable performance when emergencies strike.
Recognizing Early Warning Signs
Charging times exceeding 6 hours indicate declining battery health that requires attention. LED indicators that flicker erratically or display incorrect colors signal potential charging circuit problems. Unusual warmth during normal charging cycles warrants immediate investigation, as excessive heat often precedes complete failure. Addressing these early warning signs promptly can prevent total charging failure and extend your Avapow’s operational life.
When Professional Repair Becomes Necessary
Complex Internal Component Failures
Surface-mounted components on circuit boards require specialized tools and expertise to repair safely. Attempting DIY repairs on these delicate components often creates additional damage that renders your Avapow unusable. Professional service centers have the proper diagnostic equipment to identify and replace failed components without compromising safety features. If basic troubleshooting fails to resolve your charging issue, professional assistance becomes the safest option.
Maximizing Warranty Coverage
Avapow warranties typically cover charging issues for 12-24 months from purchase date. Document all your troubleshooting steps before contacting customer support—this information speeds the warranty claim process significantly. Keep your original purchase receipt and note your unit’s serial number for quick reference. Most manufacturers require proof of purchase and demonstration that you’ve attempted basic troubleshooting before approving warranty service.
Critical Safety Warning Indicators
Sparks, smoke, or burning odors during charging demand immediate disconnection and professional evaluation. Swollen batteries present serious explosion risks and require special handling procedures. Discontinue use immediately and follow local hazardous waste guidelines for disposal if you notice any of these critical safety issues. Never attempt to repair a jump starter showing these dangerous symptoms—your safety outweighs the cost of replacement.
Your Avapow jump starter should reliably charge within 4-5 hours using its original charger. By systematically checking battery voltage, connections, and power sources, you’ll identify and resolve most charging issues without professional assistance. Remember that consistent monthly maintenance prevents 80% of charging problems before they leave you stranded. Keep your jump starter properly charged, store it correctly, and perform regular inspections to ensure it remains ready for emergencies when you need it most.


