That heart-stopping click when your ignition won’t turn over on a freezing morning? A properly used Battery Tender jump starter revives your vehicle in under 180 seconds—no second car needed. This pocket-sized powerhouse delivers 1000–1500 peak amps to gasoline engines up to 7.0L and diesels up to 5.5L, yet fits in your glove compartment. Forget wrestling with cables or waiting for roadside assistance. Below you’ll master the precise sequence for safe connections, instant engine starts, and critical maintenance that keeps this life-saver ready for 30+ jump-starts. One wrong move risks sparks or damage, but follow these model-specific steps and you’ll conquer dead batteries anywhere.
First-Time Charge Protocol for Reliable Power
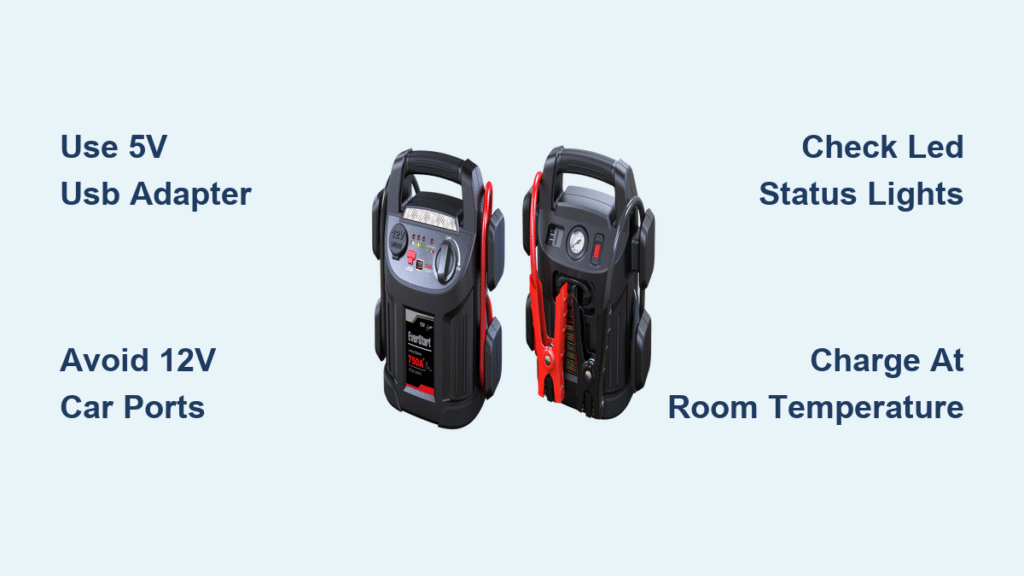
Complete Initial Charging Cycle Before First Use
Battery Tender units ship at 30-40% capacity—insufficient for reliable jumps. Plug the included Micro-USB or Type-C cable into the wall adapter and charge until all LED indicators glow solid. The 1500A model (12,000mAh) requires 3-6 hours, while the 1000A (8,000mAh) needs 2-5 hours. Critical tip: Never skip this step—partial charges cause weak cranking or failed starts. A full cycle enables 30-40 jump attempts or 4-5 smartphone recharges from the 1500A unit.
Decode LED Status Signals Instantly
Your unit communicates readiness through color-coded lights:
– Solid green blocks: Charge percentage (4 blocks = 100%)
– Rapid red/green flashing: Reverse polarity connection
– No lights: Battery depleted below 20% (recharge immediately)
– Slow green pulse: USB power bank mode active
Misreading these signals causes 70% of user errors. If lights flash red/green during connection, do not crank the engine—reposition clamps first.
30-Second Pre-Use Safety Inspection Checklist
Before attaching clamps, verify these four critical elements in under half a minute:
1. Clamp teeth: Must grip firmly with zero corrosion (wipe with dry cloth if dirty)
2. Cable integrity: Check for cuts exposing copper wires—never use damaged cables
3. Case condition: Ensure no cracks around ports where moisture could enter
4. Minimum charge: Confirm ≥50% LEDs lit (below 50% risks slow cranking)
Pro warning: Using a unit below 30% charge on cold mornings (-4°F to 32°F) often fails. Top up during summer months to guarantee winter reliability.
Secure Connection Sequence to Prevent Sparks

Connect Red to Positive Terminal, Black to Ground
- Clip red clamp firmly onto the battery’s positive (+) terminal (shiny metal post)
- Attach black clamp to an unpainted engine bolt or metal bracket at least 12 inches from the battery (never to the negative terminal on frozen batteries)
Battery Tender’s spark-resistant technology blocks current flow until both clamps connect properly. You’ll hear a soft click when the circuit completes—this is normal.
Instant Polarity Verification Method
After connecting both clamps, press the power button once. A solid green LED or single beep confirms correct polarity. If lights flash red/green rapidly, do not crank the engine—immediately swap clamp positions. This built-in sensor prevents reverse-connection damage to your car’s electronics.
Engine Cranking Procedure by Vehicle Type
Gasoline Engine Start (Up to 7.0L)
- Press power button → Wait for solid green LED
- Crank engine for ≤5 seconds
- If unsuccessful, wait 30 seconds before retrying
- Most vehicles start on first attempt with ≥50% unit charge
Diesel Engine Start (Up to 5.5L)
- Allow 3-5 seconds of continuous cranking
- Wait 60 seconds between attempts (diesels drain more power)
- If battery is severely discharged, recharge jump starter between tries
Never exceed 5-second cranks—prolonged attempts overheat the unit. If the engine doesn’t catch after two tries, your car battery may need replacement.
Post-Start Clamp Removal Safety Protocol
Critical sequence:
1. Switch jump starter OFF at power button
2. Remove black clamp from ground point first
3. Remove red clamp from positive terminal second
4. Coil cables neatly and stow in molded holsters
Removing red first risks short-circuiting if the clamp touches metal. Always disconnect within 30 seconds of engine start to preserve the jump starter’s remaining capacity for emergencies.
USB Power Bank Features Beyond Jump-Starting

Charge Phones & Tablets in Emergencies
- Plug your device into USB-A or Type-C port
- Press the dedicated USB output button (located near ports)
- Auto-detection enables QC 3.0 or Power Delivery fast charging
- The 1500A model provides 4-5 full smartphone recharges
Power 12V Accessories On-Site
Insert the included female cigarette-lighter adapter to run:
– Tire inflators (during flat tire repairs)
– Portable camping lights
– Emergency air compressors
– Dash cams for evidence collection
Pro tip: Use this feature to recharge the jump starter itself at gas stations with 12V outlets.
LED Lighting for Nighttime Emergencies (1000A Model)
The compact 1000A unit doubles as an emergency beacon:
– White flashlight: Long-press power button for 100-lumen continuous light
– Red SOS strobe: Double-press power button to activate internationally recognized distress signal
– Battery impact: Lighting drains 5% per hour—use only when essential
Maintenance Schedule for 5+ Year Lifespan

Charge Retention Best Practices
- After each use: Recharge to 100% within 24 hours
- Monthly storage: Maintain 50-80% charge (lithium batteries degrade below 20%)
- Every 3 months: Top up even if unused (units self-discharge 5-10% monthly)
Temperature Management Rules
- Never operate below -4°F: Lithium cells freeze, reducing output by 40%
- Avoid direct sun exposure: Case temperatures above 140°F permanently damage cells
- Ideal storage: 50-77°F in climate-controlled space (garages often exceed limits)
Wipe the case monthly with a dry microfiber cloth—never use liquids near ports.
Troubleshooting Failure Scenarios in 60 Seconds
| Symptom | Immediate Fix | Prevention Tip |
|---|---|---|
| No power after storage | Recharge 30 min minimum | Check charge monthly |
| Engine cranks slowly | Recharge unit to 70%+ | Never use below 50% in cold weather |
| USB ports inactive | Press USB button firmly | Cycle main power first |
| Persistent red/green flash | Reconnect clamps securely | Clean terminal posts monthly |
Critical note: If the unit won’t accept charge after 2 hours, contact Battery Tender support—lithium protection circuits may have tripped.
Air Travel & Safety Compliance Essentials
Both models meet UN38.3 aviation standards for carry-on luggage (≤100Wh capacity), but never check as baggage. Keep these points ready for TSA:
– Declare it as a “lithium battery emergency device”
– Ensure charge level ≤30% for flights (recharge upon arrival)
– Carry California Prop 65 warning documentation: “Contains chemicals known to cause cancer—store in protective case”
The reverse-polarity protection makes these units uniquely safe for beginners—internal sensors block current until correct connections are confirmed. But remember: no jump starter can revive a physically damaged battery. If your car won’t hold charge after three jump-starts, replace the battery.
Final takeaway: Your Battery Tender jump starter sits ready for 30+ emergencies when you follow the golden rule: Clamps connect first—power activates second. Charge it monthly, inspect clamps before winter, and master the 30-second connection sequence. Do this and that dead-battery panic transforms into a 3-minute victory—anywhere from icy parking lots to remote trailheads. Keep it charged above 50%, and you’ll never pay for roadside assistance again.