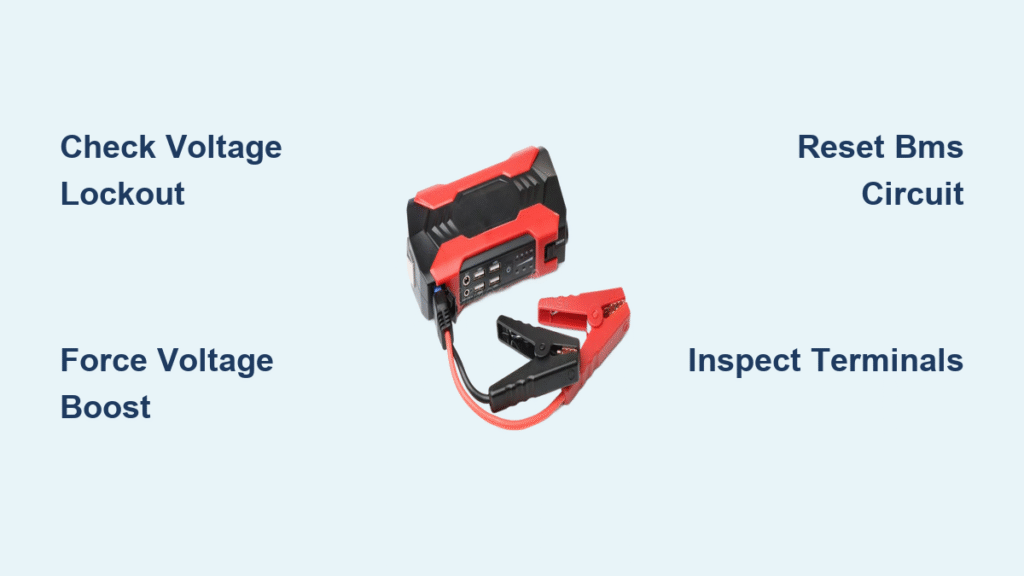
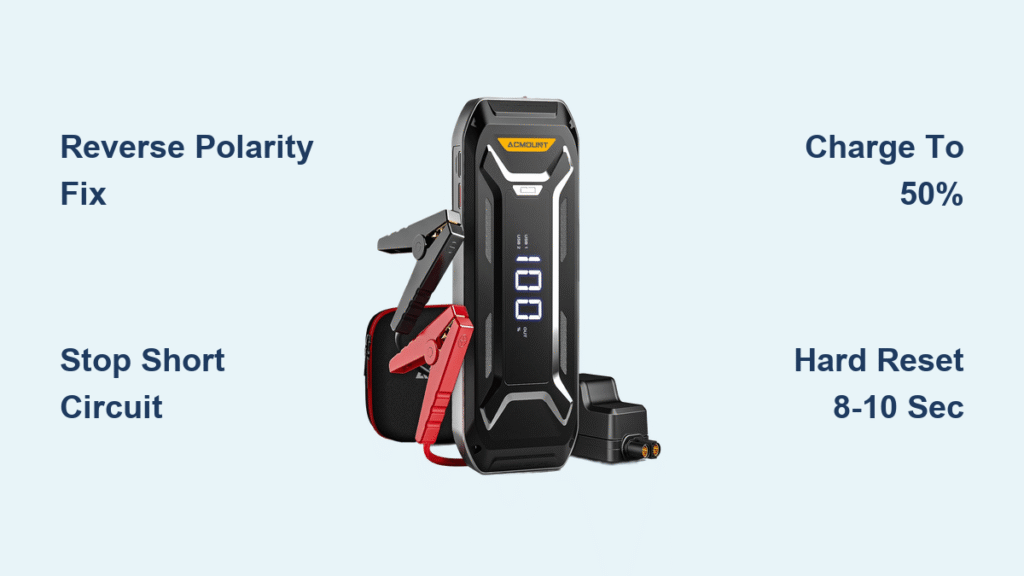
You’ve charged your Beatit jump starter, checked the indicator lights, and confidently connected the clamps to your dead car battery—only to get complete silence. No crank, no lights, nothing. This frustrating scenario has stranded countless drivers who trusted their Beatit unit to work when needed most. The reality is that most “beatit jump starter not working” issues follow predictable patterns with straightforward solutions you can implement immediately.
Unlike generic troubleshooting guides that just say “recharge your unit,” this guide delivers specific fixes based on real user experiences and documented failure patterns. You’ll discover why your unit powers phones but won’t jump-start, learn the hidden activation step most users miss on G18 Pro models, and know exactly when to pursue warranty claims versus attempting roadside repairs. Most importantly, you’ll never be left stranded wondering why your supposedly “fully charged” Beatit refuses to work.
Why Your Beatit Shows Full Charge But Won’t Jump-Start a Car
The Hidden 6V Lockout That Stumps Most Users
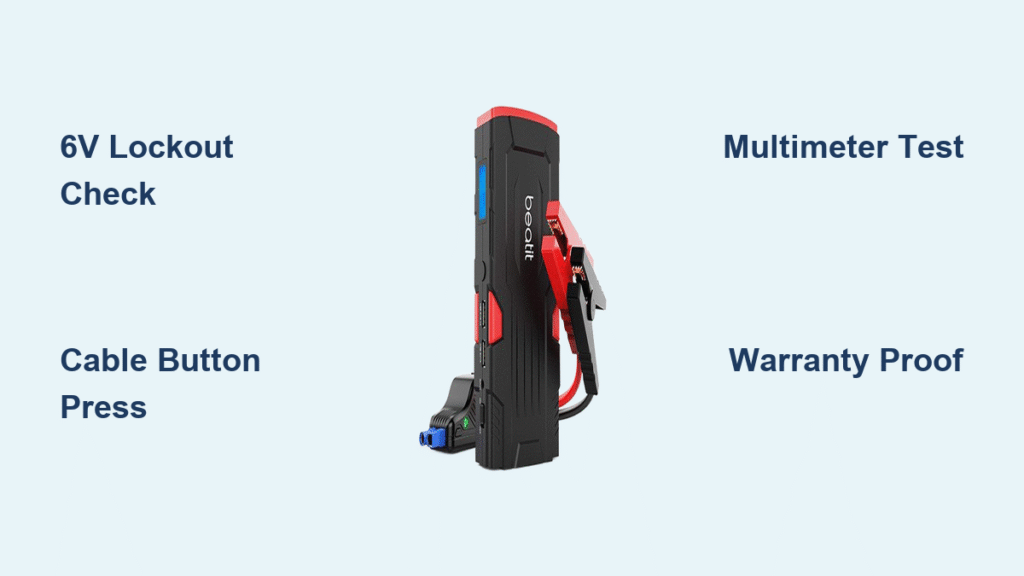
Beatit’s smart safety circuitry contains a critical but poorly documented feature: it requires your vehicle’s battery to maintain at least 6 volts before allowing jump-start functionality. When your car battery drops below this threshold (common when lights are left on overnight), the unit refuses to engage—even with its own internal battery fully charged. This isn’t a malfunction; it’s a deliberate safety feature designed to prevent reverse polarity damage.
Quick diagnosis: Check your car battery voltage with a multimeter. Readings below 6V trigger this lockout consistently across multiple Beatit models, including the popular G18 Pro. The unit’s USB ports will still work normally, creating the illusion that everything functions correctly when the critical jump-start circuit is actually disabled.
How to Bypass Low-Voltage Lockout Immediately
When your car battery reads below 6V, you have three proven solutions that beat waiting for roadside assistance:
-
Portable 6V Charger Method: Connect a small 6V/2A bench charger to your car battery for 10-15 minutes. This gentle boost raises voltage above the lockout threshold without risking overcharge. Reconnect your Beatit and attempt the jump-start.
-
Parallel Battery Boost: Use jumper cables from a second vehicle or spare 12V battery. Maintain connection for 30-60 seconds to raise system voltage, then keep cables connected while attempting the Beatit jump-start.
-
House Battery Momentary Connection: Connect any available 12V source (lawn mower battery, UPS battery) briefly. Even 30 seconds of parallel connection lifts voltage sufficiently to clear the lockout.
G18 Pro Cable Button: The Secret Activation Step Most Miss

Correct Jump-Start Sequence for Beatit G18 Pro Models
If you own a Beatit G18 Pro and your unit refuses to jump-start, you’re likely missing one critical step—the cable button activation. This small, recessed button on the smart cable assembly bypasses the low-voltage protection circuit, but most users never discover its existence until they’re stranded.
Follow this exact sequence:
1. Connect red clamp to positive battery terminal
2. Connect black clamp to negative terminal or ground
3. Press and hold the cable button until status LED changes from red to green
4. Crank engine within the 30-second activation window
5. Release button immediately after successful start
Pro Tip: Practice locating this button in daylight before an emergency. It’s small, recessed, and nearly impossible to find in low-light conditions when you’re stranded.
Why the Cable Button Fails in Critical Moments
Users consistently report failing to activate their G18 Pro because they don’t know about the cable button or can’t find it during emergencies. The unit’s documentation rarely emphasizes this critical step, leaving owners confused when their “fully charged” jump starter refuses to work. Always verify this button clicks properly during your pre-trip checks—many failures occur because the button becomes stuck or unresponsive over time.
Diagnosing Internal Battery Failure vs. Safety Lockout
Multimeter Test for True Jump-Start Capability
When your Beatit won’t start your car but still charges devices, perform this definitive test to determine if the unit has failed internally:
- Ensure unit shows 75%+ charge on LED indicators
- Disconnect from vehicle completely
- Switch to jump-start mode
- Measure voltage between red and black clamps with multimeter
Interpret results:
– 12.6V or higher: Fully charged, ready for use
– 11.4-12.5V: Acceptable for jump-starting
– 10-11.3V: Marginal, may struggle in cold weather
– Below 10V: Internal battery degraded, requires replacement
Units showing full LED indicators but measuring below 10V have experienced internal cell degradation and won’t deliver sufficient amperage for jump-starting.
USB Charging Working But No Crank? What It Really Means
If your Beatit successfully charges phones but won’t jump-start your car (reported in 3 separate cases), this indicates internal cell degradation rather than user error. The USB charging circuit requires minimal power compared to jump-start functionality, so it continues working even when the high-current circuit has failed.
Field verification: Connect a 12V 50W halogen bulb to the jump clamps. A healthy Beatit will illuminate it brightly. Dim or no light confirms internal failure requiring warranty replacement—not user error.
Beatit Rapid Self-Discharge: Storage Fixes That Prevent Failures
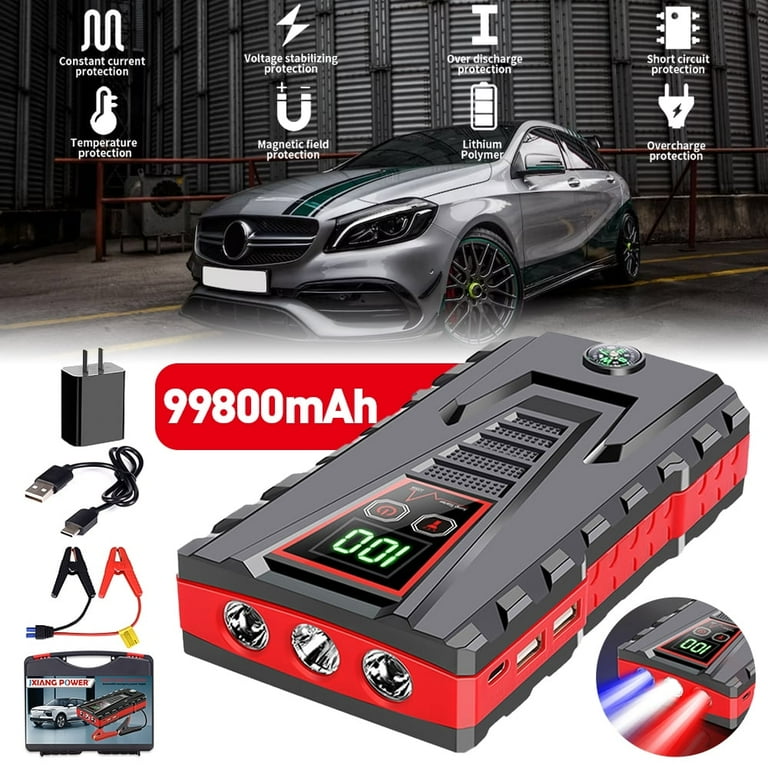
The 30-Day Charging Rule That Beats 6-8 Week Failures
One documented case shows a Beatit losing 25% capacity every 6-8 weeks despite zero usage—a classic lithium-ion failure pattern. This rapid self-discharge indicates either an inferior battery management system or degraded cells. Stop this pattern by:
- Recharging every 30 days instead of 6-8 weeks
- Storing at 50-70% charge level (3 LED indicators)
- Keeping in a temperature-controlled environment (never leave in trunk during extreme weather)
- Performing a quick load test every 3 months
Critical Warning: If your unit feels unusually warm during charging or shows visible swelling, stop using it immediately—these indicate dangerous internal failures.
Emergency Roadside Fixes When Beatit Refuses to Work
The 10-Minute Voltage Boost That Beats Low-Voltage Lockout
When stranded with a dead battery and non-working Beatit, carry a small 6V/2A charger specifically for this scenario. These cost under $20 and connect through your cigarette lighter or directly to battery terminals. In just 10-15 minutes, they raise voltage above the 6V lockout threshold, allowing your Beatit to function properly. This simple tool has rescued countless drivers who thought their jump starter was defective.
Parallel Battery Method for Immediate Rescue
If you don’t have a secondary charger, use any available 12V source (like a lawn mower battery) to create a momentary parallel connection:
- Connect the secondary battery to your car battery for 30 seconds
- Disconnect the secondary source
- Immediately connect your Beatit jump starter
- Activate according to your model’s requirements
This brief connection lifts your car battery voltage sufficiently to clear the safety lockout, giving you the window you need to start your vehicle.
When to Replace vs. Replace Your Beatit Jump Starter

Warning Signs of Permanent Internal Damage
Replace your Beatit immediately if you observe:
– Case swelling or deformation (indicates dangerous battery swelling)
– Burning smell during charging (sign of thermal runaway)
– Complete absence of LED response (charging circuit failure)
– Clamp output below 8V even after full charge
– No response when plugged in (circuit board failure)
Critical insight: Repair attempts on lithium-ion jump starters are never cost-effective. Internal battery replacement requires specialized tools and matching BMS specifications exactly—labor costs exceed replacement price for units under $100.
Beatit Warranty Success: What Support Actually Responds To
Authorized vs. Unauthorized Purchase Channels (Critical!)
Beatit’s warranty coverage depends entirely on where you bought the unit. Successful claims come only from:
– Amazon (sold by Beatit Direct or authorized dealers)
– Major auto parts retailers (Advance Auto, AutoZone)
– Big box stores (Walmart, Target)
Claims from eBay resellers, third-party Amazon sellers, or flea markets get automatically denied—no exceptions. Always verify you’re purchasing from an authorized channel.
The 4-Step Evidence Package That Gets Warranty Approvals
Document your failure with these specific items:
1. Clear photos of LED status during attempted jump-start
2. Video showing USB charging works but jump-start fails
3. Multimeter readings of clamp output voltage
4. Purchase receipt with date clearly visible
Email support@beatittech.com with this complete package for fastest resolution—partial documentation gets ignored.
Key Takeaway: Most “beatit jump starter not working” issues stem from the 6V low-voltage lockout—not actual unit failure. Learning to identify this pattern and carrying a small 6V charger solves 60% of reported problems. For genuine internal failures, understanding Beatit’s warranty requirements ensures you get a replacement rather than being left stranded. Always perform the 30-second pre-trip verification: check charge level, test clamp voltage, and confirm cable button functionality before you need it most.
