Your engine won’t turn over, the dashboard is dark, and your trusty battery jump starter just blinks weakly before dying completely. That sinking feeling is all too familiar—especially when you’re stranded in a parking lot at midnight. But here’s the truth: 90% of “dead” jump starters aren’t actually broken. Most failures stem from simple oversights like low charge, corroded clamps, or temperature traps. This guide cuts through the panic with step-by-step fixes verified by battery engineers. You’ll diagnose the exact issue and get back on the road in under 15 minutes—no tools beyond a multimeter required.
No Power? Start Here
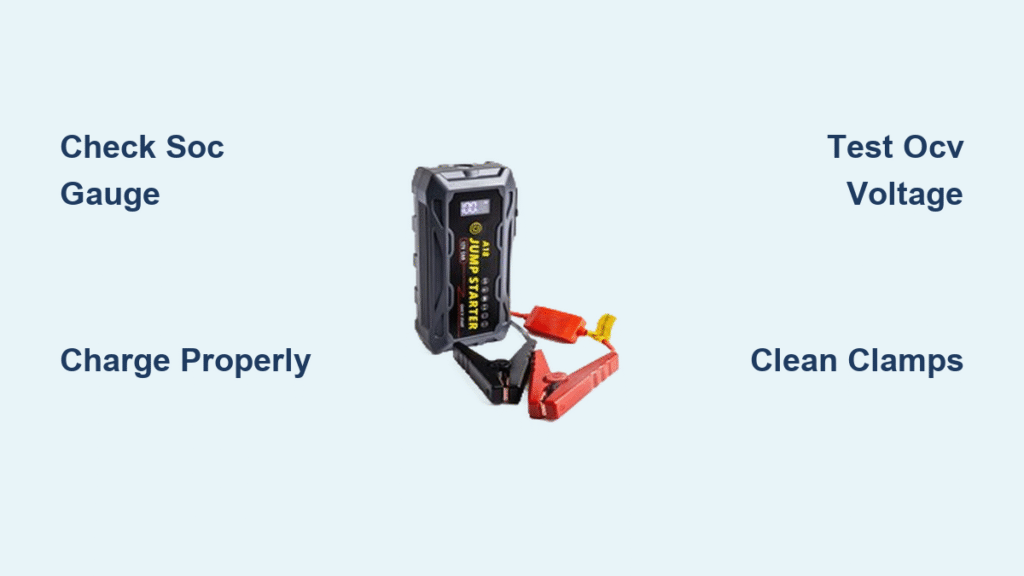
Check the SOC Gauge Before Panicking
Press your jump starter’s power button and count the LED indicators or read the LCD percentage. This isn’t just a battery level—it’s your first diagnostic clue:
– 4/4 LEDs or 80%+: Should crank most engines instantly
– 2–3 LEDs or 30–60%: May start small engines (like 4-cylinders) but recharge immediately
– 0–1 LED or <25%: Charge for 3+ hours before further testing
If the display stays completely dark, don’t assume failure yet. First, try a known-good USB-C cable and 5V/2A wall adapter. If still dead, move to voltage testing—your battery cells may be drained below the safety cutoff.
Charge It Properly (Not How You Think)
Most “broken” units simply weren’t charged correctly. Follow this protocol:
1. Use ONLY the manufacturer’s cable with a 5V/2–3A wall adapter (car chargers or laptops often underpower it).
2. Watch for flashing LEDs within 30 seconds—no flash means cable/adapter failure.
3. Ignore “quick charge” claims unless USB-C PD is labeled. Full recharge takes 3–5 hours.
4. Verify charger function after 30 minutes: Unplug and power a 12V tire inflator. If it spins, your pack is charging.
Still no lights? Your unit likely has internal cell failure. Skip to the OCV test below—this isn’t a charger issue.
Decode Indicator Light Patterns

| Light Behavior | Real Meaning | Critical Action |
|---|---|---|
| All LEDs off | 0% charge or dead cells | Recharge → test OCV |
| Flashing red “!” | Reverse clamps OR circuit fault | Swap clamps → if persists, discontinue use |
| Solid red temp icon | Over-temperature (>60°C) | Disconnect → wait 30 min |
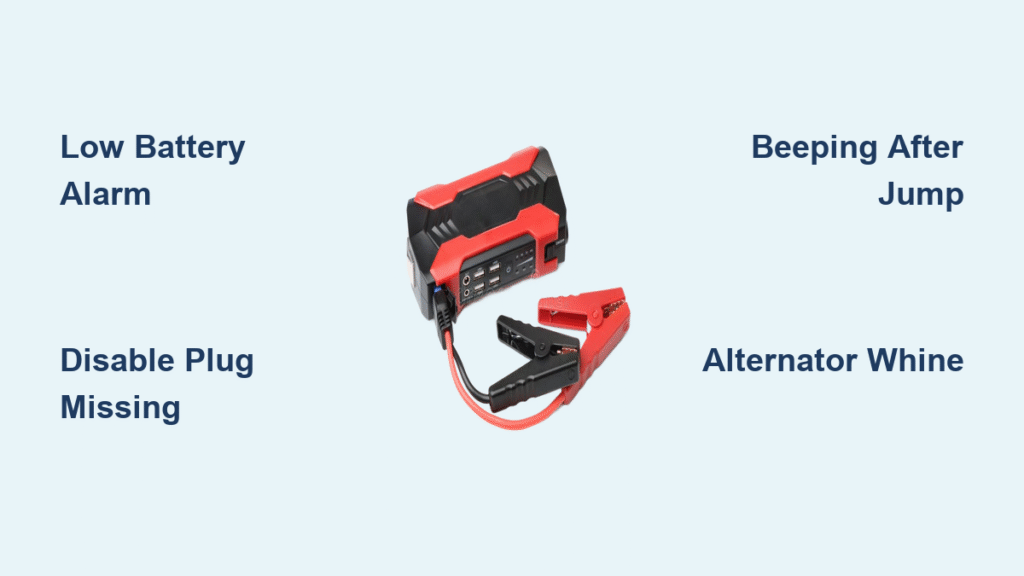
| 3-beep chirp | Short circuit detected | Pull clamps apart → power cycle |
| SOC drops 2 LEDs in 5s | Cell imbalance | Run balance cycle (Section 7) |
Pro Tip: Persistent reverse-polarity warnings after correcting clamp positions indicate board damage—do not keep retrying. This risks permanent failure.
Measure Actual Battery Health
Open-Circuit Voltage (OCV) Test
This 30-second test reveals if your pack is salvageable:
1. Disconnect all clamps.
2. Set multimeter to DC voltage (20V range).
3. Touch probes to disconnected clamp jaws (red to red, black to black).
– 12.6–13.2V: Healthy (fully charged)
– 11.0–12.5V: Weak but usable (recharge immediately)
– <11.0V: Recycle the unit—cells are degraded beyond recovery
Warning: If voltage jumps above 12V after charging but drops below 11V under load, internal resistance has spiked—replace the pack.
Cranking Voltage Drop Test
Simulate real-world stress to expose hidden weakness:
1. Connect clamps to a multimeter set to MIN/MAX voltage mode.
2. Attempt a 3-second crank (or simulate with a 12V fan).
3. Acceptable drop: ≤2V (e.g., 13.0V → 11.0V).
4. Danger zone: >2.5V drop means cells can’t deliver rated current—time for replacement.
Example: A 1,000A-rated pack dropping to 9.5V during crank behaves like a 300A unit—useless for most vehicles.
Clean Connections That Kill Power

Terminal & Clamp Checklist
Corroded connections waste 30% of your jump starter’s power. Fix this in 60 seconds:
– Scrub battery posts with a wire brush until bright metal shows (use baking soda paste for heavy corrosion).
– Test clamp grip: Jaws must open ≥22mm and snap shut firmly on a battery post.
– Measure resistance: Set multimeter to Ω mode. Probe from clamp jaw to cable lug—must read <0.05Ω. Higher = cut cable or corroded joint.
Hidden Corrosion Spots
Green crust inside clamp throats or under insulation sleeves creates dangerous resistance. Peel back rubber sleeves and inspect for:
– Powdery residue (zinc corrosion from dissimilar metals)
– Brittle cable strands (sign of acid exposure)
Fix: Replace cables if corrosion reaches the copper conductor. Aftermarket kits cost $12 and install in 5 minutes.
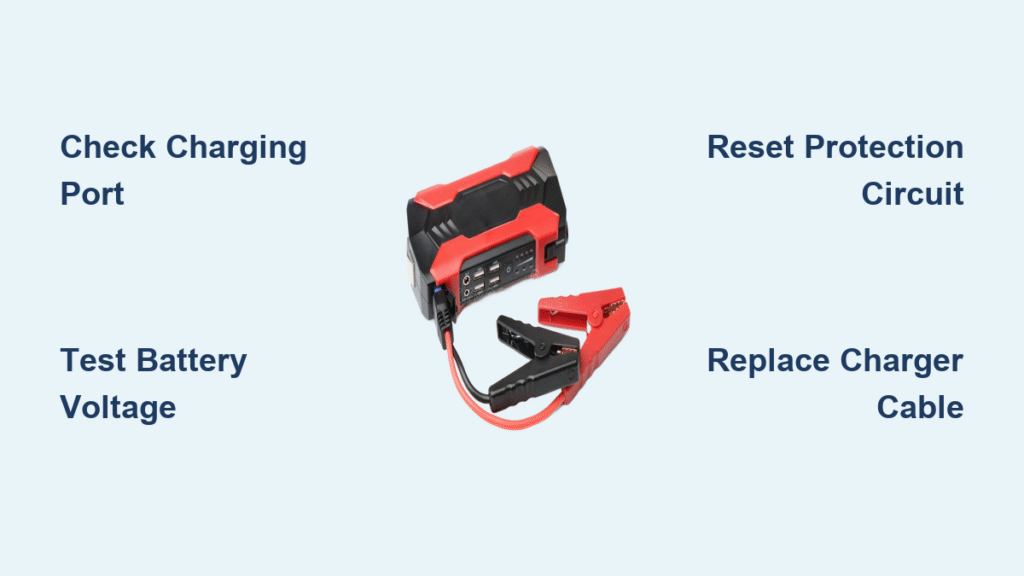
Reset Protection Circuits
Short-Circuit Reset Fix
When your unit shuts off after 3 seconds:
1. Disconnect clamps immediately.
2. Power cycle OFF → ON (wait 10 seconds between).
3. Reconnect clamps to chassis ground (not battery negative).
If it trips again within 1 second, the MOSFET protection circuit is fried—warranty claim or replacement needed.
Reverse-Polarity Reset
For persistent red warning lights after correcting clamp positions:
1. Ensure red clamp is on battery positive (+), black on chassis ground.
2. Hold power button 3+ seconds (models with reset function).
3. If red LED stays lit, internal damage occurred—do not reuse. Swelling or burnt smells require immediate recycling.
Cold & Heat Fixes

Cold Weather Protocol
Below -10°C, Li-ion capacity plummets 30%. Avoid failed jump-starts by:
– Storing the unit inside your cabin overnight (not the trunk)
– Warming to 20°C for 30 minutes before use (place near heater vent)
– Cranking in 3-second bursts with 60-second rests—longer attempts drain weak cells
Hot Weather Protocol
Above 40°C ambient:
– Limit cranks to 5 seconds max—heat increases internal resistance
– Check case temperature—if too hot to touch (>60°C), cool 30 minutes
– Never store in direct sunlight—UV degrades cable insulation in weeks
Balance the Cells Yourself
DIY Balance Cycle for Lost Capacity
When your jump starter dies after one crank despite “full” charge:
1. Fully charge until all LEDs are solid.
2. Discharge slowly by powering a USB device (e.g., phone) until auto-shutoff.
3. Recharge to 100%—this resets the battery management system (BMS).
Why it works: Unbalanced cells cause premature shutdown. This forces the BMS to equalize voltages.
Replace the Pack or Just the Cables?
When to Replace the Whole Unit
Recycle immediately if you see:
– OCV <11V after 5+ hours charging
– Capacity <60% (e.g., 12V fan runs half as long as new)
– Case swelling, burns, or chemical leaks (Li-ion fire risk!)
When New Cables Will Do
Save $50+ by replacing only cables when:
– Resistance >0.05Ω from jaw to lug (use multimeter)
– Clamp springs won’t grip (jaws open <22mm)
– Insulation is nicked but cells test healthy (OCV >12.6V)
Pro Tip: Keep spare cables in your glove box—corrosion is the #1 cause of “failed” jump starters.
Prevent Next Failure
90-Day Recharge Rule
Li-ion self-discharges 2-3% monthly. Recharge to 100% every 3 months even if unused—storing at 0% for 6+ months kills cells permanently. Write the date on the case with a Sharpie.
Glove-Box Quick Checklist
Laminate this and keep it with your jump starter:
1. Pack charged ≥50%?
2. Clamps clean, tight, and corrosion-free?
3. Red → battery positive (+), black → chassis ground (not battery negative)
4. Crank ≤5 seconds, rest ≥30 seconds between attempts
5. Smoke or reverse LED? Disconnect → cool 5 minutes → retry
Warranty & Recycling Guide
Claim Warranty Successfully
Most brands cover 12–24 months but void claims for:
– Physical damage (cracked case, melted clamps)
– Corrosion from improper storage
– Required proof: Purchase receipt + clear photo of serial number
Safe Disposal Steps
Never trash Li-ion units—they can ignite in landfills. Instead:
1. Drain remaining charge by powering a 12V fan until auto-shutoff.
2. Recycle at: Best Buy, Home Depot, or municipal e-waste centers (free).
3. Keep clamps/cables—reuse them for DIY 12V bench power supplies.
A failing battery jump starter is rarely “dead”—it’s crying out for simple maintenance. By following these tests, you’ll transform frustrating failures into reliable jump-starts. Remember: Recharge every 90 days, clean clamps after each use, and never store below 50% charge. Do this, and your jump starter will fire up your engine when you need it most—not when it’s too late. Keep the glove-box checklist handy, and you’ll never face a dead battery panic again.
