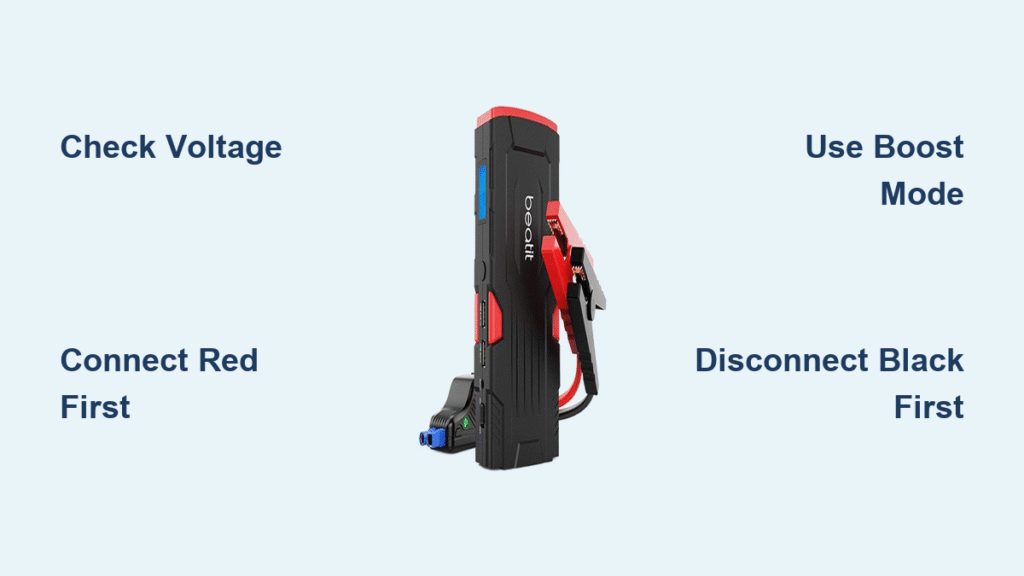
That familiar clicking sound when you turn your key means trouble—your car battery’s dead and you’re stranded. A Beatit jump starter transforms this stressful situation into a simple five-minute fix without waiting for roadside assistance. These compact powerhouses like the QDSP 2200A and G18 Pro deliver enough amps to revive most vehicles, but knowing exactly how to use your Beatit jump starter properly separates those who get moving again from those who risk damaging their electrical systems.
Mastering your Beatit isn’t complicated, but skipping critical steps can lead to dangerous sparks or ineffective jumps. Whether you’ve just purchased your first jump starter or have one gathering dust in your trunk, this guide delivers the precise sequence for safe, reliable starts every time. You’ll discover not just the basic connection process but also model-specific nuances, troubleshooting tricks professionals use, and maintenance habits that extend your device’s lifespan for years of dependable service.
Confirm Your Beatit Matches Your Vehicle Engine
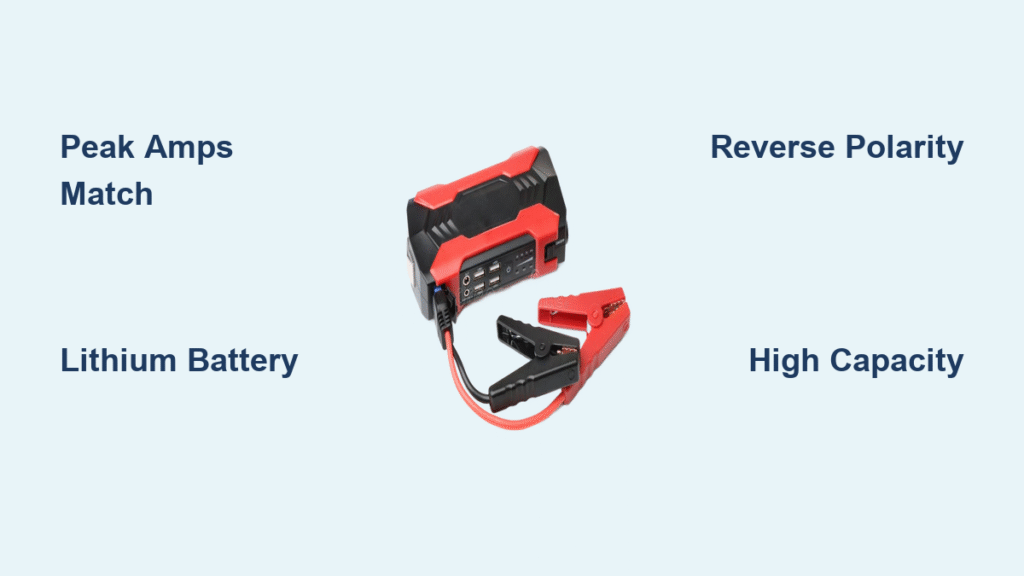
Before panic sets in during an actual emergency, verify your jump starter can handle your specific engine size. The Beatit QDSP 2200A powers gas engines up to 8.5L and diesels up to 6.5L, while the G18 Pro supports 7.2L gas and 5.5L diesel engines. Check your vehicle’s owner manual or search online for your exact model’s engine displacement—attempting to start an oversized engine drains your jump starter without results.
Check Battery Voltage Compatibility First
Your Beatit jump starter works exclusively with standard 12V lead-acid automotive batteries. Locate the voltage specification stamped directly on your car battery—most modern vehicles use 12V systems, but some commercial trucks and specialty vehicles operate on 24V systems. If your battery shows 6V or 24V, your Beatit won’t function properly and attempting to use it could damage both devices. Hybrid and electric vehicles typically require specialized equipment, so confirm your vehicle uses a conventional starter battery before proceeding.
Gather Essential Tools Before Starting
Having everything ready before you open your hood prevents frustration during the jump process. Your Beatit package includes red and black clamp cables, but you’ll need additional items for safe operation. Keep a pair of rubber-insulated gloves and safety glasses in your emergency kit—battery acid can cause serious burns and eye damage. Include a clean microfiber cloth specifically for wiping terminal corrosion, and consider adding a small wire brush for stubborn buildup. Ensure your jump starter shows at least 75% charge on its LED display; a full charge typically takes 4-5 hours using the included wall adapter.
Proper Terminal Connection Sequence for Safety

Connecting your Beatit jump starter in the wrong order creates dangerous sparks that could ignite battery gases. Begin by parking on level ground, engaging your parking brake, and turning off all electrical accessories including headlights, interior lights, and phone chargers. Remove any metal jewelry like rings or watches that could accidentally bridge connections and cause severe burns.
Locate and Prepare Battery Terminals
Identify the positive (+) terminal marked with red plastic or a plus sign, and the negative (-) terminal with black covering or minus sign. Some vehicles hide the negative terminal under a plastic cover—gently pry it off with a screwdriver. Wipe away any white or green corrosion with your cloth; this buildup prevents proper electrical contact. If terminals appear heavily corroded, use your wire brush to expose clean metal before attaching clamps.
Follow the Critical Connection Order
- Attach red clamp first: Securely fasten the red clamp to the positive (+) battery terminal until you hear a solid click
- Connect black clamp second: Attach to the negative (-) terminal or an unpainted metal surface away from the battery like a bolt on the engine block
- Confirm readiness: Your Beatit emits two beeps when connections are secure and displays a solid green light
- Double-check polarity: Red must only touch positive, black only negative—reversed connections can fry your vehicle’s electronics
Pro tip: If your vehicle has side-post terminals instead of top posts, use the included adapter or attach clamps to the metal terminal bolts. Loose connections cause arcing and reduce starting power significantly.
Activate Jump Mode and Start Your Engine Correctly
With clamps properly attached, press and hold your Beatit’s power button for two seconds until the LED display illuminates. Check the charge percentage—models like the QDSP 2200A require at least 50% for standard starts, but diesel engines or temperatures below freezing need 75% or higher for reliable cranking.
Engage Boost Mode for Dead Batteries
When your battery registers below 8 volts (indicated by a red display), activate boost mode by pressing and holding the dedicated button for three seconds. The display will flash “BOOST” to confirm maximum power delivery. This temporary mode provides 50% more cranking amps but automatically deactivates after 30 seconds to protect the unit. For batteries showing 9 volts or higher, skip boost mode to conserve your jump starter’s charge.
Execute the Starting Sequence
Turn your ignition key or press the start button as you normally would, but don’t hold it longer than 5 seconds. Most vehicles start within 3 seconds of cranking. If the engine doesn’t catch, wait 30 seconds before trying again—this cool-down period prevents overheating both your starter motor and jump starter. After three unsuccessful attempts, disconnect and recheck all connections before proceeding.
Critical warning: If clamps become warm during cranking, disconnect immediately. This indicates excessive resistance from poor connections or reversed polarity—reconnect carefully after cleaning terminals.
Safe Disconnection Process After Engine Starts

Many users damage their electrical systems by removing clamps too soon. Keep the engine running for at least two minutes before disconnecting anything—this stabilizes the charging system and prevents voltage spikes. Never turn off the engine once started until you’ve properly disconnected the jump starter.
Remove Clamps in Reverse Order
- Black clamp first: Carefully detach from the negative terminal or ground point
- Red clamp second: Remove from positive terminal
- Power down Beatit: Press and hold the power button for two seconds
- Store cables properly: Wrap clamps around the unit using the built-in cable management system
Important: Attempting to drive away with clamps still attached can cause them to short against metal components, creating fire hazards and expensive electrical damage.
Fix Common Beatit Jump Starter Problems Quickly
When your jump starter fails to start the vehicle despite correct connections, these targeted solutions resolve most issues within minutes.
No Power Indicator on Beatit
Press the power button firmly for two full seconds—some models require sustained pressure. If no lights appear, connect your jump starter to the wall charger for at least one hour. A completely depleted unit needs 4-5 hours for full recharge. Check the charging cable connection at both ends; loose plugs prevent proper charging even when the adapter is plugged in.
Excessive Sparking During Connection
Minor sparks when first connecting are normal, but continuous sparking indicates dangerous issues. Immediately disconnect both clamps and inspect for reversed polarity—red clamp must only touch positive terminals. Clean both battery posts and clamp jaws with your wire brush to ensure metal-to-metal contact. Reconnect firmly until you hear the clamps click into place.
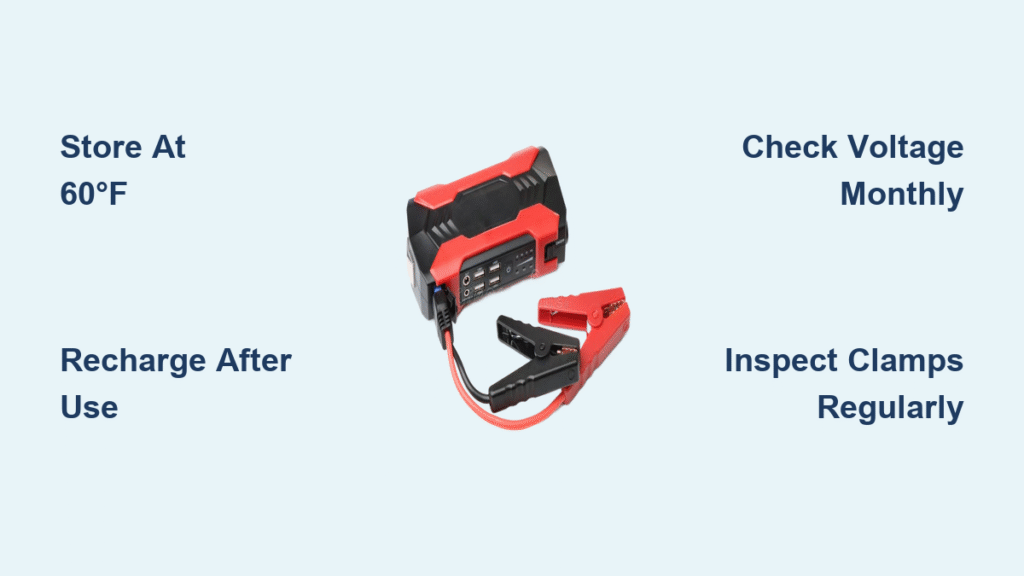
Maximize Your Jump Starter’s Lifespan with Simple Care
A well-maintained Beatit jump starter delivers reliable service for 3-5 years, but neglect turns it into useless dead weight when you need it most. Perform these quick checks monthly to ensure readiness.
Charge Maintenance Schedule
Press the power button to check charge level—recharge when it drops below 75% even if unused. Lithium batteries naturally lose 2-3% charge monthly, accelerating to 5% in hot weather. Store your unit partially charged (50-75%) if not using it for extended periods; fully charged batteries degrade faster during storage.
Optimal Storage Conditions
Keep your jump starter between 14°F and 140°F (-10°C to 60°C)—extreme temperatures permanently damage lithium cells. Avoid leaving it in direct sunlight or freezing conditions for more than 24 hours. The glove compartment works well year-round in most climates, while truck beds or trunks become ovens in summer and freezers in winter.
Recognize When to Replace Your Beatit Unit
Even quality jump starters eventually wear out. Watch for these clear indicators that your device needs replacement.
Performance Warning Signs
- Requires multiple recharge cycles to reach full capacity
- Fails to start vehicles it previously handled with ease
- Clamps no longer maintain secure connection during cranking
- Visible damage to housing or frayed cable insulation
Expert insight: Most Beatit models deliver 500+ jump-starts with proper care. If you use it weekly for commercial purposes, expect 1-2 years of service before performance declines noticeably. When cranking power drops below 70% of original capacity, replace the unit—don’t wait for complete failure during an emergency.
Your Beatit jump starter transforms battery emergencies from stressful ordeals into simple procedures you can handle alone. By following these precise steps for connection, activation, and maintenance, you’ll ensure reliable starts for years while protecting your vehicle’s electrical system. Keep your unit charged, store it properly, and practice the connection sequence once a season—when that dreaded clicking sound happens, you’ll be the calm expert who gets moving again in minutes while others wait for help.