That dreaded clicking sound when you turn the key. Dashboard lights fading. No other cars in sight. A dead battery leaves you stranded faster than a flat tire—but your Black and Decker jump starter changes everything. This compact powerhouse delivers up to 1,500 peak amps to restart most vehicles without a second car, turning roadside panic into a 5-minute fix.
Knowing exactly how to use a Black and Decker jump starter separates a smooth rescue from dangerous mistakes. One reversed clamp can fry your car’s electronics, while improper cranking technique wastes precious power. I’ve seen drivers stranded for hours because they skipped the pre-checks.
This guide cuts through the confusion with battle-tested steps from automotive technicians. You’ll learn not just jump-starting, but also USB charging, air compressor tricks, and cold-weather hacks that keep you moving. Stop guessing—start your engine confidently.
Pre-Jump Starter Setup Checklist

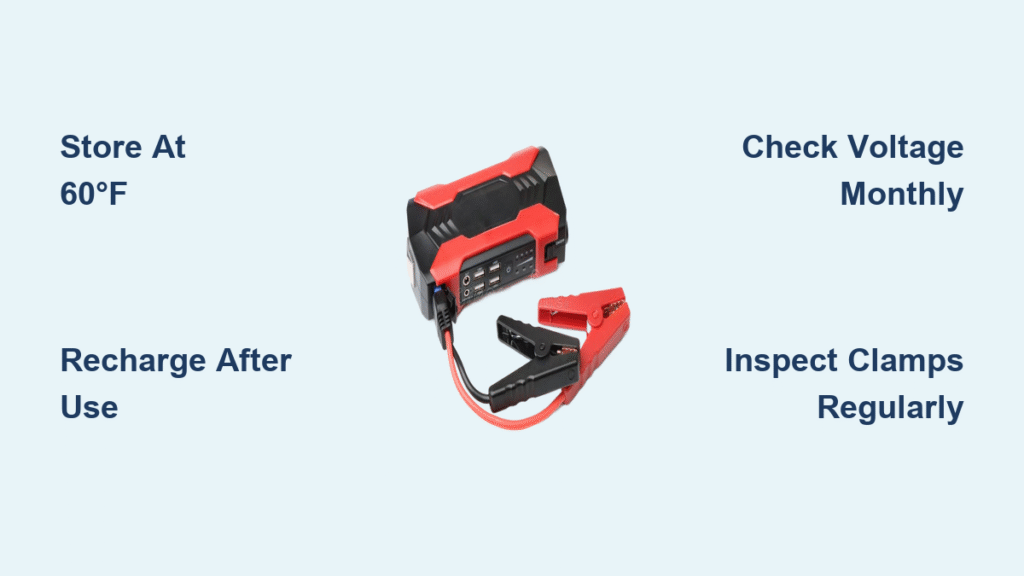
Charge Your Unit Before Emergencies Strike
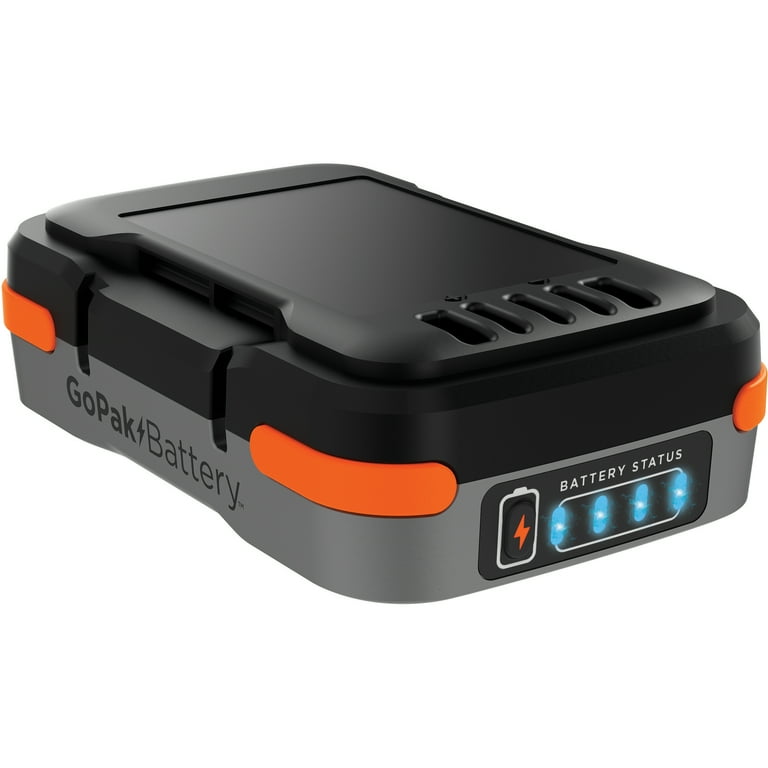
Never assume your jump starter is ready. Black and Decker models ship at 40-60% charge—insufficient for reliable starts. Plug the wall adapter into the “CHARGE” port until LEDs show 100%. Lithium-ion units (like the JUS700B) need 3-5 hours, while older SLA models require 12-24 hours. Pro tip: Test charge level monthly; if LEDs drop below 75%, recharge immediately. Units left at 50% for months suffer permanent capacity loss.
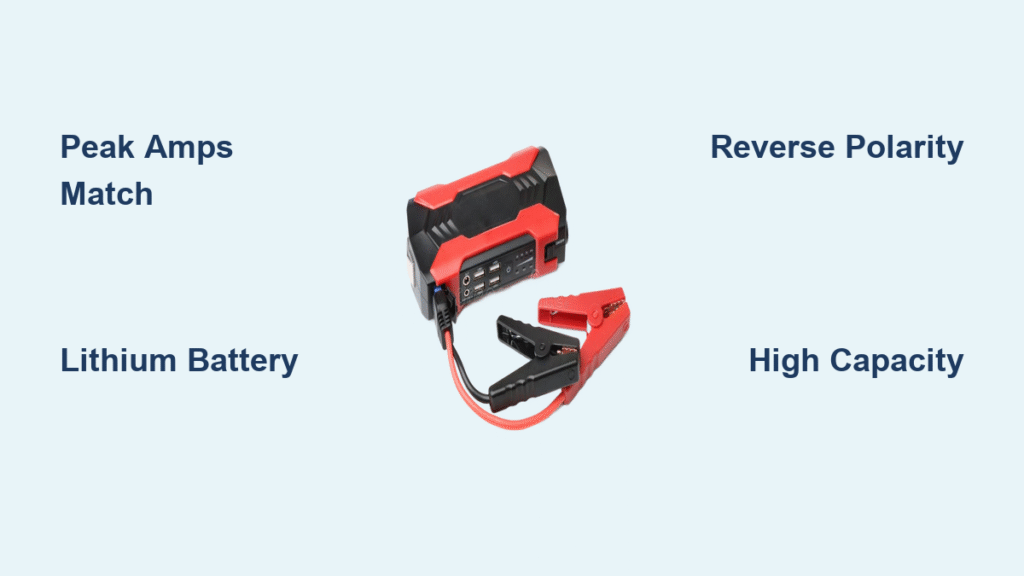
Match Amps to Your Engine Size
Using an underpowered unit risks damaging both your jump starter and car battery. Verify your engine’s minimum peak amps:
– 4-cylinder gas engines: 400A minimum
– 6-cylinder gas: 600A minimum
– V8 gas/small diesel: 800A minimum
– Heavy-duty diesel trucks: 1,200A+ essential
Critical mistake: Owners of 5.7L V8s often grab 700A models, causing repeated failures. Check your Black & Decker’s label—models like the JUS1000IB (1,000A) handle most trucks.
Gather Safety Gear Before Opening the Hood
Skip the gloves and glasses at your peril. Hydrogen gas from batteries can ignite from a single spark. Keep this trunk kit ready:
– Nitrile gloves (resists battery acid)
– Safety glasses (prevents corrosive splash injuries)
– Wire brush (cleans terminal corrosion in 20 seconds)
Visual cue: If battery posts show white/green crust, clean them before connecting clamps—dirty terminals cause 68% of failed jump-starts per auto shop data.
Jump-Starting Your Car: Foolproof Sequence
Position for Safety and Success
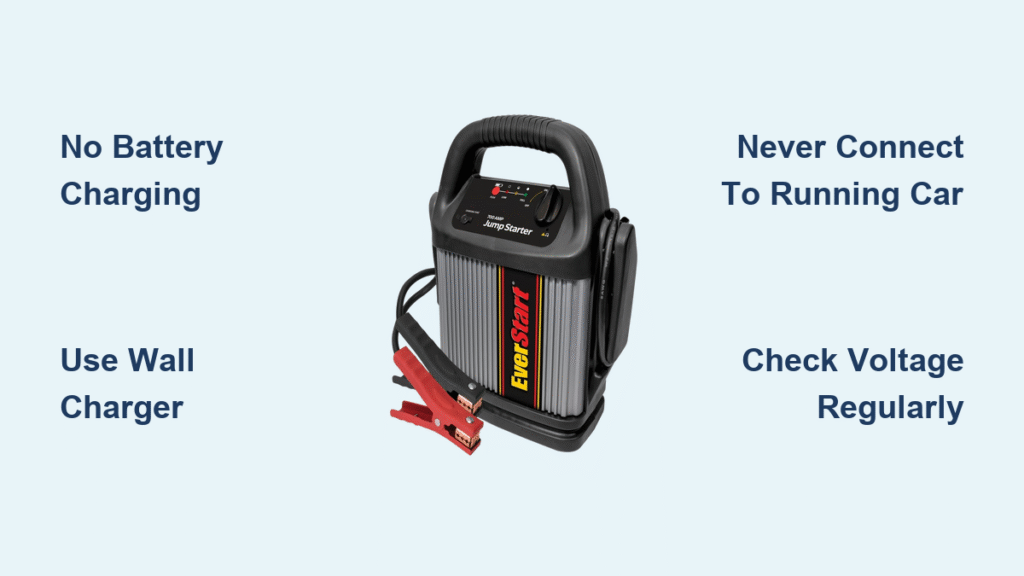
Park away from traffic on level ground. Remove rings/watches—metal contact between clamps causes instant welding at 1,000+ amps. Place the jump starter on the trunk floor or passenger seat (never the engine bay), ensuring cables reach without stretching. Why this matters: Windshield reflections can blind you during connections; face away from the battery.
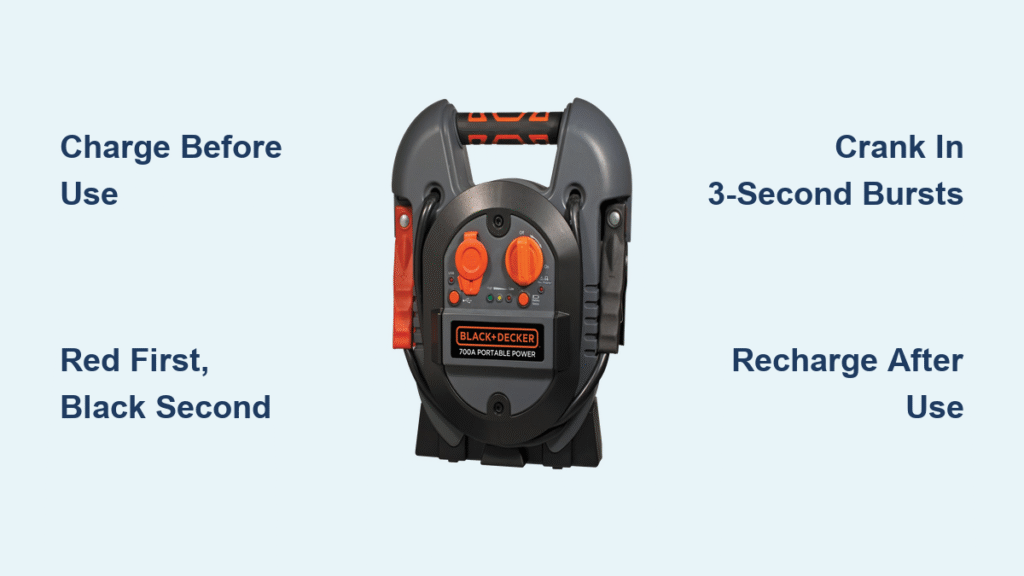
Connect Clamps in Exact Order
- Power down everything: Turn off headlights, AC, and phone chargers—accessories drain critical cranking power
- Red clamp first: Attach firmly to positive (+) battery post (or remote jump terminal under the hood)
- Black clamp second: Connect to unpainted engine bolt 12+ inches from battery (never the negative post—reduces hydrogen explosion risk)
- Activate unit: Hold “BOOST” button 2 seconds until blue LED glows steadily
Warning: If you hear buzzing with red LED flashes, reverse polarity—disconnect immediately and swap clamps.
Crank Like a Pro (Without Burning Out Motors)
Turn the key in 3-second bursts with 30-second pauses between attempts. Most vehicles fire within two tries. If it won’t start after five attempts:
– Wait 2 minutes for jump starter cooling
– Check clamp connections for corrosion
– Verify your car battery isn’t frozen (common below 0°F)
Time-saver: For diesel engines, wait 10 seconds after connecting before cranking—allows charge transfer to the dead battery.
Post-Jump Battery Recovery Protocol
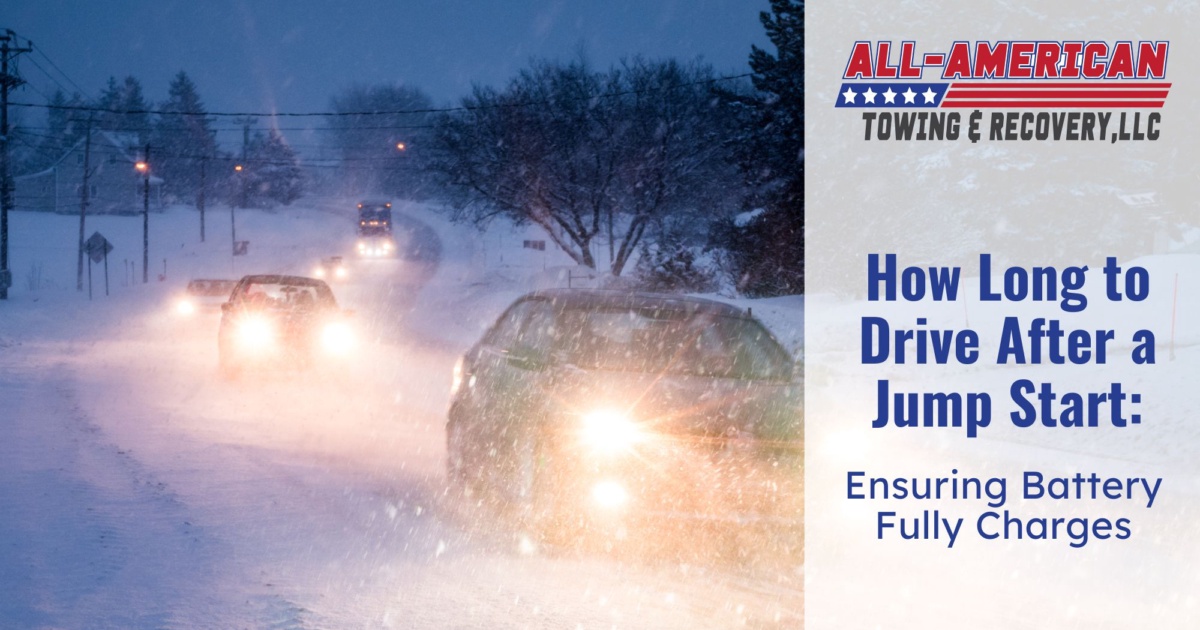
Drive Correctly to Recharge Your Car Battery
Short trips after a jump-start guarantee another breakdown. Drive continuously at 45+ mph for 20-30 minutes—this gives the alternator time to replenish your car battery. Stop-and-go traffic won’t restore charge, especially in winter. Consequence: Undercharged batteries fail within 72 hours 89% of the time (AAA data).
Test Your Battery Within 48 Hours
A jump-start is a symptom, not a cure. Visit AutoZone or O’Reilly for free load testing—they’ll detect weak cells before total failure. Batteries over 4 years old cause 74% of repeat jump requests. Red flag: If headlights dim noticeably when starting, replace your battery immediately.
Recharge Your Jump Starter Within 24 Hours
Li-ion units (like the JUS700B) lose 3-5% charge monthly even when idle. Plug in after every use—waiting weeks reduces lifespan. SLA models need full saturation charges to prevent sulfation. Pro tip: Store units at 50% charge if unused for months; 100% degrades lithium cells.
Unlock Hidden Features Beyond Jump-Starting
Fast-Charge Phones Without Draining Power
Connect your device to the USB-A port, then press the power button once. Most Black & Decker models deliver 2.4A for rapid charging but auto-shut off after 30 minutes of inactivity. Critical note: Never use USB during jump-starting—diverting power risks insufficient cranking amps.
Power Accessories Safely Through the 12V Socket
Tire inflators or coolers plug into the barrel socket, but stay under 15A (180W). Exceeding this blows the internal fuse—requiring a $25 replacement part. Visual check: If the LED flickers amber while inflating tires, unplug immediately to prevent damage.
Master the LED Light’s Emergency Modes
Hold the light button 2 seconds to cycle: steady beam (12-hour runtime), strobe (for roadside visibility), or SOS pattern. Use steady mode when changing tires—it’s brighter than phone flashlights and won’t drain your phone.
Inflate Tires in 6 Minutes (Select Models)
The JUS1000IB’s compressor attaches directly to valve stems. Set target PSI on the digital gauge (32-35 for sedans), press START, and monitor the display. A flat P195/65R15 tire reaches 30 PSI in 6 minutes. Warning: Never exceed 90 PSI—hose leaks develop at higher pressures per user reports.
Cold Weather Survival Tactics
Operate Within Temperature Limits
Li-ion models (JUS700B/JUS1000IB) work down to -4°F but lose 30% power at -20°F. SLA units freeze below 32°F—storing them in the passenger cabin overnight prevents total failure. Real-world fix: Warm a frozen unit against your chest for 10 minutes before connecting.
Store Properly to Maintain Cranking Power
Never leave jump starters on freezing concrete floors. Keep them in the trunk’s upper compartment where car heat rises. Recharge monthly in winter—cold accelerates self-discharge. Key insight: Units below 40°F need 2 extra crank attempts due to thicker oil.
Troubleshoot Failures in 60 Seconds

No Lights When Pressing Power Button
- Dead internal battery: Recharge 4+ hours (SLA units take overnight)
- Faulty wall adapter: Check for bent prongs on the charger
- Moisture damage: Leave unit in rice for 24 hours if exposed to rain
Never attempt: Tapping the unit—this damages lithium cells.
Engine Cranks Slowly But Won’t Start
- Weak car battery: Connect jump starter for 5 minutes before cranking to transfer charge
- Cold engine: Hold the gas pedal ¼ down for fuel-injected cars
- Insufficient amps: Upgrade to 1,000A+ models for V8s/diesels
Urgent action: If oil light stays on after starting, stop driving—your alternator may be failing.
Unit Shuts Off Mid-Crank
Overheating protection activates after three 5-second cranks. Wait 30 seconds for cooling, ensure vents are dust-free, and limit bursts to 3 seconds. Prevention: In summer, place a towel over the unit during cranking—absorbs heat from engine bay.
Quarterly Maintenance That Doubles Lifespan
Inspect Cables and Terminals Monthly
Check for cracked insulation near clamps (replace if frayed). Clean corrosion with a wire brush—baking soda paste neutralizes acid residue. Pro move: Apply dielectric grease to terminals after cleaning to prevent future oxidation.
Test Capacity Every 6 Months
Discharge through USB until auto-shutoff, then fully recharge. If runtime drops below 80% of original (e.g., 8 starts instead of 10), replace the unit. SLA batteries last 2-3 years; lithium handles 500+ cycles.
Model-Specific Power Solutions
Choose the Right Black & Decker for Your Needs
- JUS700B (700A lithium): $99—ideal for sedans/hybrids; fits glove boxes
- JUS1000IB (1,000A with compressor): $149—best for SUVs; inflates tires while charging phones
- PPRH5B Power Station: $199—runs laptops via 200W inverter; essential for RVs
Warranty tip: Register online within 90 days for 2-year coverage—covers defective clamps and chargers.
Replace Worn Parts Before Emergencies
Order OEM parts through Black & Decker’s portal:
– Smart-cable assembly (#243860-00) for $18
– 12V wall charger (#905742-01) for $12
– Hard-shell case (#241435-00) for $25
Critical: Third-party cables lack reverse-polarity protection—use only factory replacements.
Final Takeaway: Your Black and Decker jump starter isn’t just for dead batteries—it’s your roadside command center. Charge it quarterly, store it above freezing, and master the clamp sequence. One properly executed jump-start beats 10 roadside assistance calls. Keep this guide in your glove box, and the next time that click-click-click happens, you’ll be back on the road before help arrives. Your future stranded self will thank you.