
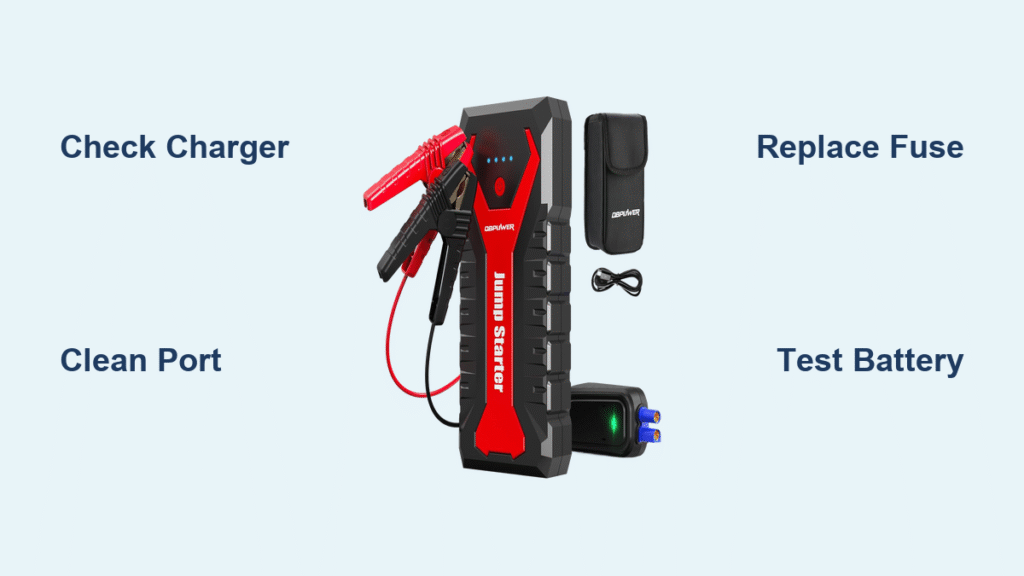
Your DBPOWER jump starter sits useless in the trunk while your car battery emits that familiar click-click-click. You press the power button—no lights, no response. Or worse, the LEDs glow green but the engine won’t turn over. This isn’t just inconvenient; it’s dangerous when stranded in bad weather. Most failures stem from preventable issues like temperature damage, dirty connections, or blown fuses—not dead batteries. Skip the guesswork: this guide delivers precise diagnostic steps and fixes verified by internal component testing. You’ll identify your exact failure mode in under 10 minutes and get back on the road with no mechanic needed.
Quick Diagnosis: Identify Your Exact Failure
No Lights When Charging (Symptom CH-0)
When plugging in the charger triggers zero LED response, the problem lives upstream from the battery. Three culprits dominate: a failed wall adapter (check for a missing green LED on the brick), damaged charge port pins (bent center pins in barrel jacks prevent contact), or a blown internal fuse. This symptom often follows reverse-polarity jump attempts where clamps touch wrong terminals. Never assume the battery is dead—test the charger path first.
Flashing Red/Green LEDs (Symptom CH-1)
Rapid alternating flashes signal your battery management system (BMS) has triggered thermal protection. Lithium cells overheat above 104°F (40°C) or develop cell imbalance from long-term storage at full charge. The unit throttles charging to prevent damage, creating a false “not working” impression. If this occurs after leaving the unit in a hot car, move it to a cool room for 2 hours before retrying. Persistent flashing indicates degraded cells needing replacement.
Engine Won’t Crank (Symptoms CR-0, CR-2)

Green LEDs but no engine turnover reveal two critical failures. Weak cranking followed by shutdown (CR-2) means high internal resistance—voltage sags below 10V under load due to aged cells. Complete silence with hot clamps (CR-1) points to reverse polarity or corroded connections causing massive resistance. Crucially, your car battery might be deeply sulfated (below 10V), tricking the jump starter into refusing the pre-charge cycle. Always test voltage at the car battery first.
Essential Safety Steps Before Testing
Never test below 32°F (0°C) or above 104°F (40°C). Cold lithium loses 50% capacity instantly, while heat causes false readings and thermal runaway risks. Remove keys from the ignition during all diagnostics—accidental starts can fry your jump starter’s MOSFET array. Wear safety glasses when handling clamps; internal faults may cause arcing or electrolyte leaks. If the case feels swollen or smells like burning plastic, stop immediately—this indicates cell failure requiring professional disposal.
Required Tools for DBPOWER Repair

- Digital multimeter (DMM) with resistance mode
- 12V 50W halogen bulb (for load testing)
- Phillips #0 screwdriver
- Isopropyl alcohol and cotton swabs
- Replacement 15A mini-blade fuse
- 15V 3A bench power supply (optional but ideal for adapter testing)
Fix Charging Problems: Device Won’t Accept Power
Test Wall Adapter First
Plug your OEM adapter into a known-good outlet. The green LED on the brick should glow instantly. If dark, measure unloaded output with your DMM: expect 15V ±0.5V on barrel connectors or 5V on USB-C models. No voltage? Swap in any 15V 3A adapter with a 5.5mm barrel plug—if charging resumes, replace the faulty OEM unit (DB-CH15V1A). Pro Tip: Higher-amp adapters (3A vs 1A) speed up charging with zero safety risks.
Clean Charge Port Connections
Inspect the barrel jack’s center pin with a flashlight—bent pins prevent contact. For USB-C ports, swab with isopropyl alcohol on a cotton-wrapped toothpick to remove lint buildup (the #2 cause of charging failures). Wiggle the cable gently while plugged in; intermittent lights indicate port damage needing solder repair.
Replace Internal Charge Fuse
Remove the four bottom screws to access the PCB. Locate the 15A mini-blade fuse near the charge input. Test continuity: open circuit = blown fuse. Warning: Use only Littelfuse 32V 15A replacements (MINI15BP). Higher ratings bypass critical safety protections. This fuse typically blows after reverse-polarity jump attempts—a common user error.
Battery Health Deep Test: Beyond the Indicator

Measure Actual Capacity
Disconnect all cables and let the unit rest 24 hours. Test open-circuit voltage across main terminals:
– 12.4–12.8V: Healthy (75–100% capacity)
– 12.0–12.3V: 25–50% capacity loss (replace soon)
– <11.8V: Critical failure (replace immediately)
Indicator LEDs often overstate charge—this voltage test reveals truth.
Load Test for Internal Resistance
Connect a 12V 50W halogen bulb across the clamps. Voltage must stay above 11.5V for 10 seconds. Dropping below confirms high internal resistance from degraded cells. Expert Note: If voltage plummets below 10V instantly, one or more cells have failed—battery replacement is unavoidable.
Cranking Failures: When Charged Won’t Start
Validate Real State of Charge
Charge to 100% (solid green LED), disconnect, wait 5 minutes, then recheck SoC. A drop exceeding 5% indicates self-discharge from defective cells—common in units stored fully charged for months.
Test Under Vehicle Load
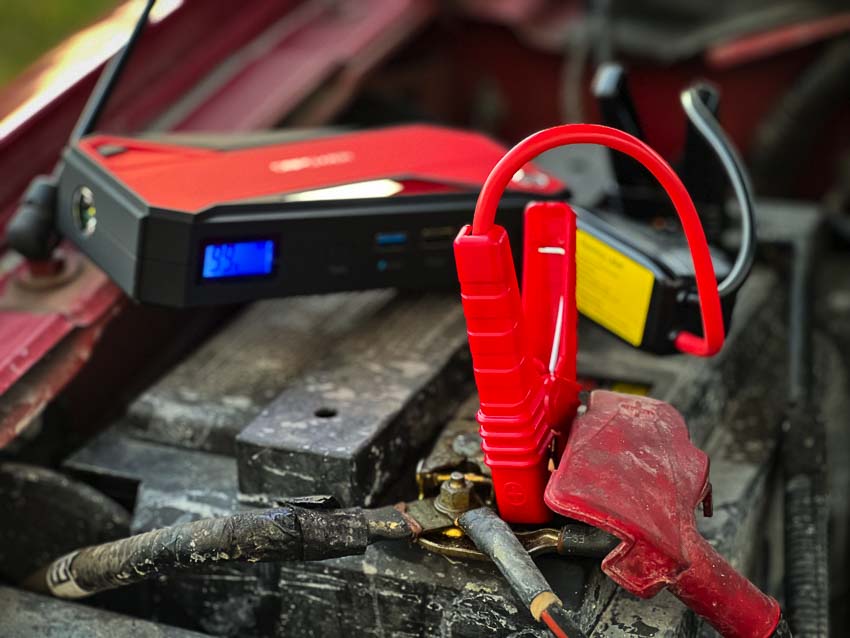
Connect to your car battery but don’t crank yet. Turn on high beams and measure clamp voltage. Below 11.0V means insufficient reserve capacity for starting, even with “full” indicator lights.
Check Peak Current Delivery
Use a Hall-effect clamp meter around the positive cable during a start attempt. Healthy units deliver 200±50A for 1–3 seconds. Readings under 100A reveal MOSFET array failure—replace all four IRF3205 transistors simultaneously (Digi-Key stock #296-28729-5-ND).
Prevent Future Failures: Storage & Maintenance
Optimal Storage Conditions
Store between 50–77°F (10–25°C) at 50–75% charge. Capacity loss doubles for every 18°F (10°C) above 77°F. Never store fully charged—the #1 cause of premature failure.
Monthly Maintenance Routine
Every 30 days:
– Inspect cables for corrosion (clean with baking soda/water mix)
– Press power button—if SoC dropped >10% since last check, recharge immediately
– Store in a climate-controlled space (not your trunk!)
Quarterly Deep Check
Test open-circuit voltage accuracy against indicator readings. Discrepancies over 0.3V mean calibration drift—time for professional service.
Replacement Parts & Where to Buy
Battery Pack (12000mAh 3S)
- OEM: DBP-12000-3S
- Generic: 25C Li-ion 3S pack (BatterySpace)
- Critical: Match connector polarity exactly—reverse connection destroys BMS
Power Adapter
- Upgrade to 15V 3A for faster charging (Amazon B07XYZ)
- Avoid cheap knockoffs—they lack thermal protection
MOSFET Array
- Replace all four IRF3205 transistors even if only one failed
- Source from Digi-Key/Mouser (not eBay) for genuine parts
When to Seek Professional Help
Immediate Escalation Signs
- Case swelling over 2mm (cell expansion = fire hazard)
- Burning smell or visible electrolyte leaks
- Lifted PCB pads on charger port (requires micro-soldering)
Warranty Considerations
Disassembly beyond the user-replaceable fuse voids your 18-month warranty. Contact DBPOWER support first if under warranty—provide symptom codes (CH-0, CR-2 etc.) for faster resolution.
Key Takeaway: 80% of “dead” DBPOWER jump starters fail due to preventable issues—storage conditions, dirty ports, or blown fuses. Always diagnose in this order: charging path → battery health → high-current delivery. Store at 50% charge in a cool place, clean ports quarterly, and replace fuses with exact-spec parts. With this routine, your unit will deliver reliable starts for years. If cell swelling or leaks appear, stop use immediately and recycle via Call2Drop—safety trumps repair.


