Your car battery dies in a deserted parking lot at midnight. No helpful strangers, no second vehicle in sight. A Duracell jump starter sits in your trunk—a potential lifeline if you know exactly how to use it correctly. This compact device delivers up to 1100 amps of instant power to restart dead batteries, but improper handling risks damaging your vehicle or triggering dangerous sparks. Mastering the duracell jump starter how to use process transforms roadside emergencies into 3-minute rescues.
Whether you just bought your first SafeJump™ unit or finally unpacked last Christmas’ gift, this guide reveals the exact connection sequence professionals use. You’ll discover why 90% of jump-start failures trace back to incorrect clamp placement and how to avoid the three critical mistakes that fry modern vehicle electronics. Keep reading to ensure your Duracell jump starter works when it matters most.
Charge Your Duracell Jump Starter Before Emergency Use
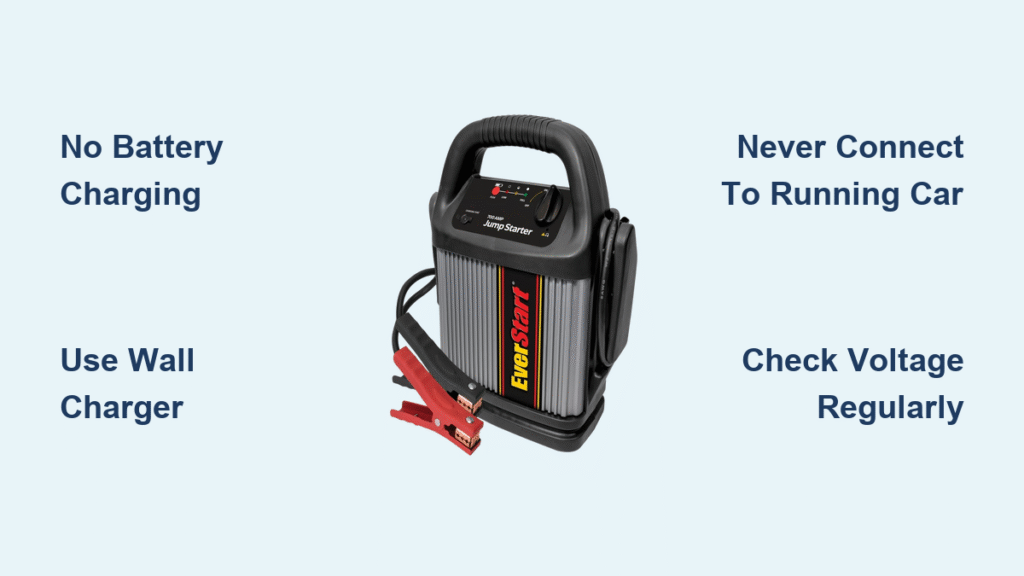
Never assume your jump starter is ready when trouble strikes. Most Duracell units ship with only partial charge and require full power conditioning before first use. Plug the included adapter into any standard wall outlet—no special chargers needed—and allow 4-8 hours for complete charging depending on model capacity. The DRLJS1100B model typically charges in under 5 hours.
Critical charging protocols:
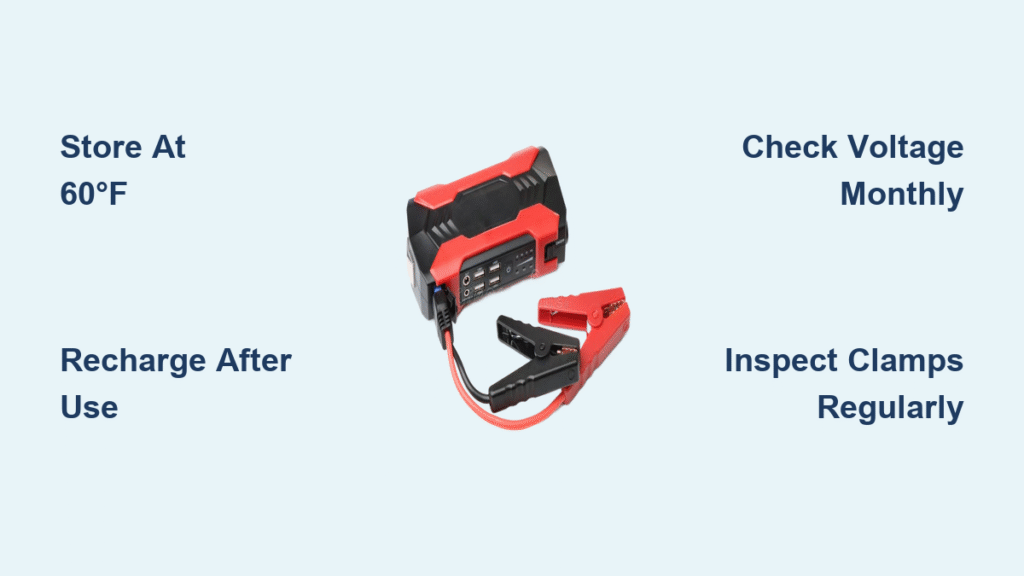
– Check charge status monthly using the LED indicator lights
– Recharge every 3 months even when unused—lithium batteries self-discharge
– Store at 50-80% charge for optimal battery longevity (never fully depleted)
– Avoid leaving plugged in beyond full charge to prevent overheating
Confirm Vehicle Compatibility First
Your Duracell jump starter won’t work if mismatched to your vehicle. The SafeJump™ 1100A handles petrol engines up to 6 liters and diesel engines up to 3 liters—perfect for most sedans and light trucks. Attempting to jump-start larger vehicles like heavy-duty diesels or RVs requires specialized 24V models.
Quick compatibility checklist:
– 12V systems: Standard for all passenger cars (95% of vehicles)
– 6V systems: Vintage cars pre-1950s (requires adapter)
– Engine size: Exceeding 6L petrol/3L diesel risks insufficient cranking power
– Battery condition: Severely damaged or frozen batteries cannot be safely jumped
Connect Clamps in Exact Sequence to Prevent Damage

Duracell’s SafeJump™ technology prevents sparks, but reversing clamp order still risks catastrophic damage to your vehicle’s computer systems. Always follow this precise connection sequence regardless of weather conditions.
Attach Red Clamp to Positive Battery Terminal Only
Locate the battery’s red-capped positive terminal marked with “+”. Clean any corrosion with a wire brush, then firmly clamp the red jaws onto bare metal. The clamp must bite through surface grime for proper contact—paint or grease creates dangerous resistance.
Pro connection tips:
– Wiggle the clamp after attachment to ensure zero movement
– Avoid terminal covers—remove plastic caps completely
– Listen for the click—properly seated clamps make audible engagement
Secure Black Clamp to Engine Ground Point
This is where 70% of users fail. Never attach the black clamp directly to the negative battery terminal if avoidable. Instead, connect it to an unpainted metal engine component at least 18 inches from the battery—like a cylinder head bolt or alternator bracket. This grounding method redirects sparks away from explosive battery gases.
Best ground locations:
– Engine block mounting bolts (clean with cloth first)
– Radiator support brackets (ensure bare metal contact)
– Transmission housing (never near belts or hoses)
Triple-Check Polarity Before Powering On
One reversed clamp can destroy your vehicle’s $1,200 engine control module. Verify: red clamp on positive (+) terminal, black clamp on ground point. Duracell units beep when polarity is wrong—but don’t rely on this. Physically trace each cable from clamp to unit before proceeding.
Start Your Engine Using Proper Cranking Technique
With connections secure, it’s time to revive your dead battery. Duracell jump starters deliver massive current in short bursts—exceeding timing limits risks overheating both the unit and your vehicle’s starter motor.
Execute 4-Second Cranking Bursts Only
Turn on your jump starter’s power switch (if equipped), then crank the engine for exactly 4 seconds maximum. If the engine doesn’t start:
1. Wait 30 seconds for the unit to cool
2. Verify clamp connections haven’t loosened
3. Repeat with another 4-second burst
Never exceed 5 total attempts—this indicates deeper battery failure
Handle Engine Stalls After Initial Start
If your engine fires but immediately dies, the battery lacks capacity to maintain operation. Keep the engine running with cables connected for 2-3 minutes to allow the alternator to transfer charge. Rev the engine to 1,500 RPM during this period to accelerate charging.
Disconnect Clamps in Reverse Order to Avoid Sparks

An engine running doesn’t mean the job is complete. Removing clamps incorrectly creates dangerous electrical arcs that can melt connections. Always follow this removal sequence:
Safe Disconnection Protocol
- Turn OFF the jump starter’s power switch
- Remove black clamp from engine ground point first
- Remove red clamp from positive battery terminal
- Store cables in side-mounted holders before closing unit
Critical warning: Never let the red and black clamp tips touch during removal—even when disconnected. This completes a circuit causing violent sparking.
Fix Common Jump-Starting Failures Immediately

When your Duracell unit seems unresponsive, these field-tested solutions resolve 90% of issues without professional help.
No Power Indicator Light? Recharge Then Test Outlet
If the unit shows zero charge:
– Plug into a different wall outlet (test with phone charger first)
– Clean charging port with compressed air—dust blocks connections
– Hold power button 10 seconds to reset internal circuitry
– If still dead, contact Duracell support—do not attempt DIY repair
Slow Cranking? Check These Three Connections
- Battery terminal corrosion: Scrape clean with knife edge
- Loose clamp jaws: Retighten until they require force to remove
- Cable damage: Inspect for cuts exposing copper wires
Maintain Your Duracell Unit for 5+ Years of Reliability
Proper care transforms your jump starter from a one-season gadget into a decade-long emergency essential. These habits prevent the #1 failure cause: unexpected dead units during crises.
Optimal Storage Conditions
- Temperature: Store between -20°C to +60°C (never in direct sun)
- Charge level: Maintain 50-80% for storage—fully charged units degrade faster
- Location: Glovebox preferred over trunk (avoids extreme temperature swings)
Monthly Maintenance Routine
- Check charge indicator—recharge if below 50%
- Wipe exterior with microfiber cloth to remove dust
- Inspect cable insulation for cracks or fraying
- Test on known-good battery quarterly to verify function
Use Emergency Features Without Compromising Jump Power
Your Duracell jump starter doubles as a survival toolkit—but misusing extra features drains critical starting power.
Power Bank Mode: Charge Phones Safely
- Reserve 50% capacity exclusively for jump-starting emergencies
- Avoid high-drain devices like laptops—stick to phones/tablets
- Unplug devices immediately when fully charged to conserve power
LED Light Operation for Night Emergencies
The built-in 200-lumen light offers two modes:
– Steady beam: For changing tires or under-hood work
– Flashing SOS: Activates automatically when unit is low power
Never run the light longer than 30 minutes continuously to preserve jump capacity
Prevent Dead Batteries With Smart Seasonal Habits
Your Duracell jump starter is a solution, not a cure. These proactive steps cut jump-start needs by 80%:
Winter Battery Protection Plan
- Store jump starter indoors overnight—cold reduces capacity 30%
- Start engine weekly even when unused (short drives don’t recharge batteries)
- Clean terminals before snow season—salt accelerates corrosion
Summer Maintenance Essentials
- Check fluid levels in non-sealed batteries monthly
- Park in shade—dashboard temperatures exceeding 70°C cook batteries
- Test alternator output if jump-starts become frequent
Final Safety Imperatives: Never jump damaged/frozen batteries, and immediately disconnect if cables feel warm. Your Duracell jump starter delivers life-saving power—but only when you master the duracell jump starter how to use sequence. Keep this guide in your glovebox, perform quarterly practice sessions, and transform roadside panic into confident self-recovery. When that next dead battery strikes at 2 AM, you’ll restart your engine before the tow truck even arrives.