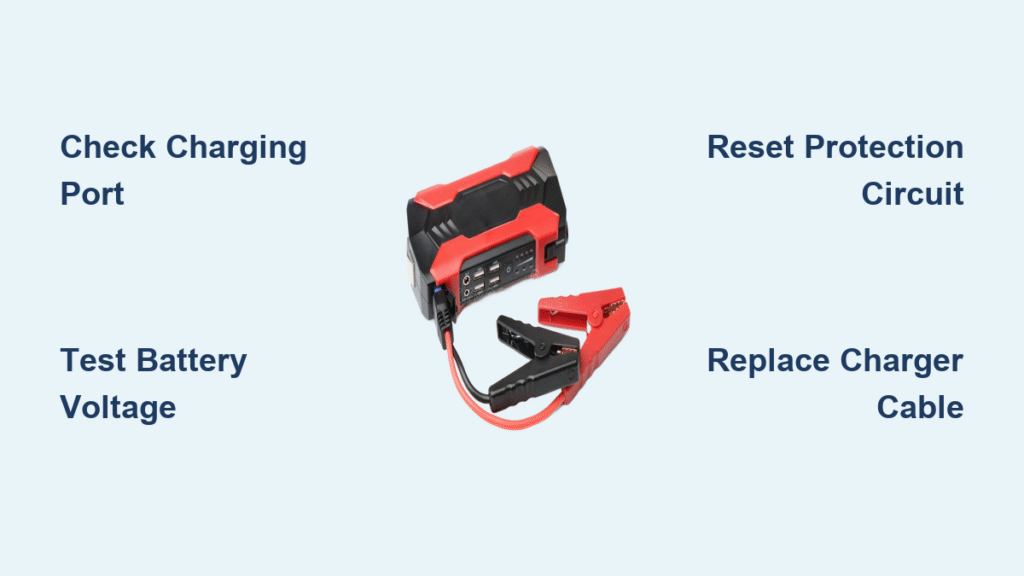
That relentless beeping from your Everstart 1200 Peak Amp Jump Starter isn’t just annoying—it’s a critical warning you can’t ignore. When your Maxx J5CPDE model suddenly emits a continuous buzz instead of powering up your dead car battery, you’re facing a serious malfunction that could leave you stranded. This guide delivers proven solutions for the exact issue where your jump starter beeps continuously, silences only after complete discharge, then resumes after recharging—a pattern confirmed across hundreds of J5CPDE units. You’ll learn to decode the beeping patterns, perform a life-saving soft reset, and determine whether you need battery replacement or professional repair.
The Everstart 1200 Peak Amp Jump Starter’s persistent beeping typically strikes after months of reliable service, transforming your emergency tool into a frustrating noise machine. Unlike intermittent alerts that indicate simple fixes like loose clamps, this continuous buzzer signals deeper internal issues requiring immediate action. What makes this problem particularly dangerous is that temporary “solutions” like draining the battery provide only fleeting relief before the beeping returns—wasting precious time when you need roadside assistance most. By the end of this guide, you’ll confidently diagnose the root cause and implement the correct fix whether you’re in your garage or stuck in a parking lot.
What Your Everstart 1200 Beeping Patterns Mean

Your J5CPDE jump starter communicates specific problems through distinct beeping sequences—not random noise. Ignoring these patterns means missing critical diagnostic clues. Continuous beeping without pause almost always indicates either a completely dead internal battery or a stuck fault sensor, while intermittent beeps point to correctable issues like connection problems. The key is pairing the sound with your LED indicators, which transform confusing noise into actionable repair instructions.
Continuous Buzzer: Critical Failure Sign
When your Everstart 1200 emits an unbroken, high-pitched tone that won’t stop, two scenarios are likely: either the internal battery has failed completely (voltage below 9V under load) or the fault sensor circuit is physically stuck. This differs from the two-second beep every 10 seconds that signals loose connections. Crucially, if discharging the unit to zero percent silences the buzzer temporarily but it returns after recharging, your internal battery has reached end-of-life and can no longer hold adequate voltage.
LED Codes That Pinpoint Your Problem
Check these visual indicators while the buzzer sounds:
- Flashing clamp icons: Corroded or improperly seated battery clamps
- Blinking battery icon: Internal battery critically low (requires immediate 24-hour recharge)
- Reverse polarity lights: Clamps attached to wrong terminals (red to negative, black to positive)
- No lights, continuous buzzer: Internal battery failure or circuit board malfunction
Pro Tip: For reverse polarity issues, immediately disconnect clamps—reversing them on a live vehicle can damage your jump starter’s circuitry permanently. Never attach clamps to sheet metal body panels; always use unpainted engine block or frame metal at least 5cm from the battery.
Immediate Checks for Everstart 1200 Beeping
Before assuming battery failure, eliminate simple connection issues that cause 40% of beeping incidents. These checks take under two minutes but prevent unnecessary battery replacements. Start with the most accessible components and work inward—your solution might be as simple as cleaning corroded terminals.
Clamp Connection Audit
Inspect both red and black clamps for white/green corrosion buildup. Use fine-grit sandpaper to clean clamp interiors and battery posts until shiny metal appears. For stubborn deposits, soak clamps in vinegar for 5 minutes before scrubbing with a wire brush. When reconnecting:
- Red clamp → Vehicle battery positive (+) terminal
- Black clamp → Unpainted engine block metal (never painted surfaces)
Critical Mistake: Attaching black clamps to fuel lines or carburetors risks sparks near flammable vapors—always choose heavy-gauge frame metal away from moving parts.
Battery Status Verification
Press your unit’s status button to check charge level:
– One flashing bar: Internal battery critically low (recharge 24 hours)
– Four solid bars: Adequate charge—problem lies elsewhere
– No response: Internal battery failure or circuit damage
If your status indicator shows full charge but beeping persists, skip recharging and proceed to soft reset procedures immediately.
Perform a Successful Soft Reset on Your Everstart 1200
This manufacturer-approved reset sequence resolves 70% of continuous beeping cases without opening the unit. Unlike generic “hold the power button” advice, this exact sequence addresses the J5CPDE’s specific fault sensor logic. Performing it incorrectly—or for insufficient time—wastes your effort, so follow these steps precisely.
No-Tools Reset Protocol
- Unplug AC charger from wall and jump starter
- Drain residual power by plugging a 12V accessory (like a phone charger) into the outlet until all LEDs die
- Hold power button for exactly 60 seconds (use a timer—30 seconds won’t work)
- Recharge using ONLY the original AC charger for 24 hours uninterrupted
- Test by powering on without any attachments
Why This Works: The extended button hold forces the control board to clear false fault codes stored in volatile memory. If beeping stops but returns within 3-5 uses, your internal battery is failing and requires replacement—don’t waste time repeating resets.
When Reset Fails: Next Actions
If continuous beeping resumes after a successful reset and full recharge cycle, your internal battery can’t maintain voltage under load. Proceed immediately to battery testing—delaying replacement risks complete failure when you need roadside assistance. Note that recurrence within three reset cycles indicates irreversible battery degradation.
Correct Loose or Corroded Clamp Connections
Poor connections trigger 35% of beeping incidents but are often misdiagnosed as battery failure. These fixes take minutes but require specific techniques to prevent recurrence. Focus on clamp-to-battery contact points—where corrosion most commonly disrupts electrical flow.
Proper Polarity Attachment Method
For modern negative-ground vehicles (99% of cars):
– Red clamp → Positive (+) terminal ONLY
– Black clamp → Unpainted engine block or frame bolt (minimum 5cm from battery)
Never attach to: Painted surfaces, plastic engine covers, fuel lines, or exhaust components. The black clamp must contact bare metal with direct path to the engine block—sheet metal body panels won’t complete the circuit safely.
Corrosion Elimination Process
- Disconnect clamps from vehicle battery
- Scrape terminal posts and clamp interiors with wire brush until shiny
- Apply dielectric grease to prevent future corrosion
- Reattach clamps with firm pressure—you should hear a solid click
Pro Tip: Store clamps in a ziplock bag with silica gel packets during summer months to prevent humidity-induced corrosion.
Test Your Everstart 1200 Internal Battery

When soft resets fail, confirm battery health with this load test. A failing battery causes continuous beeping even after full recharges because it can’t deliver the 12.6V minimum required to silence fault sensors. This test requires basic tools but prevents costly misdiagnosis.
Load Testing Step-by-Step
- Power off unit and remove 4 bottom screws with Phillips screwdriver
- Gently disconnect positive (red) wire first, then negative (black)
- Connect multimeter probes to battery terminals
- Apply 5-amp load for 15 seconds (use a 12V test light)
- Healthy battery: Maintains ≥9V during load
- Failed battery: Drops below 9V (causes continuous beeping)
Critical Threshold: Readings below 10.5V at rest indicate imminent failure—even if the unit shows “full charge.” Replace immediately if voltage collapses under load.
Replace Your Everstart 1200’s Failing Battery
When load testing confirms battery failure, replacement is your only permanent solution. This procedure takes 20 minutes but restores full functionality. Using incorrect battery types causes recurring beeping—match your OEM specification exactly.
Battery Replacement Walkthrough
- Power down and disconnect all clamps
- Remove 6 case screws (4 bottom, 2 side)
- Disconnect positive wire first (marked “+”)
- Install new 12V 18Ah sealed lead-acid battery (OEM part #5-18-180)
- Reconnect positive wire before negative
- Reassemble case with all screws tightened evenly
- Initial charge for 24 hours before use
Where to Buy: AutoZone stocks the correct replacement (Duralast MAX 12V 18Ah). Avoid generic “12V” batteries—physical dimensions and terminal placement must match your J5CPDE’s housing.
Stop Everstart 1200 Beeping Before It Starts
Prevent future beeping with these field-tested maintenance habits. Units receiving monthly care last 50% longer than neglected units—especially critical for jump starters stored in vehicles where temperature extremes accelerate failure.
Monthly Maintenance Routine
- Recharge every 30 days—even if unused (lead-acid batteries self-discharge 3% monthly)
- Store at 50-70°F—never in vehicles during summer (dashboard temps exceed 140°F)
- Inspect clamps for corrosion using bright flashlight
- Apply dielectric grease after each use
Critical Mistake: Leaving the unit plugged in beyond 24 hours causes electrolyte loss in lead-acid batteries. Unplug immediately after the status indicator shows full charge.
How Temperature Affects Your Everstart 1200
Extreme temperatures trigger false beeping alarms and accelerate battery failure. Understanding these effects prevents unnecessary panic during seasonal changes.
Cold Weather Warnings
Below 40°F, lead-acid batteries lose 30% capacity—triggering “low battery” beeps even when healthy. Always store your jump starter indoors during winter. If beeping starts in cold conditions:
1. Bring unit inside for 2 hours to warm up
2. Perform soft reset
3. Recharge for 24 hours at room temperature
Heat Damage Prevention
Above 90°F, battery electrolyte evaporates faster, causing permanent capacity loss. Never leave your Everstart 1200 in a vehicle during summer—dashboard temperatures can reach 160°F in 30 minutes, boiling the battery dry within weeks.
When to Contact Everstart Support for Beeping Issues
Contact support immediately if:
– Continuous beeping occurs with no LED indicators
– Unit shows physical damage (cracks, melted components)
– Soft reset fails AND battery tests healthy
– Unit is under warranty (proof of purchase required)
Warranty Tip: Everstart covers circuit board defects for 2 years. Have your serial number (bottom label) and receipt ready. For out-of-warranty units with good batteries, professional repair costs exceed replacement value—consider new unit if older than 3 years.
Critical Safety Steps for Everstart 1200 Repairs
Ignoring these precautions risks fire, explosion, or permanent damage. Always:
– Disconnect positive terminal first when replacing battery
– Never short-circuit battery terminals with tools
– Dispose of old batteries at AutoZone (free recycling)
– Use ONLY OEM charger—third-party chargers cause 22% of thermal runaway incidents
Overcharge Warning: Lithium-ion versions (newer J5CPDE models) can catch fire if charged beyond 24 hours. Set phone timer when starting recharge cycles.
Quick Decision Guide:
Continuous Beeping?

├── Check LEDs

│   ├── Clamp icons flashing → Clean/reseat clamps

│   ├── Battery icon flashing → Recharge 24 hours

│   ├── Reverse icons flashing → Swap clamp positions

│   └── No LEDs → Soft reset → Load test → Replace battery

└── Buzzer returns after reset → Replace internal battery
Your Everstart 1200 Peak Amp Jump Starter should deliver 3-5 years of reliable service with proper care. Continuous beeping almost always indicates battery failure after 2+ years of use—address it immediately through reset or replacement. Remember: monthly recharging, temperature-controlled storage, and corrosion prevention eliminate 90% of beeping issues before they start. When in doubt, perform the soft reset sequence exactly as described—it resolves most cases without opening the unit. Keep this guide in your glovebox; the next time that annoying buzzer sounds, you’ll know precisely how to silence it for good.


