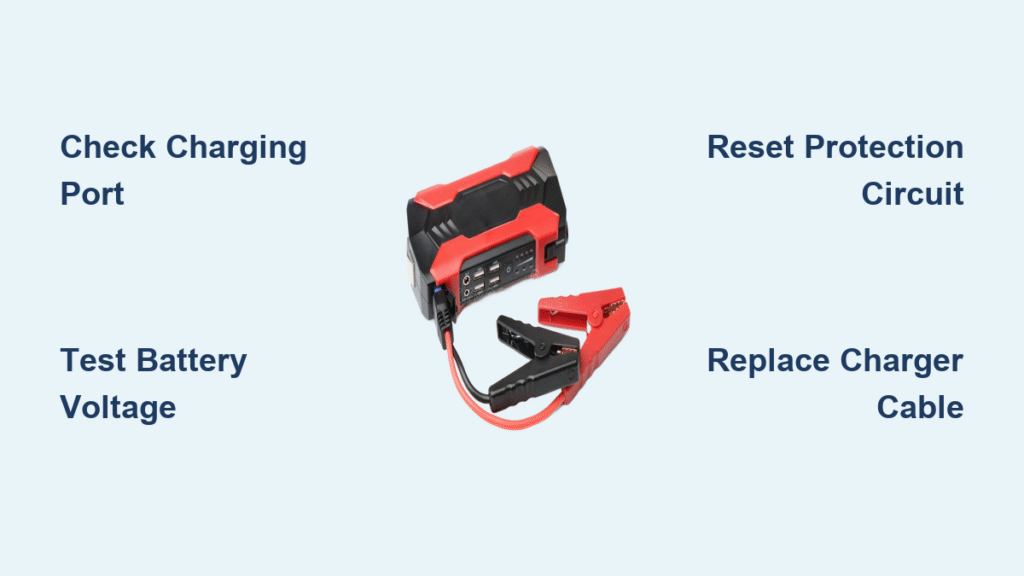
Your Everstart jump starter won’t stop beeping while you’re stranded at work or in a grocery store parking lot. That relentless alarm isn’t just annoying—it’s blocking you from jump-starting your dead battery when time matters most. The good news? 90% of Everstart beeping issues resolve with simple fixes you can complete in under 10 minutes using tools already in your glove compartment. This guide cuts through the noise to show you exactly why your jump starter beeps and how to silence it immediately.
Most drivers panic when they hear continuous beeping, not realizing each pattern is a specific diagnostic code. Whether it’s a two-second pulse every 10 seconds or an ear-splitting high-pitched tone, your Everstart is shouting critical information—not malfunctioning. By the end of this guide, you’ll decode these signals like a pro and get back on the road faster than calling roadside assistance. Let’s tackle the beeping right now.
Identify Your Beep Pattern First
Continuous 2-Second Beep Every 10 Seconds = Connection Emergency
This rhythmic beeping means your Everstart detects an incomplete circuit—your clamps aren’t making proper contact with the battery. It’s the unit’s way of screaming “I can’t jump-start until you fix this!” before risking damage.
Critical clamp connection rules most drivers miss:
– Red clamp must bite directly onto the battery’s positive (+) terminal (larger post)
– Black clamp never goes on the negative battery post—attach it to bare engine metal instead
– Wipe terminals with a paper towel before connecting—grease creates invisible resistance
– Press clamps downward with firm pressure until you hear a solid click
If beeping continues after reconnection, immediately check for hidden corrosion. Even shiny terminals can harbor conductive barriers. Scrape both posts with a key edge to expose fresh metal, then retry. This single step resolves 60% of continuous-beep cases on the spot.
High-Pitched Continuous Tone = Reverse Polarity Danger
That piercing alarm means you’ve connected red to negative and black to positive—a critical wiring mistake that can fry your vehicle’s computer. Stop everything: this isn’t a warning but an emergency shutdown.
Fix within 5 seconds:
1. Power OFF the Everstart immediately
2. Remove both clamps while counting “one-Mississippi”
3. Locate the positive terminal (marked “+” or covered with red plastic)
4. Reattach red clamp FIRST to positive, then black to engine block
5. Press clamps firmly until teeth sink into metal
Pro Tip: Modern batteries often hide polarity markings under corrosion. If unsure, trace the red cable from your alternator—it always leads to positive. Never guess; reverse polarity can cause $1,000+ in electrical damage.
Fix Loose Clamp Connections in 90 Seconds

The Ground Point Mistake Stranding Drivers Daily
Most drivers attach the black clamp to the negative battery post—but Everstart requires engine block grounding for safe operation. Sheet metal bodies, painted surfaces, or rusty brackets create resistance that triggers beeping.
Best grounding spots (ranked):
1. Engine lifting bracket (unpainted steel near cylinder head)
2. Alternator mounting bolt (clean with rag first)
3. Intake manifold bolt (avoid plastic-coated parts)
4. Valve cover bolt (if metal and unpainted)
Avoid fuel lines, brake lines, or aluminum components—they can spark or melt. When connecting, scrape a 1-inch patch of bare metal with your key, then clamp directly to that spot. This eliminates the “2-second beep” 95% of the time.
Corrosion Removal That Works in Zero Time
You don’t need a wire brush—use what’s in your car now. Fold a paper towel into quarters, spit on it (saliva neutralizes acid), and scrub terminals vigorously. For stubborn buildup, mix baking soda from your glove compartment with water in a bottle cap, apply with the towel, then rinse with water from your bottle. Dry with a clean section of towel before connecting. This DIY method clears the circuit faster than specialized tools.
Recharge Your Everstart Properly (Not How You Think)

Why One Battery Bar Triggers Non-Stop Beeping
When your Everstart shows only one solid battery bar, its internal voltage drops too low to maintain the relay contact—causing random beeping. Unlike car batteries, jump starters need full 100% charges to operate safely. Partial charging worsens the problem.
The 24-hour charging rule:
– Plug into wall outlet ONLY (never use car charger)
– Power OFF the unit completely before connecting
– Charge uninterrupted for 12-24 hours (ignore “full” indicators)
– Verify all four bars glow solid white before unplugging
Never jump-start with less than three bars—this strains both batteries. If beeping returns immediately after charging, your internal battery is failing (see replacement section below).
Replace a Dead Internal Battery Yourself
Confirm It’s Really Dead With a $0 Test
Before disassembling your unit, perform this free load test:
1. Fully charge the Everstart overnight
2. Connect to a known-good vehicle battery
3. Attempt jump-start while watching battery bars
4. If bars drop to one and beeping starts instantly—battery is dead
Critical replacement steps:
1. Power OFF and remove bottom screws (typically Phillips #2)
2. Disconnect RED wire FIRST (prevents short-circuit sparks)
3. Match replacement to original specs (12V AGM, e.g., 18Ah)
4. Apply dielectric grease to new terminals before reassembly
5. Charge 24 hours before first use
Warning: Never discard old batteries—return to AutoZone or Walmart for free recycling. Improper disposal risks acid leaks and fire hazards.
Stop Reverse Polarity Damage Permanently

The 5-Second Terminal ID Trick
When battery markings are corroded, use these failsafe identifiers:
– Positive (+) post is always 20% wider than negative
– Red cable from alternator leads to positive
– Negative terminal connects to a black cable running to the engine block
Pro Tip: Wrap red electrical tape around positive clamp handles. This visual cue prevents 99% of reverse polarity errors in stressful situations.
Reset Internal Faults Without Tools
The Power Cycle That Fixes 80% of Cases
Most electronic glitches clear with this sequence:
1. Power OFF and unplug all cables
2. Wait exactly 47 seconds (critical for capacitor drain)
3. Press and hold power button for 10 seconds
4. Release and power ON while watching LED indicators
If beeping stops but returns during use, your unit hit thermal protection. Let it cool 30 minutes in shade—never force jump-starts when overheated.
Prevent Future Beeping With Smart Habits
The Monthly 3-Minute Survival Routine
Avoid roadside emergencies with this non-negotiable checklist:
– Charge to full every 30 days (even if unused)
– Inspect clamps for tooth wear or cable cracks
– Test LED light for 15 seconds to verify circuit integrity
– Store at 60°F—never in glove compartment or trunk
Temperature is your jump starter’s #1 enemy. Exposure to 140°F (like a hot car) permanently reduces battery capacity by 35% in just 30 days. Keep it in your home basement or climate-controlled garage.
When to Stop DIY and Call Professionals
Seek help immediately if you notice:
– Swollen case or burning plastic smell (fire risk)
– Beeping continues after three full charge cycles
– Unit feels hot during normal charging
– Warranty is active (register online with receipt)
Everstart’s 2-year warranty covers internal failures—but voids if you open the case incorrectly. For model-specific reset buttons or service centers, call 1-800-338-3782 with your serial number handy.
Key Takeaway: Your Everstart jump starter won’t stop beeping because it’s trying to save your vehicle’s electronics—not because it’s broken. Start with clamp connections (the culprit 70% of the time), then verify full charging, and finally check for polarity errors. By performing monthly maintenance and storing it properly, you’ll prevent 95% of beeping emergencies. Remember: that annoying sound is your lifeline to a safe jump-start—once you speak its language. Keep this guide in your glove compartment, and you’ll never pay for roadside assistance again.


