
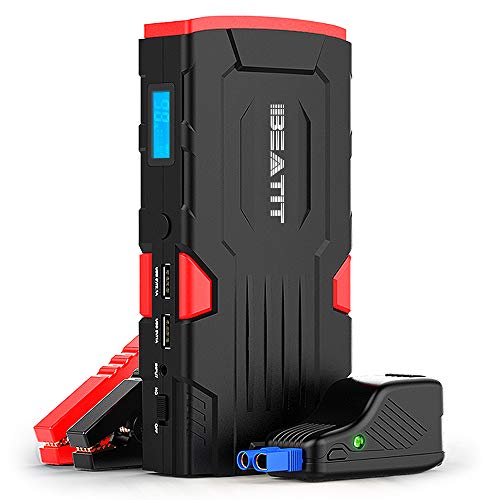
Your Beatit jump starter sits in your trunk ready to rescue you from a dead car battery—but only if it’s properly charged. Too many drivers discover their portable power pack is completely drained during an emergency, often due to simple charging mistakes. This happens because lithium-ion batteries self-discharge over time, losing 5-10% of their capacity monthly even when unused. Whether you just unboxed your Beatit or need to troubleshoot charging issues, this guide delivers precise, model-specific instructions to keep your device emergency-ready. You’ll learn all charging methods, indicator light meanings, and critical safety steps to avoid battery damage.
Ignoring proper charging protocols risks permanent battery damage or failed jump-starts when you need them most. Lithium-ion cells degrade rapidly when stored fully charged or completely empty, potentially cutting your device’s lifespan in half. By following these verified procedures, you’ll maintain peak performance for years. Let’s ensure your Beatit delivers 500+ jump-starts without failure.
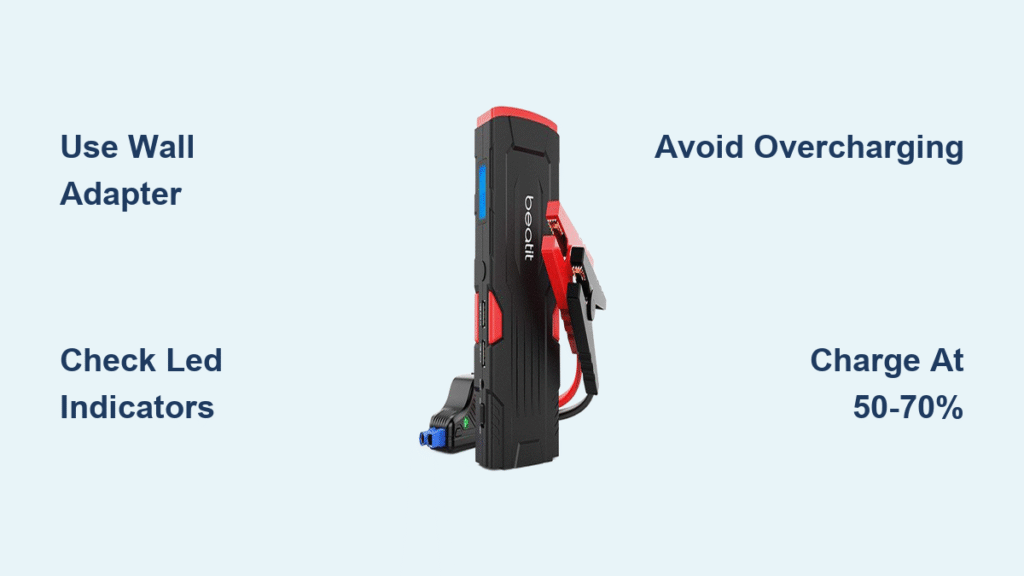
Wall Adapter Charging: Fastest Method for Full Power
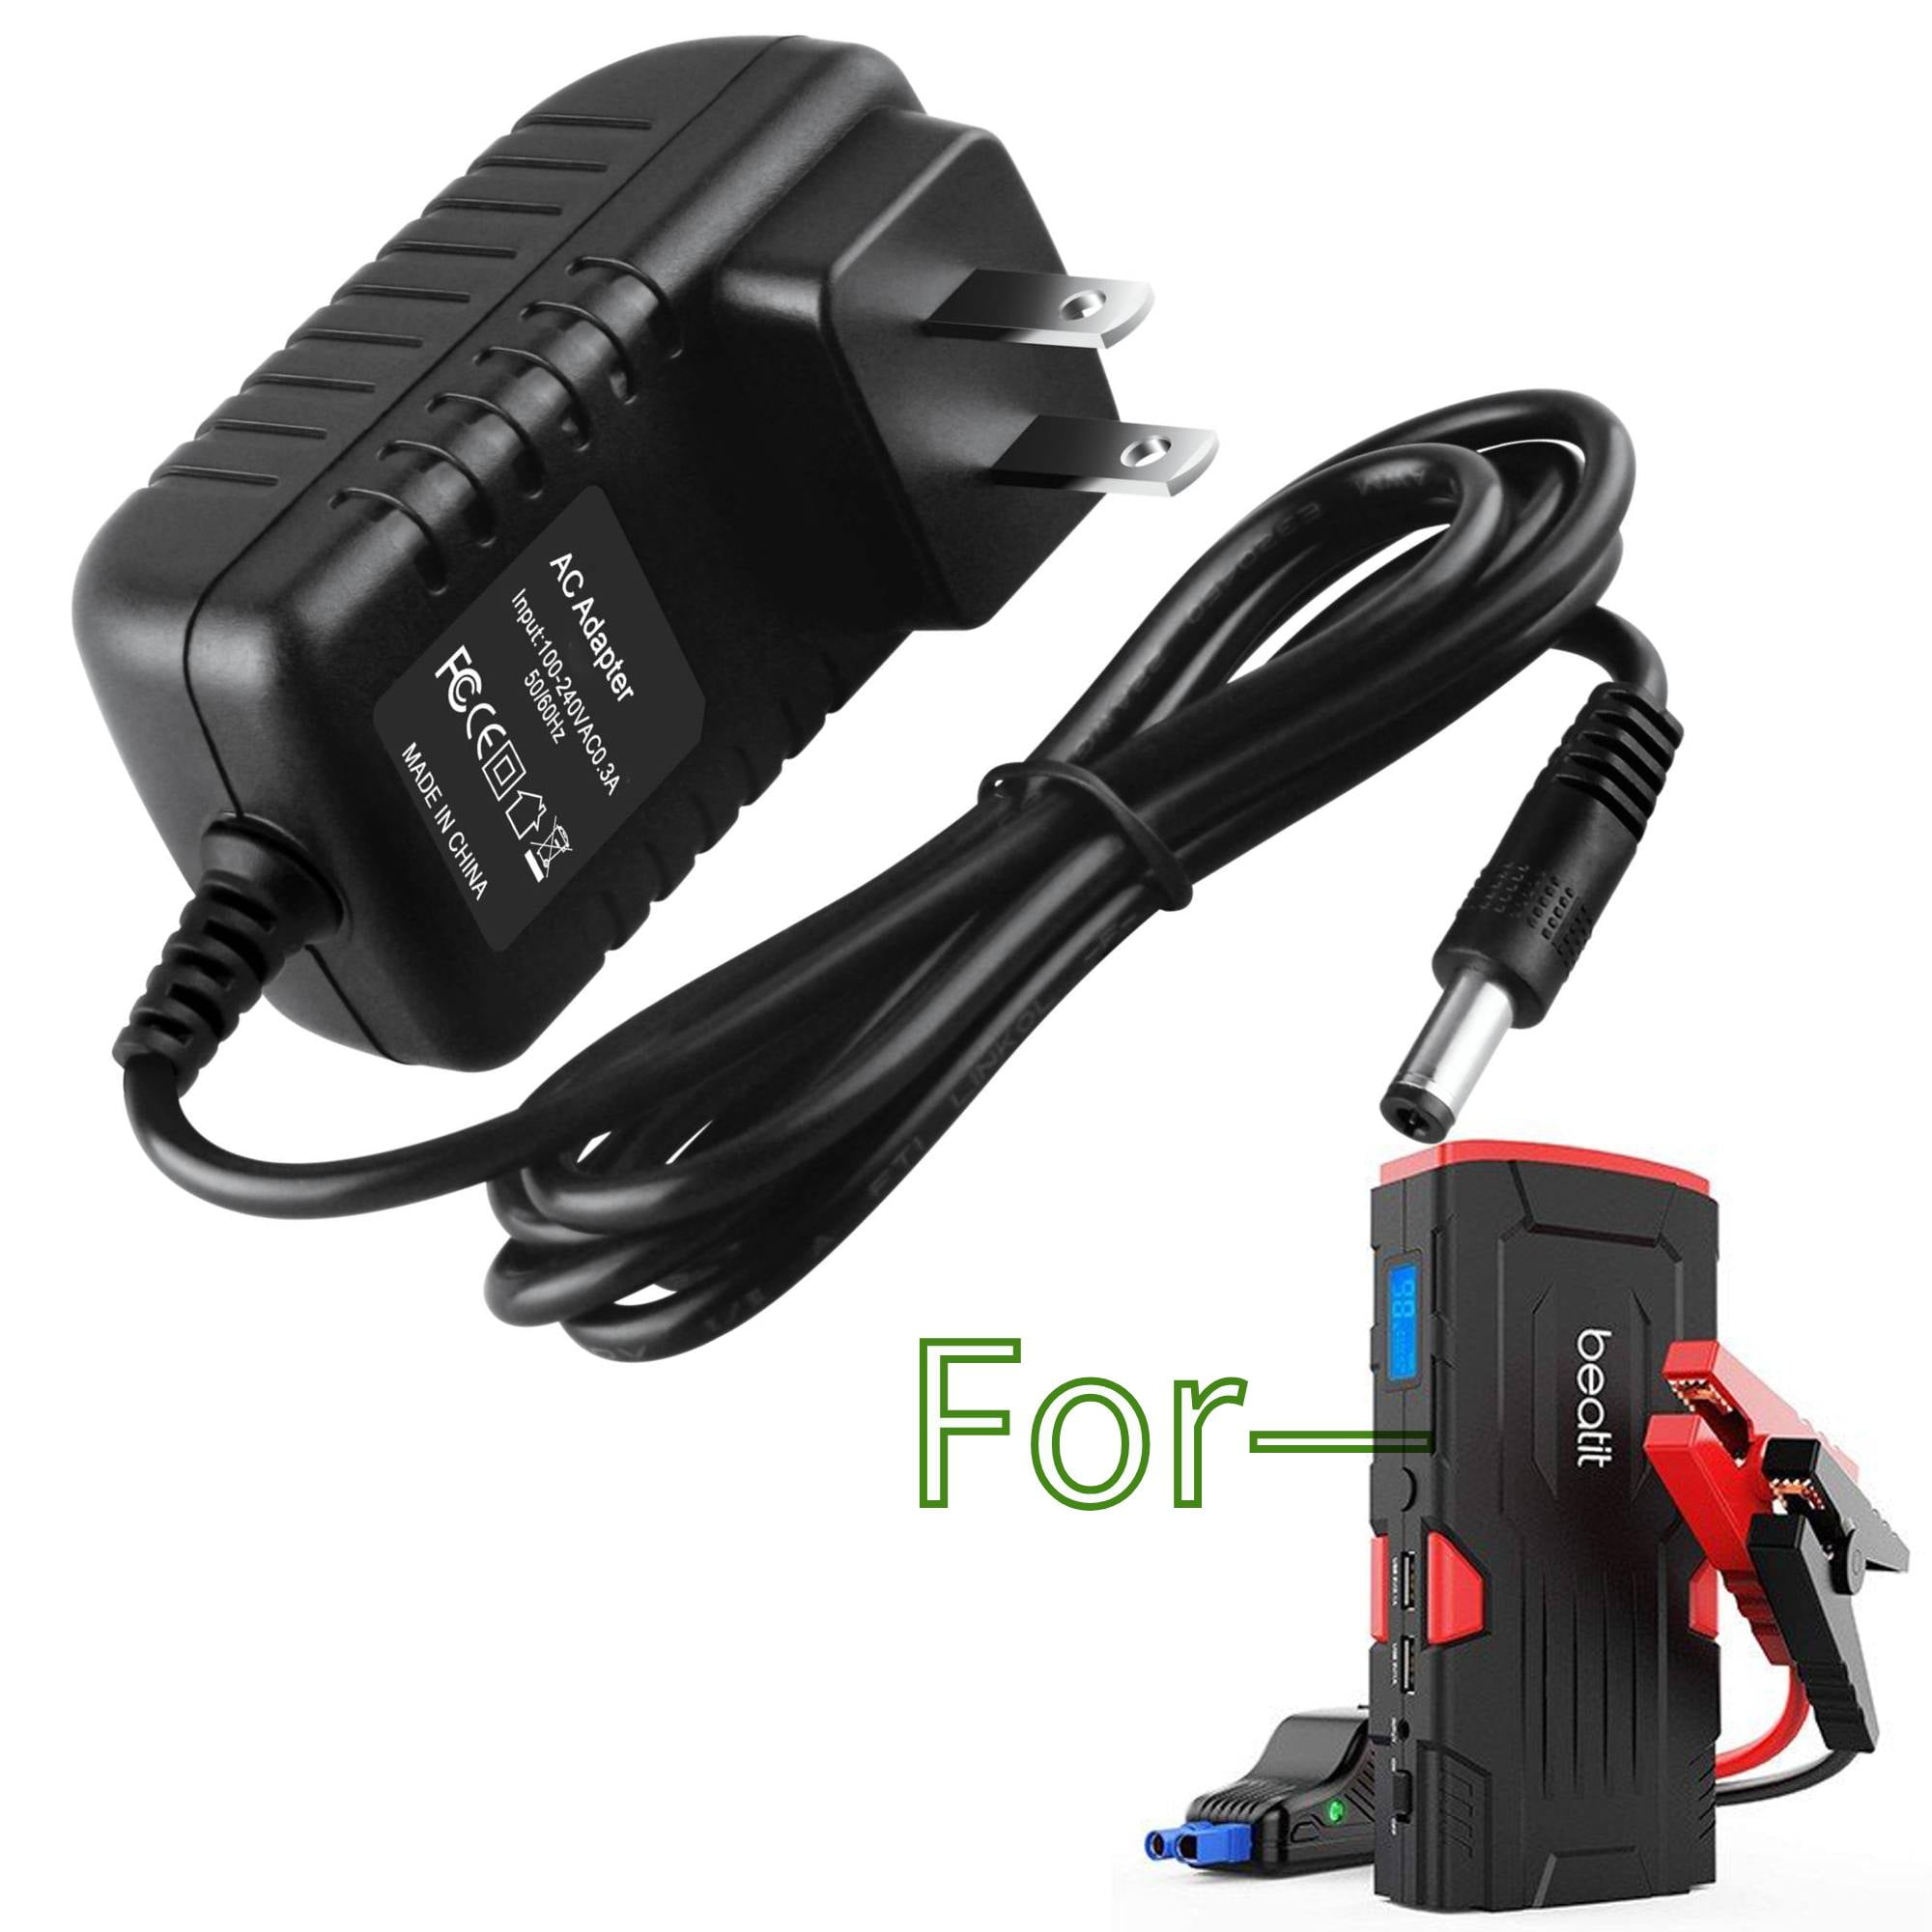
The included 15V/1A wall adapter delivers the quickest, most reliable charge for all Beatit models. Locate the rubber-covered “DC IN” port on your unit’s side—this flap prevents dust and moisture intrusion. Insert the adapter firmly until it clicks; resistance indicates debris or misalignment. A steady red LED confirms charging has started. Expect 5-6 hours for full capacity depending on your model’s battery size, but never exceed 8 hours to prevent overcharging.
Why Outlet Choice Matters for Charging Success
Always test your wall outlet with another device first. Faulty outlets cause 40% of “charging failures” mistaken for device defects. If using a power strip, verify it’s rated for at least 15 watts—cheap strips often deliver insufficient current. For international travel, note that Beatit adapters accept 100-240V input, but you’ll need a physical plug converter for non-North American outlets. Never force the connector; bent pins from improper insertion require professional repair.
USB Charging: Emergency Backup When Wall Power Isn’t Available
When wall adapters are inaccessible, Beatit’s USB ports offer slower alternatives. Standard micro-USB ports accept 5V/2A input but take 8-12 hours for a full charge—ideal only for emergencies. Newer BT-D11 models add USB-C with Power Delivery (5V/3A), reducing charge time to 3-4 hours. This makes USB-C viable as a primary method for these specific units, though still 30% slower than the wall adapter.
Avoiding Common USB Power Source Mistakes
Your jump starter charges from any USB source, but performance varies drastically. Computer USB ports deliver only 0.5-0.9A, extending charge time to 15+ hours—use these only as last resorts. For optimal USB charging, select a dedicated wall adapter labeled “2.0A” or higher. Never use damaged cables; frayed wires or bent connectors trigger E02 error codes from over-current protection. Check cable integrity monthly by inspecting for kinks near the ports.
Car Charger Method: Power Up While Driving
The included BT-CC12 car adapter lets you charge during commutes via your cigarette lighter port. Crucially, only plug in with your engine running—charging with the engine off drains your vehicle’s battery. The alternator must be active to sustain the 12V DC draw. Expect 6-8 hours for a full charge during typical driving, but note that short trips under 20 minutes won’t significantly replenish the battery.
Critical Safety Check Before Connecting
Verify your car’s port delivers power by testing with another device first. Some vehicles disable accessory ports when the ignition is off, causing false “charging failure” diagnoses. If your Beatit displays E04 (reverse polarity), unplug immediately—this indicates incorrect adapter orientation that could damage internal circuits. Always disconnect the car charger within 10 minutes of engine shutdown to prevent parasitic drain.
Decoding Beatit’s LED Indicator Lights

Misreading indicator lights causes unnecessary panic and improper charging. Understanding these signals prevents battery stress and extends device life.
What Your 4-LED System Really Means
Each solid light represents 25% charge capacity:
– 1 light: 0-25% (urgent recharge needed)
– 2 lights: 25-50% (use only for emergencies)
– 3 lights: 50-75% (safe for regular use)
– 4 lights: 100% (disconnect charger immediately)
Flashing lights indicate active charging progress. If all LEDs remain off after 30 minutes, your unit is deeply discharged—continue charging for 1 full hour before troubleshooting. Persistent flashing without progress signals E03 (short circuit), requiring port debris inspection.
Essential Safety Protocols During Charging
Lithium-ion batteries demand specific handling to prevent fire hazards or permanent damage. Ignoring these protocols voids your warranty and risks device failure.
Temperature Danger Zones to Avoid
Charge only between 50°F-80°F (10°C-27°C) for optimal battery health. Below 32°F (0°C), lithium ions move sluggishly—allow frozen units to warm indoors for 30 minutes before charging. Above 95°F (35°C), charging slows significantly; never leave your Beatit in direct sunlight or hot vehicles. If the unit feels hot during charging, disconnect immediately—overheating triggers automatic shutdown at 158°F (70°C) to prevent thermal runaway.
Step-by-Step Charging Process for Guaranteed Results
Follow this sequence for every charge cycle to maximize battery lifespan and avoid common pitfalls.
First-Time Setup: Critical Initial Steps
- Remove shipping film from the DC IN port (often missed, causing connection issues)
- Verify all accessories are present: wall charger, car adapter, and cables
- Perform initial charge for 8-12 hours regardless of indicator lights
- Test functionality by pressing the power button—failure here indicates shipping damage
Skipping this extended first charge misaligns the battery management system, causing inaccurate capacity readings long-term.
Daily Charging Routine to Prevent Damage
- Connect charger firmly to DC IN port until audible click
- Plug into verified working outlet (test with phone charger first)
- Confirm red LED illuminates within 10 seconds
- Monitor progress every 30 minutes—never leave unattended
- Disconnect at 100% (solid green light or 4 LEDs) to avoid overcharging
Set a phone timer for 5.5 hours when wall charging—this prevents the 6+ hour overcharging that degrades battery capacity by 20% annually.
Model-Specific Charging Times and Tips
Charging duration varies significantly by model. Using incorrect expectations leads to premature disconnection or dangerous overcharging.
BT-D11 Series (8000mAh) Fast Charging
- Wall adapter: 5-6 hours (use only included 15V/1A charger)
- USB-C PD: 3-4 hours with 3A+ adapter (non-PD chargers double time)
- Critical note: Never use both ports simultaneously—dual input isn’t supported and triggers E01 errors
G18 Series (18000mAh) Dual-Port Advantage
- Wall + USB combined: 3.5-4 hours (40% faster than single-port)
- Car charging: 6-8 hours (requires engine running)
- Pro tip: Alternate between ports monthly to maintain connector integrity
Troubleshooting Common Charging Failures
Most “defective unit” claims stem from simple user errors. Diagnose issues systematically before contacting support.
Unit Shows Zero Response: Quick Fixes
- Check for complete discharge: Charge for 60 minutes before expecting LED response
- Inspect port for debris: Use compressed air—metal shavings cause E03 shorts
- Reset internal circuits: Hold power button 10 seconds with charger connected
- Test with alternative adapter: Non-OEM chargers often lack required 15V output
If no lights appear after 1 hour, contact Beatit support—this indicates possible battery management system failure covered under warranty.
Slow Charging: Identify the Real Culprit
- USB vs. wall adapter: USB charging is intentionally 2-3x slower—this is normal
- Temperature impact: Below 50°F (10°C), charging slows 50%—move to climate-controlled space
- Adapter mismatch: Third-party chargers rarely deliver exact 15V/1A specifications
- Battery age: After 500 cycles, expect 20% longer charge times (natural degradation)
Long-Term Battery Care for Maximum Lifespan
Your Beatit’s longevity depends entirely on charging habits. Follow these protocols to achieve 1000+ cycles.
Storage Rules That Prevent Permanent Damage
Store at exactly 50-70% charge—not full or empty. Fully charged units degrade 4x faster in storage, while empty batteries risk “deep discharge death” below 3.2V per cell. Check stored units monthly; recharge immediately if indicators drop below 20%. Keep in a dry closet between 68°F-77°F (20°C-25°C)—garages and trunks expose batteries to damaging temperature swings.
When to Replace Your Jump Starter
Capacity below 70% of original (fewer jump-starts, rapid discharge) signals end-of-life. Contact support@beatit-tech.com with proof of purchase—battery failure under normal use is covered by the 24-month warranty. Never attempt DIY battery replacement; punctured lithium cells cause violent fires.
Keep your Beatit jump starter mission-ready by charging it after every use and monthly during storage. Remember: 50-70% charge level is the sweet spot for long-term health, and wall adapters always outperform USB for speed and battery preservation. By following these precise protocols, you’ll avoid the frustration of a dead rescue device when stranded. Test your unit’s charge level quarterly—your next jump-start could depend on it.


