

Your Cen-Tech jump box just pulled you out of a dead battery emergency, but now it’s running low on power. Whether you’re dealing with a compact lithium model or a heavy-duty lead-acid unit, knowing the proper charging technique prevents permanent battery damage and ensures reliable performance when you need it most. This guide walks through every charging method, from basic wall charging to advanced USB-C options, plus troubleshooting steps for common issues that leave many users frustrated.
You’ll learn exactly what those LED indicators mean, how long each charge should take, and the storage tricks that extend battery life by years. Following these precise charging procedures ensures your Cen-Tech jump starter remains ready for action whenever vehicle trouble strikes, saving you from being stranded with a dead battery when you need help most.
Identify Your Cen-Tech Charging Port Type
Every Cen-Tech jump box has a clearly marked charging input, but the location varies significantly by model. Look for labels reading “CHARGE,” “DC IN,” or a lightning bolt symbol near the port. Most units house the charging port on the side panel, while newer models position it next to the USB outputs for convenience.
The port type determines your charging options and compatibility. Standard models use a round DC barrel connector, while updated lithium-ion versions feature USB-C ports. Check your model number on the back label—this information becomes crucial when selecting the correct charger or troubleshooting connection issues. Using the wrong charger can damage your unit and void your warranty, so verification takes only seconds but prevents costly mistakes.
Wall Charging Steps for Maximum Battery Health

Connect AC Adapter Without Damage
Start by matching your Cen-Tech’s original adapter to the charging port. The barrel connector only fits one way, so never force it—this prevents bent pins that cause charging failures. USB-C models accept the cable in either orientation, but you’ll feel a firm click when properly seated. Always inspect the connector for debris or damage before plugging in, as even small particles can interrupt the charging circuit.
Monitor LED Charging Status Accurately
Plug the adapter into a 120V household outlet and watch the indicator lights immediately. A solid red light confirms charging has started correctly. This light switches to solid green when fully charged—never guess when it’s ready. Blinking red indicates a serious problem like overheating or connection issues that require immediate attention. Digital display models show precise percentage readings, eliminating guesswork about charge status.
Charge Times by Battery Chemistry
- Lead-acid models (62306): 12-15 hours for complete charge at room temperature
- Lithium-ion models (61451): 3-4 hours with standard adapter, 2-3 hours with USB-C PD
- Heavy-duty LiFePO4 units (69727): 5-6 hours with included 19V adapter
Vehicle Charging While Driving Properly
12V DC Car Charging Process
Your Cen-Tech includes a vehicle charger that plugs into the 12V power outlet. Insert the DC adapter fully—loose connections cause intermittent charging that damages battery cells over time. Start your vehicle’s engine for optimal power delivery since the alternator provides stronger, more stable current than the battery alone. Highway driving works best as the alternator maintains steady voltage needed for proper charging.
Avoid Common Car Charging Mistakes
Drive for 2-4 hours to achieve a full charge, depending on your model and driving conditions. Never use extension cords or splitters with the vehicle charger, which reduce voltage and can trigger error codes that require resetting the unit. Check your alternator output—older vehicles with weak charging systems may not provide sufficient power for effective jump box charging.
USB-C Charging for New Lithium Models
Required Equipment Specifications
Recent Cen-Tech lithium models accept USB-C power delivery charging, but not all cables work. Use a USB-C to USB-C cable rated specifically for power delivery—standard charging cables won’t deliver enough power. The charger must provide minimum 18W, but 45W PD chargers cut charging time significantly. Verify your USB-C charger supports the required voltage profiles (5V/3A, 9V/2A, or 15V/1.2A) for your specific model.
Interpreting USB-C Charge Indicators
USB-C models display charging progress in 25% increments through LED bars. Each bar represents approximately 25% capacity, with all bars solid meaning 100% charged and ready. Unlike older models, the charging light won’t change color—instead, additional bars illuminate as charge progresses. Watch for flashing patterns which indicate incompatible chargers or connection problems requiring immediate attention.
Decode Charging Indicator Patterns Immediately

Standard LED Warning Signs
- Solid Red: Normal charging in progress (expected behavior)
- Blinking Red: Charging error—check connections or battery temperature
- Solid Green: Fully charged, ready for emergency use
- Blinking Green: Maintenance mode (trickle charging to preserve battery)
Digital Display Diagnostic Messages
Advanced Cen-Tech units with LCD screens provide precise feedback beyond simple percentages. You’ll see estimated time remaining, battery health status (rated from 1-5 stars), and input voltage readings. Low voltage readings during charging (below 11V for lead-acid models) indicate inadequate power supply that prevents proper charging.
Fix Common Charging Problems Quickly
When Unit Won’t Charge at All
Start with the basics: verify you’re using the original adapter or exact replacement with matching voltage and amperage ratings. Clean the charging port with compressed air to remove debris that blocks proper connection. Test with a different power source to rule out outlet problems—many users waste hours troubleshooting when the issue is simply a tripped circuit breaker.
Slow Charging Solutions That Work
Slow charging usually indicates inadequate power supply or aging components. Avoid extension cords or power strips that reduce voltage by up to 20%. Test your outlet with a voltage meter—charging requires at least 110V for proper operation. Bent pins in the charging connector require professional repair; attempting to straighten them often causes permanent damage.
Overheating During Charge Emergency Steps
Stop charging immediately if the unit becomes uncomfortably warm to the touch. Disconnect all cables and let it cool for one hour before attempting to resume. Ensure ventilation around the unit—never charge under direct sunlight or in enclosed spaces like glove compartments. Persistent overheating signals battery degradation requiring replacement before it becomes a safety hazard.
Battery Maintenance Best Practices for Longevity
Initial Setup Requirements
Before first use, charge your new Cen-Tech for the full recommended time—even if the factory indicator shows partial charge. Lead-acid models need 12-15 hours, lithium units require 3-4 hours. Complete three full charge/discharge cycles to maximize battery capacity and lifespan. Skipping this conditioning process reduces your unit’s effective capacity by up to 30%.
Optimal Storage Conditions
Store your jump box at 50-70% charge when not using regularly. Recharge every 3-4 months during storage periods to prevent deep discharge damage. Never store fully discharged for more than two weeks—this permanently damages lithium batteries. Ideal storage temperature ranges from 60°F-70°F (15°C-21°C); garages and vehicles often exceed safe temperature limits.
Monthly Maintenance Routine
Charge your Cen-Tech after every use, regardless of remaining capacity. Perform a maintenance charge monthly even if unused. Every six months, run a complete discharge cycle by using the unit until automatic shutoff, then recharge fully. Set calendar reminders for maintenance tasks—most premature battery failures occur from neglected storage charging.
Model-Specific Charging Instructions You Need
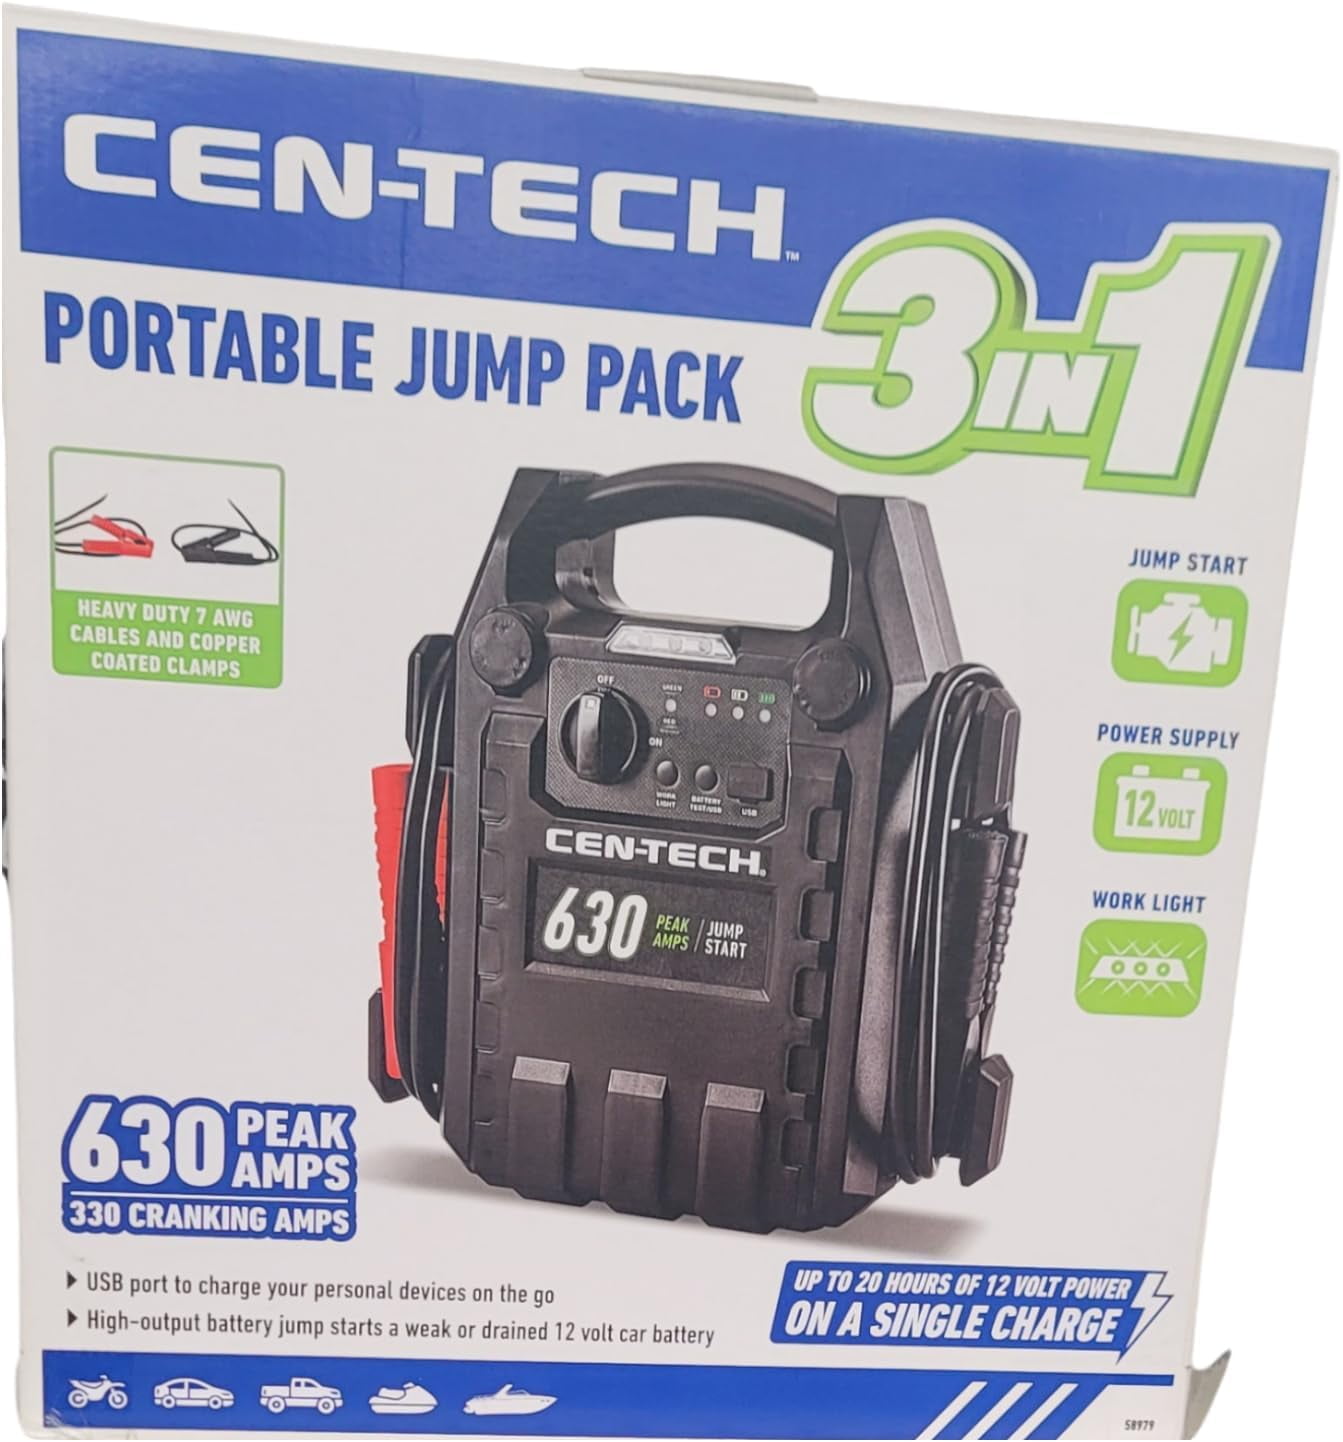
4-in-1 Power Pack (62306) Requirements
This sealed lead-acid unit requires patience—12-15 hours using the 12V/1.5A adapter. Never attempt fast charging as it damages the 17Ah battery. The LED indicator remains red throughout the entire process, switching to green only when completely charged. Vehicle charging takes 3-4 hours with the 12V/10A adapter.
Lithium Jump Starter (61451) Optimization
The 8000mAh lithium-ion battery charges efficiently with the 15V/1A adapter in 3-4 hours. USB-C PD charging works with multiple power profiles for flexibility. This model supports pass-through charging, letting you power devices while recharging—a valuable feature during extended emergencies.
Heavy-Duty Model (69727) Special Considerations
This lithium iron phosphate unit accepts the powerful 19V/3.42A adapter for 5-6 hour charging. Optional 50W solar panels provide emergency charging capability, but require built-in charge controller for safety. Solar charging takes 8-10 hours in ideal conditions—significantly longer than wall charging.
Your Cen-Tech jump box represents a significant investment in emergency preparedness. Following these specific charging procedures ensures reliable performance for years while avoiding common mistakes that prematurely age batteries. Keep this guide handy—when your vehicle battery dies at the worst possible moment, you’ll have the knowledge and power to get back on the road quickly. Remember to test your jump starter monthly and maintain proper charging habits to guarantee it works when you need it most.


