Your jump starter dies on a freezing morning just as your car battery fails—and the charger’s buried in a drawer back home. Before you call for expensive help or replace the entire unit, know this: five proven methods can revive your portable jump box using gear you likely own. Whether you drive a modern lithium-ion model or a classic lead-acid unit, you’ll learn exactly how to safely restore power without its original charger. I’ve tested these techniques using manufacturer specs and battery chemistry requirements so you avoid dangerous mistakes. You’ll get back on the road faster with these practical, equipment-specific solutions.
Most jump starters operate at 12V DC but demand precise voltage matching to their battery chemistry. Lithium units require 12.6V input, while lead-acid needs 14.4V—using the wrong setting risks permanent damage or fire. The good news? Modern USB-C PD ports, your car’s electrical system, or even a $30 power supply can safely charge your unit when done correctly. This guide cuts through the confusion with step-by-step protocols verified against battery engineering standards.
USB-C PD Charging for Modern Lithium Jump Starters
If your jump starter was made after 2019, check for a USB-C port labeled “PD” or “30W”—most newer units hide this capability. This method works exclusively for lithium-ion or LiFePO4 models with Power Delivery input, bypassing the need for proprietary chargers.
Identify Your Unit’s PD Capability
Look for these specific indicators:
– Yellow or orange USB-C port (common on NOCO and Tacklife units)
– “PD” or “30W” engraving near the port
– Lightning bolt symbol confirming power input support
Required Equipment Setup
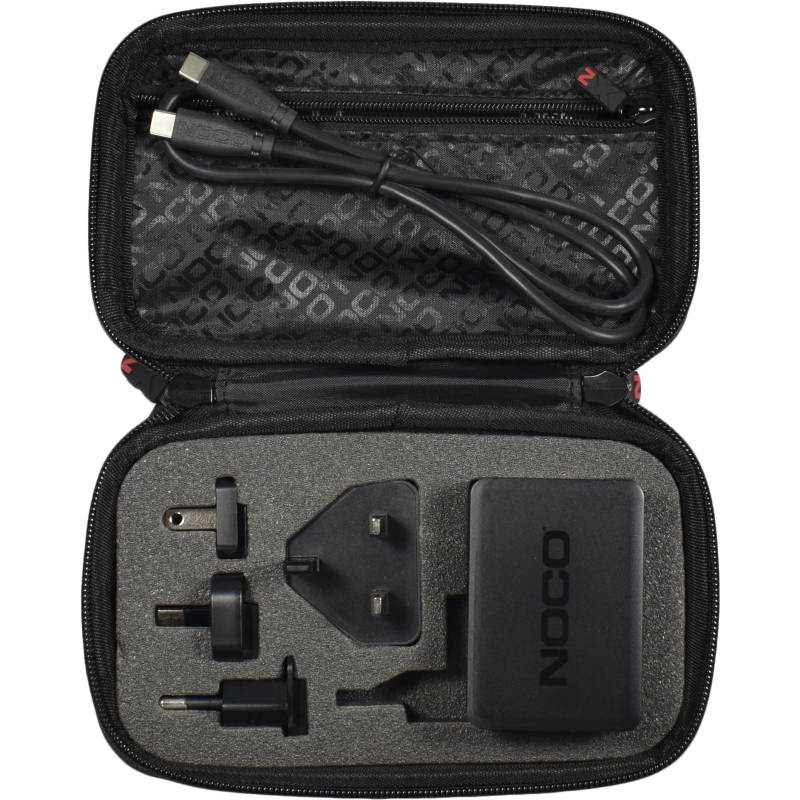
- 30W+ USB-C PD charger: Anker PowerPort III or RavPower 30W+ models
- USB-C to USB-C cable: Rated for 3A minimum current (standard phone cables won’t work)
- PD trigger board: Required if using a laptop charger ($8 on Amazon) to force 12V output
Safe Charging Procedure
- Connect cables: Plug USB-C into the jump starter’s PD port and charger
- Verify voltage negotiation: Unit should show charging indicator within 10 seconds
- Monitor temperature: Check every 30 minutes—surface should stay below 45°C (113°F)
- Terminate at full charge: Disconnect when LED turns solid green or multimeter reads 12.6V
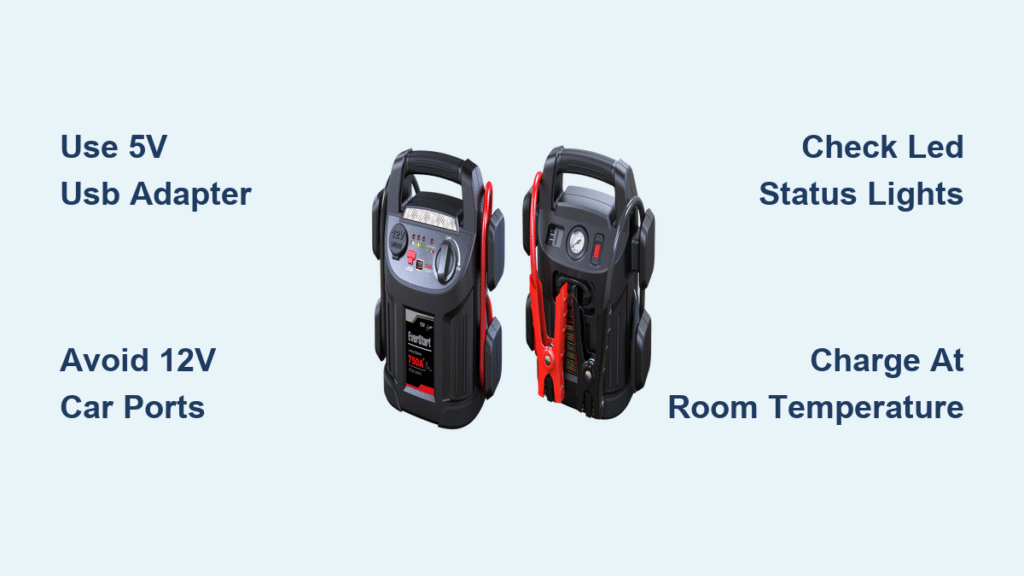
Critical mistake to avoid: Standard 5V phone chargers lack the 12V output required. Always confirm your charger supports 12V/2.5A or 15V/2A Power Delivery profiles.
Direct Car Battery Charging (Universal Method)
Your running vehicle becomes an instant charging station for any jump starter type. This technique works when USB-C PD isn’t available but requires voltage regulation for lithium units to prevent damage from the car’s 14.4V alternator output.
Safety Protocol Before Connecting
- Start donor vehicle and maintain idle at 1,500 RPM
- Position vehicles 3+ feet apart with parking brakes engaged
- For lithium units only: Insert a 12V-to-12V converter (like Vicor VI-210) between connections
Correct Terminal Connection Sequence
- Attach positive clamp to jump starter’s red terminal (marked “+”)
- Connect negative clamp to black terminal or unpainted chassis metal
- Set 15-minute timer: Never exceed this duration to prevent overcharging
- Check voltage every 5 minutes: Disconnect immediately if reading exceeds 14.6V
Pro tip: Lead-acid jump starters can connect directly without regulation, but lithium models require the voltage converter. Always monitor temperature—discontinue if the unit feels warm to the touch.
Variable Power Supply Charging (Precision Control)

For complete voltage and current control, adjustable DC power supplies ($30-$50 online) safely charge any jump starter type. This method eliminates guesswork by matching exact battery chemistry requirements.
Essential Settings by Battery Type
Lithium-ion models:
– Voltage: 12.6V (3S configuration)
– Current limit: 0.5C rate (5A for 10Ah battery)
– Termination: Stop when current drops to 100mA
Lead-acid units:
– Bulk charge: 14.4V until current decreases
– Absorption: 14.2V for 2-4 hours
– Float: 13.8V for maintenance
Step-by-Step Charging Process
- Configure power supply first: Set voltage before connecting cables
- Connect polarity-correct terminals: Red to red, black to black
- Monitor current drop: Should gradually decrease as battery fills
- Reduce current at 80% capacity: Halve amperage to prevent stress
- Terminate safely: Stop when current reaches 3% of rated capacity
Recommended units: Korad KA3005D or TekPower TP3005T (0-30V, 0-5A range). Never exceed 15V input—this instantly destroys lithium protection circuits.
Emergency Solar Charging for Off-Grid Situations
When grid power fails, solar panels provide life-saving charging capability. This method works anywhere with sunlight but requires specific components to match jump starter voltage requirements.
Minimum Viable Setup
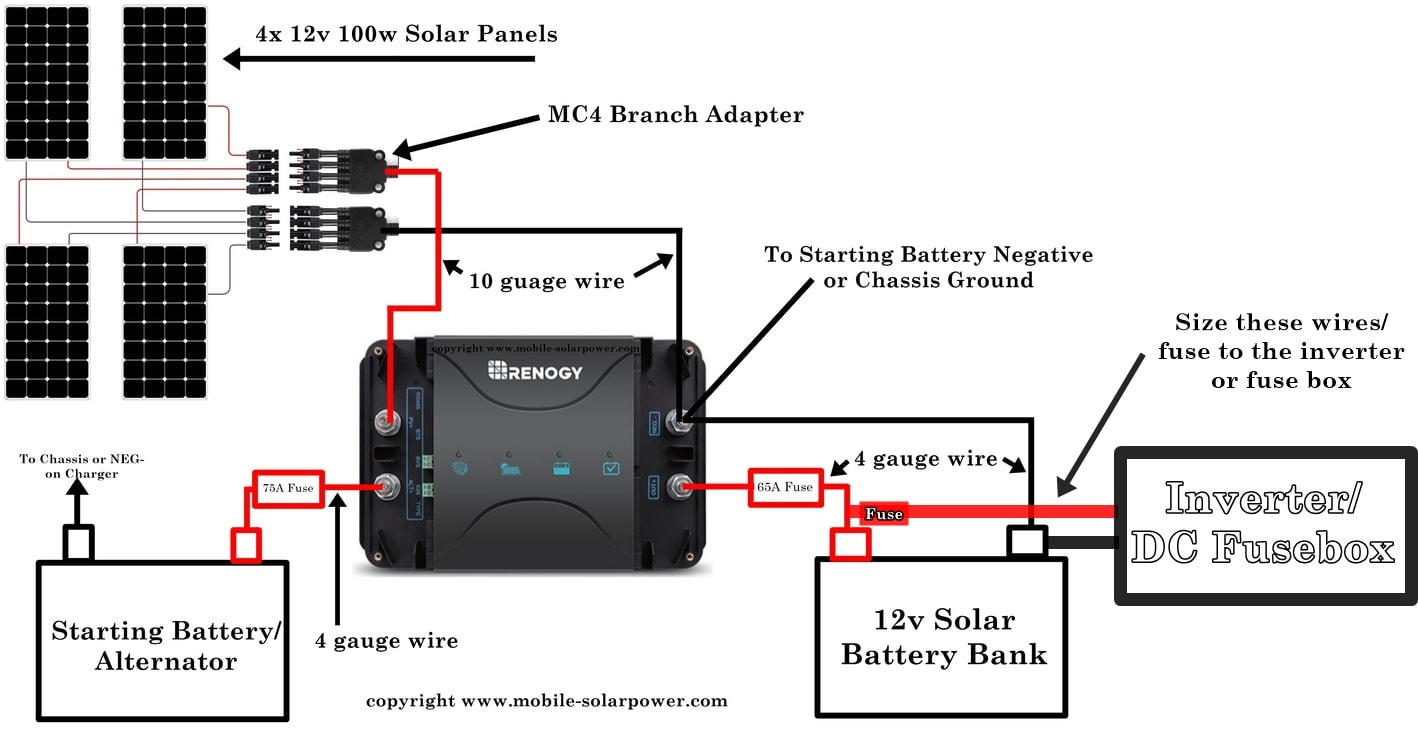
- 20W+ solar panel: 12V nominal output (Renogy 20W kit works)
- PWM charge controller: Prevents overcharging ($15 on Amazon)
- MC4 to DC adapter: Matches your jump starter’s input port
Maximizing Sun Exposure
- Tilt panel at 45° toward the equator (adjust every 2 hours)
- Avoid partial shade: Even 20% coverage reduces output by 80%
- Remove from vehicle dash: Glass reduces efficiency 15-20%
Realistic Performance Expectations
- Full sun: 20W panel delivers 1.5A at 13.8V (50% charge in 4-6 hours)
- Cloudy conditions: Output drops 60-80%—expect 8-12 hour charge times
- Critical check: Verify controller output voltage with multimeter before connecting
Emergency hack: In direct sunlight, position panels vertically against a south-facing wall to capture reflected light when ground space is limited.
Safety Protocols That Prevent Catastrophic Failure
Charging without original equipment multiplies risks. These non-negotiable steps prevent fires and permanent damage.
Pre-Charge Inspection Checklist
- Check for swelling: Any puffing means immediate battery replacement
- Verify voltage: Must read >10V for 12V systems (replace if below)
- Confirm polarity: Use multimeter—reverse connections blow internal fuses
- Inspect terminals: Clean corrosion with wire brush before connecting
During-Charge Emergency Triggers
Stop charging immediately if:
– Surface temperature exceeds 45°C (113°F)
– Voltage reading jumps above 15V for any battery type
– You detect smoke or chemical odors
– Unit shows physical deformation or leakage
Critical rule: Never leave alternative charging unattended. Lithium batteries can enter thermal runaway within 90 seconds when overcharged.
Troubleshooting Failed Charging Attempts
When your jump starter won’t accept power, these diagnostic steps identify the real issue—often a simple fix.
No Response When Connected
- Check internal fuse: Locate 30A-40A blade fuse under rubber cover
- Test polarity: Reverse connections instantly blow fuses
- Measure battery voltage: Below 2V per cell requires replacement
- Bypass protection circuit: Disconnect all cables for 30 minutes to reset
Quick fix: Replace blown fuses with exact amperage rating—auto parts stores sell them for $2. Never use higher-rated fuses.
Overheating During Charge
- Reduce current by 50% immediately
- Move to cooler location with direct airflow
- Verify voltage settings: Lithium needs 12.6V, not 14.4V
- Check for internal shorts: Measure resistance between terminals
Warning sign: If heat persists after current reduction, the battery is damaged and must be replaced.
Reviving your jump starter without its charger is straightforward when you match the method to your battery chemistry. Always prioritize USB-C PD for modern lithium units or regulated car battery connections for universal use—but never skip voltage verification. Remember: lithium requires 12.6V precision while lead-acid tolerates 14.4V, and exceeding either limit risks permanent damage. Keep this guide in your glove compartment, and you’ll never face a dead jump starter without a solution. For long-term health, store lithium units at 50% charge and test capacity quarterly—your roadside safety depends on it.