
Your engine sputters and dies in a deserted parking lot at midnight. No passing cars, no cell service, and that weak clicking sound confirms your battery’s dead. A Peak jump starter transforms this nightmare into a 10-minute fix—no waiting for tow trucks or begging strangers for jumper cables. These compact power banks deliver up to 50 jump starts on a single charge, making them non-negotiable emergency gear for every driver. Skip the frustration of failed jump attempts and learn exactly how to use your Peak jump starter correctly the first time.
Most car owners stash these devices in their trunk but never test them until disaster strikes. When that moment comes, you’ll need to know the precise connection sequence and safety steps that separate a smooth restart from dangerous sparks. This guide reveals the exact process mechanics follow, including critical safety checks most manuals omit and time-saving tricks for freezing temperatures.
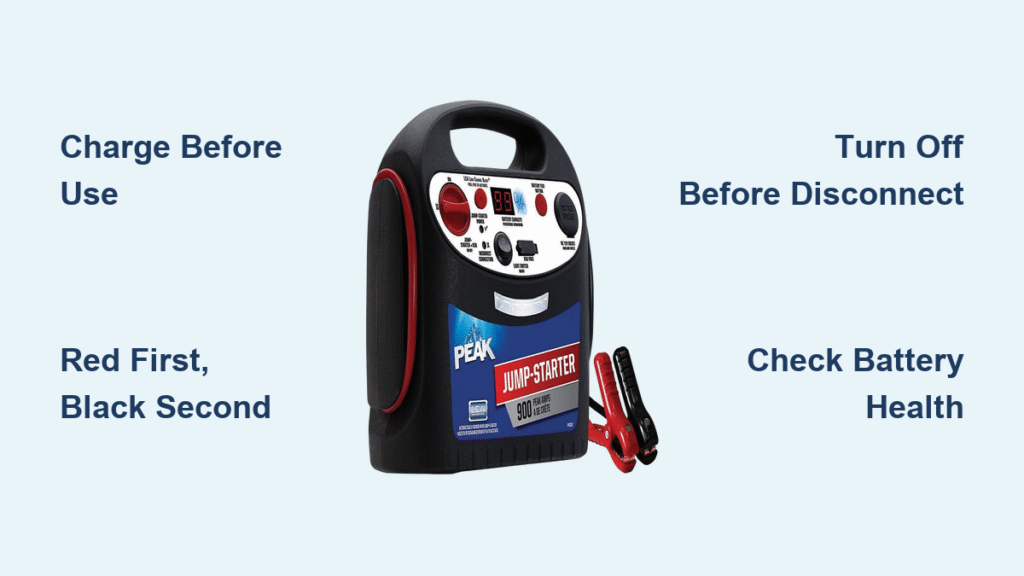
Charge Your Peak Jump Starter Before Stranding
Why Your Brand-New Unit Might Fail Immediately
That unopened Peak jump starter in your glovebox likely holds only 30-50% charge. Skipping the initial full charge risks failure when you need it most—especially in cold weather when lithium batteries lose 30% capacity. Plug into any standard outlet using the included wall adapter, but don’t guess at charging time. Compact lithium models (under 1,000 amps) charge in 45-90 minutes, while heavy-duty units (2,000+ amps) require 3-4 hours.
Critical charge indicators to monitor:
– Digital display: Watch for steady climb to 100% (never assume “full” at 95%)
– LED sequence: Red → yellow → solid green (varies by model)
– Audible cue: Single beep at full charge (test this feature now)
Pro tip: Simulate an emergency every 6 months. Start your car with the Peak unit before your battery dies. This confirms cable integrity and builds muscle memory for real crises.
Safety Gear That Prevents Costly Mistakes
Skip the gloves only if you enjoy replacing melted clamps. Always wear:
– Impact-resistant safety glasses (battery acid sprays during jumps)
– Rubber-coated work gloves (prevents clamp slippage on corroded terminals)
– Fitted clothing (loose sleeves can snag fan belts)
Never attempt jumps wearing: Metal rings, necklaces, or synthetic fabrics that generate static sparks near battery fumes.
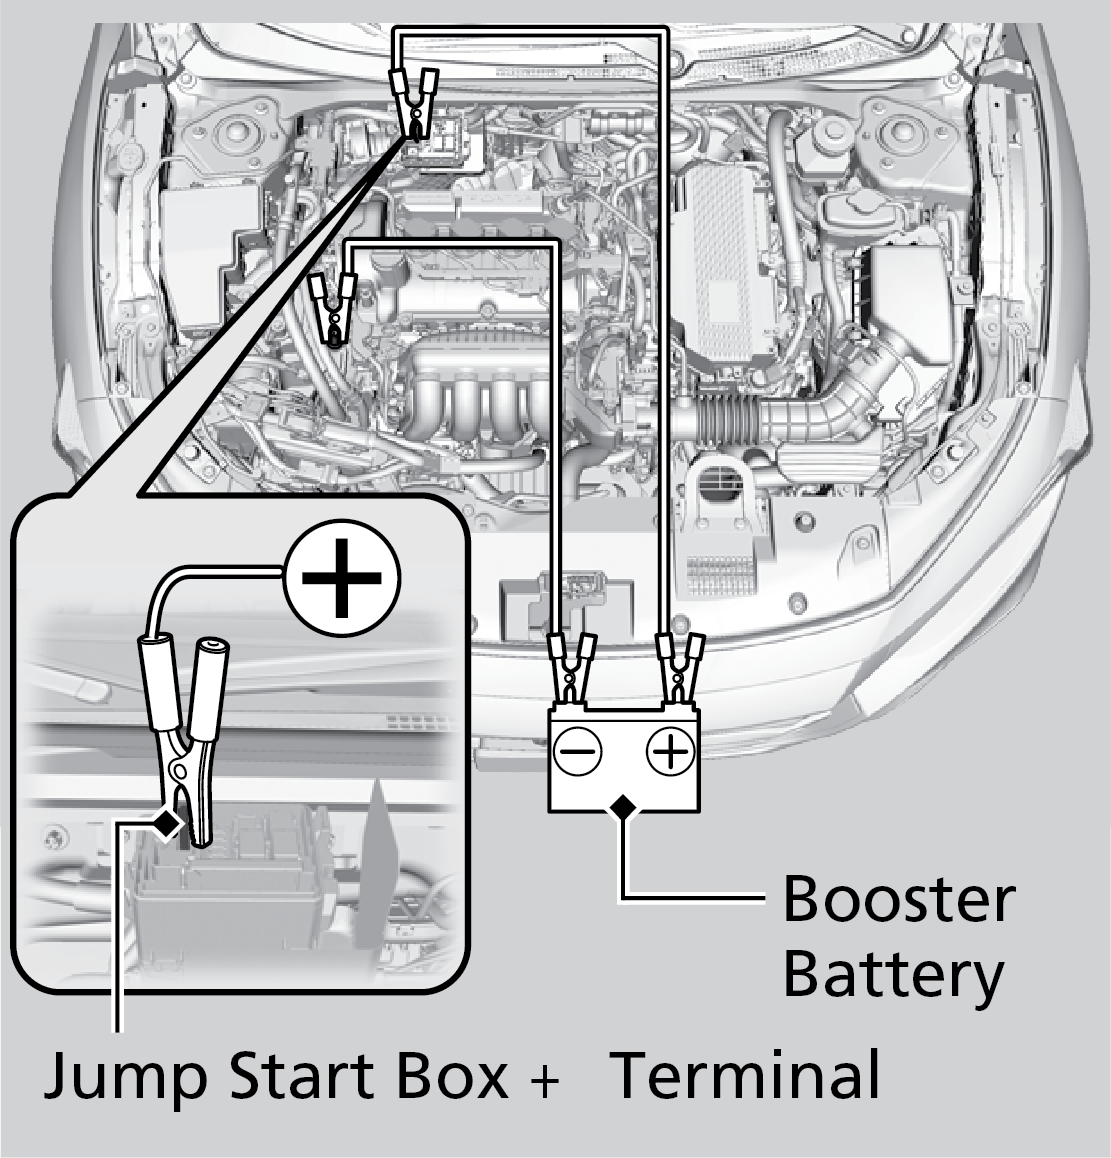
Connect Peak Jump Starter Cables in 3 Foolproof Steps
Locate Hidden Battery Terminals in Modern Cars
Newer vehicles often tuck batteries under plastic covers or in wheel wells—don’t waste precious time hunting. Pop your hood and look for:
– Red plastic caps covering positive terminals
– Black grounding points on engine blocks (marked with “⏚” symbol)
– Remote jump posts under the hood (check owner’s manual for location)
Visual confirmation: Scrape corrosion off terminals with a wire brush until metal shines copper-bright. Green/white crust blocks electrical flow.
Cable Connection Sequence That Prevents Explosions
Step 1: RED to DEAD BATTERY
Clamp the red probe firmly onto the positive (+) terminal. You’ll hear a click when metal grips metal. Critical check: Ensure no metal parts touch the car body—this causes short circuits.
Step 2: BLACK to GROUND POINT
Attach black clamp to unpainted engine metal at least 18 inches from the battery (e.g., alternator bracket). Never use the negative terminal—this risks igniting hydrogen gas from the battery.
Step 3: POWER ON CONFIRMATION
Flip the Peak unit’s switch to “ON.” Watch for:
– ✅ Steady green light = safe to start
– ❌ Flashing red = reverse polarity (reconnect clamps)
– ⚠️ No lights = clean terminals and retry
Warning: Forcing clamps onto corroded terminals melts plastic housings. Carry a $3 terminal cleaning brush in your emergency kit.
Start Your Vehicle Without Damaging Electronics
Pre-Crank Checklist Mechanics Swear By
Before turning the key, verify:
– Peak unit sits flat on the fender (not dangling near belts)
– All accessories OFF (radio, lights, USB chargers drain power)
– Transmission in Park with parking brake engaged
– Clamps away from fan blades (spinning fans slice cables)
Cold weather pro move: Keep the Peak unit in your jacket pocket for 10 minutes before use. Lithium performs 40% better at 70°F vs. 20°F.
Cranking Technique for Modern Fuel-Injected Engines
Hold the ignition for 2-3 seconds max—longer strains the Peak’s battery. If the engine doesn’t catch:
– Wait 30 seconds between attempts (lets starter cool)
– Rev to 1,500 RPM for 2 minutes after starting (recharges battery)
– Need 3+ tries? Your battery is likely beyond jump-starting
Diesel engine note: These require 2-3x more cranking power. Use only Peak models rated for diesel (check amp rating on label).
Disconnect Cables Without Creating Sparks

The 4-Second Sequence That Prevents Arc Flashes
- TURN OFF Peak unit power switch immediately after engine starts
- REMOVE BLACK CLAMP from ground point first (breaks circuit safely)
- REMOVE RED CLAMP from positive terminal
- STOW CABLES with clamps facing away from each other
Critical mistake 90% of owners make: Disconnecting while the engine runs. This causes voltage spikes that fry car computers. Always shut off the Peak unit before cable removal.
Activate Bonus Features in Emergencies
Jump-Start to Phone Charger in 10 Seconds
After reviving your car, plug your phone into the Peak’s USB port—no mode switching needed. Most units deliver 2.1A fast charging (fully powers an iPhone in 90 minutes). During blackouts, this feature keeps GPS active when cell towers fail.
LED Light Hacks for Night Breakdowns
Press the light button twice for steady flood mode to inspect engine issues. Three presses activate emergency strobe visible for 500+ feet. Pro tip: Stick the magnetic base to your roof for hands-free illumination during tire changes.
Fix These 3 Peak Jump Starter Failures Fast
Why Your Unit Shows “0% Charge” After Storage
Storing below 20°F or above 100°F permanently damages lithium cells. If your Peak won’t hold charge:
– First: Plug into wall charger for 2 hours (ignores low-temp lockouts)
– Second: Store at 50% charge in climate-controlled space (garage > trunk)
– Third: Replace if older than 3 years (lithium degrades after 500 cycles)
Engine Cranks But Won’t Start? Here’s Why
Your Peak unit works—the problem is deeper:
– Fuel pump failure: Listen for 2-second hum when turning ignition ON
– Ignition coil issues: Check for misfires after startup
– Security lockout: Try spare key if “theft” light flashes
Immediate action: Drive 30+ minutes after jump-starting to recharge battery. Short trips worsen the problem.
Store Your Peak Jump Starter for 5-Year Lifespan
The 40/60 Rule Mechanics Follow
Store at 40-60% charge—never full or empty. Every 4 months:
1. Check charge level via status button
2. Top up to 50% if below 40%
3. Wipe terminals with dry cloth
4. Store in padded case away from metal objects
Trunk storage warning: Summer temperatures exceed 140°F—this cuts battery life by 50%. Keep it in your cabin during extreme weather.
When to Replace Your Car Battery After Jump-Starting
4 Signs Your Battery Won’t Survive Another Week
After reviving your car, watch for:
– Slow crank time increasing daily (even after driving)
– Swollen battery case (indicates internal short circuit)
– Corrosion eating through terminals (cleaning won’t fix this)
– Age over 48 months (90% fail by 5 years)
Critical next step: Visit an auto parts store for free load testing within 24 hours. They’ll measure cold cranking amps (CCA)—if below 75% of spec, replace immediately.
Peak jump starters turn roadside panic into a minor inconvenience—but only if you know the precise safety steps and limitations. Keep yours charged to 50%, master the red-then-black connection sequence, and test it quarterly. When that dead battery strikes at 2 AM, you’ll restart your engine in under 10 minutes while others wait hours for help. Remember: This device solves the immediate crisis, but recurring battery issues demand professional diagnosis to prevent your next stranding.


