Your car battery dies in a deserted parking lot as rain begins to fall. You’re stranded with no other vehicles in sight—but your AVAPOW jump starter can save the day. Knowing exactly how to use AVAPOW jump starter properly means the difference between getting back on the road in minutes versus waiting hours for help. This comprehensive guide reveals the exact step-by-step process thousands of drivers rely on to jump-start their vehicles safely and effectively, no matter which AVAPOW model they own.
Unlike traditional jumper cables requiring another vehicle, your AVAPOW unit works independently. These compact powerhouses fit in your glove compartment yet deliver enough amperage to start everything from compact cars to large trucks. But improper use can lead to dangerous sparks or equipment damage—so mastering the correct procedure is essential.
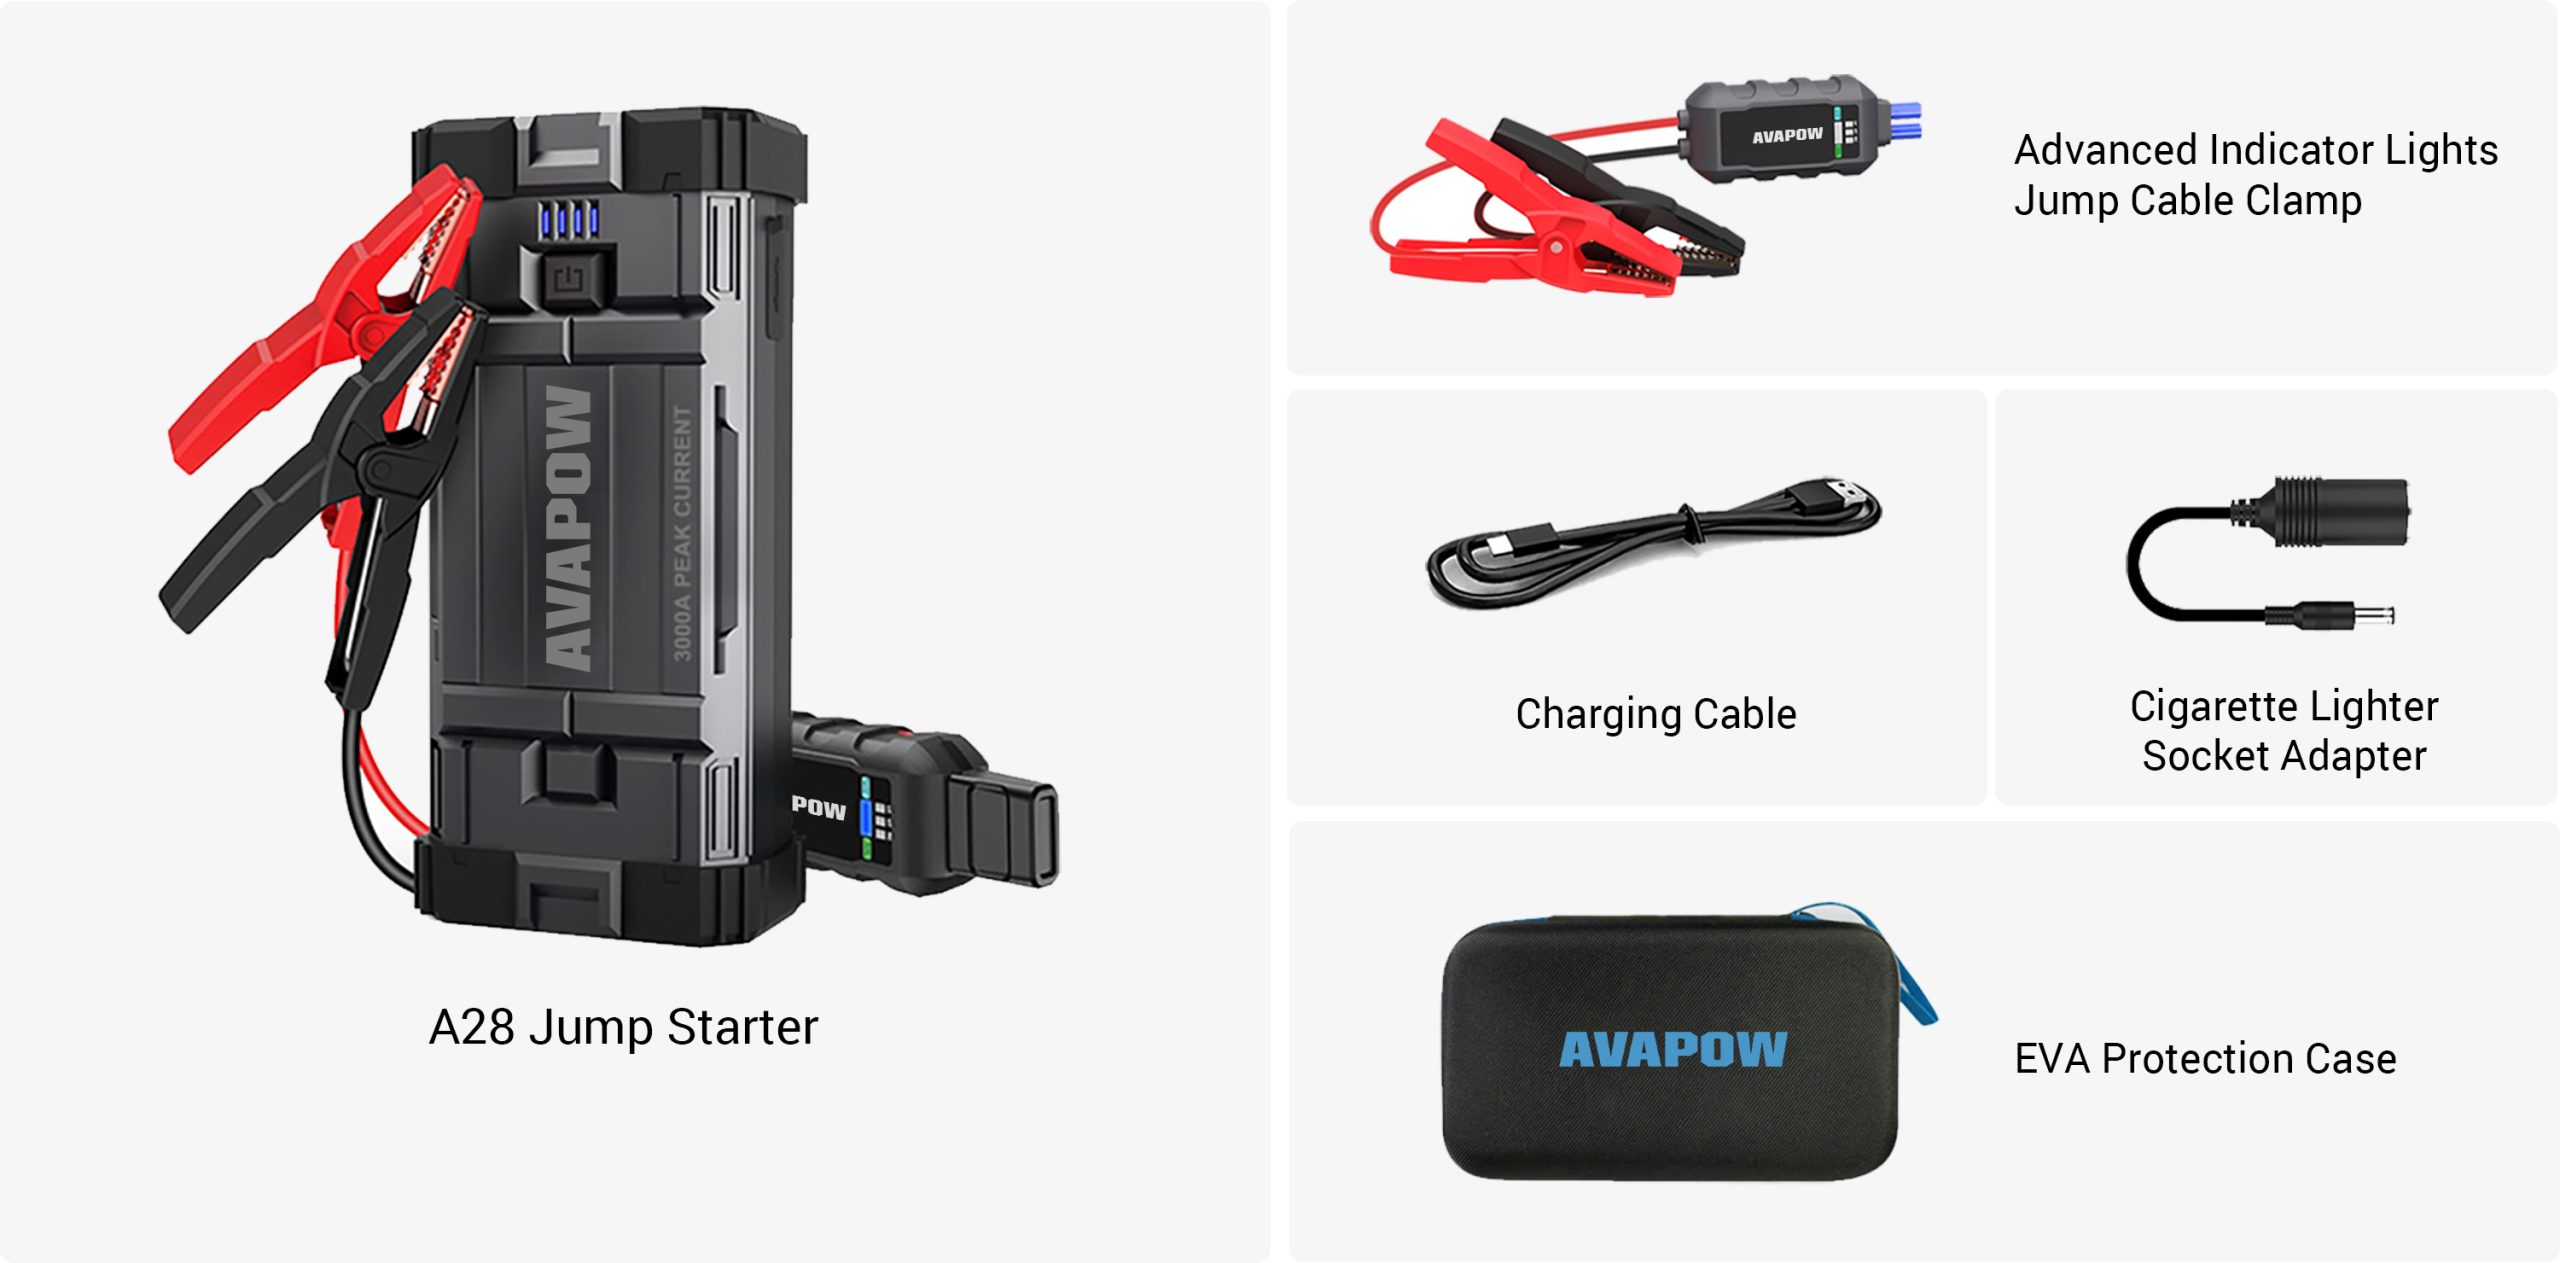
By the end of this guide, you’ll confidently handle dead battery emergencies with any AVAPOW model (A07 through A68). You’ll learn the critical connection sequence that prevents dangerous sparks, troubleshoot common issues, and maintain your unit for years of reliable service. Let’s transform you from battery-stranded to jump-start proficient.
Confirm Your AVAPOW Has 80% Charge Before Jumping
Never attempt to jump-start your vehicle with a low AVAPOW unit. Your device needs at least 80% charge for reliable performance—anything less risks incomplete starts or damage to the jump starter’s lithium-ion battery.
Read Your LED Indicator Correctly
Check your unit’s status using these visual cues:
– Solid green light: Fully charged and ready for use
– Blinking green light: Connected properly and primed for starting
– Red light: Critical warning—recharge immediately or check connections
Most AVAPOW models feature digital displays showing exact battery percentage. For models without displays, press the power button once to activate the LED indicator system. If you see red or less than 80% charge, connect to the included charging cable for 30 minutes before attempting a jump start.
Place Your AVAPOW Jump Starter in the Safe Zone
Position matters for both safety and effectiveness. Set your unit on a stable surface at least 6 inches away from moving engine components like belts and fans. The vehicle’s fender or ground provides the ideal stable platform—never place it directly on the engine where vibration could loosen connections.
Avoid These Dangerous Placement Mistakes
Many users accidentally create hazards by:
– Setting the unit on hot engine surfaces (causes overheating)
– Placing it too close to battery terminals (risk of accidental contact)
– Leaving it on oily or wet surfaces (creates slip hazards)
– Positioning it where cables stretch taut (increases disconnection risk)
Ensure your cables reach comfortably to both battery terminals without straining. If you’re working in tight engine compartments, temporarily move nearby components aside for clear access—but never force connections.
Make Correct Cable Connections to Avoid Dangerous Sparks

The sequence of connections determines safety. Incorrect wiring causes sparks that can ignite battery gases—a serious explosion risk. Follow this exact order to prevent dangerous situations.
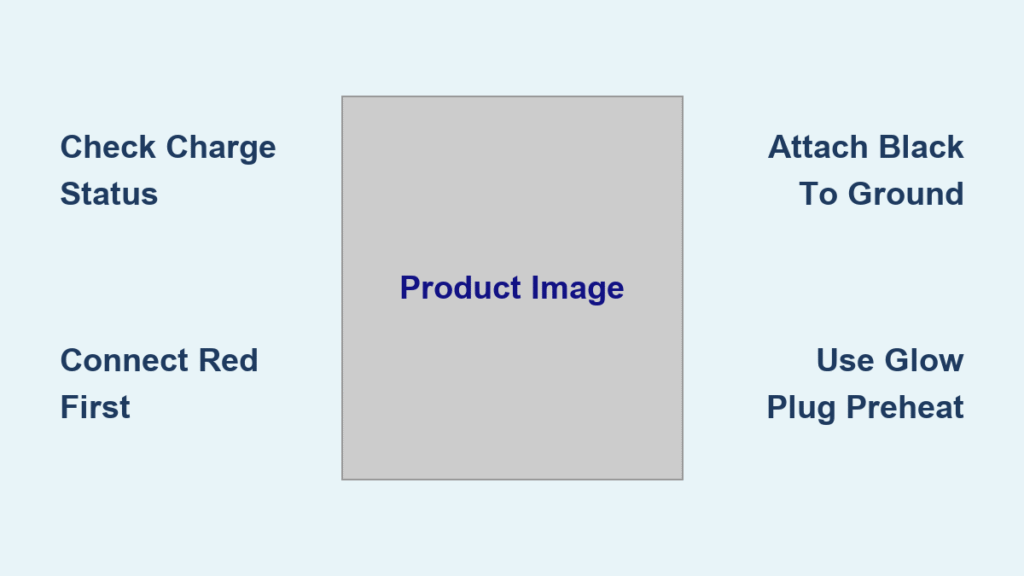
Step 1: Connect to AVAPOW First
Attach the smart jumper cables to your unit before touching the vehicle battery. You’ll hear a distinct click when each connector seats properly. These cables contain built-in circuitry that automatically prevents reverse polarity—your first line of defense against mistakes.
Step 2: Connect to Vehicle Battery Properly
Identify your battery terminals:
– Red clamp: Positive (+) terminal (usually marked with red plastic)
– Black clamp: Unpainted metal chassis point (never the negative terminal)
Critical safety note: Always attach the black clamp to bare metal on the engine block or chassis—never to the negative battery terminal. This simple step redirects potential sparks away from the battery where explosive gases collect.
Step 3: Verify Before Starting
Check your smart cable LED indicators:
– Solid green = Perfect connection
– Blinking green = Ready to start engine
– Red = Disconnect immediately and recheck
If lights don’t illuminate, clean cable clamps with a wire brush and ensure metal-to-metal contact. Corrosion or paint on connection points causes most failed jump starts.
Crank Your Engine Properly Using AVAPOW Jump Starter
Now comes the moment of truth—but improper cranking can damage both your vehicle and jump starter. Turn the key or press start while watching your AVAPOW indicators.
Handle Different Starting Responses Correctly
- Immediate start: Success! Let engine run for 15+ minutes to recharge vehicle battery
- Slow crank: Normal—continue cranking for full 3-5 seconds
- Single click: Check connections and battery level
- No response: Verify AVAPOW charge exceeds 80%
Never crank longer than 3-5 seconds at a time. Wait 30 seconds between attempts to prevent overheating your vehicle’s starter motor. Most failed jump starts occur because users rush consecutive attempts without this critical cooling period.
Disconnect Cables in the Right Order After Jump Start
Many users damage their AVAPOW unit during removal by reversing the connection sequence. Always remove cables in this precise order:
- Black clamp first: Remove from chassis/engine block
- Red clamp second: Remove from positive battery terminal
- AVAPOW connections last: Unplug from jump starter unit
Never allow the red and black clamps to touch during removal—this creates a dangerous short circuit. Store cables in their designated compartments immediately after use to prevent damage.
Fix Common AVAPOW Jump Starter Problems in Minutes

When your vehicle won’t start despite proper connections, don’t panic. Most issues have simple solutions you can address roadside.
Diagnose Connection Failures
If your AVAPOW shows correct indicators but the engine won’t crank:
– Reconnect both clamps firmly, scraping paint/corrosion from contact points
– Verify battery level exceeds 80% (low charge is the #1 failure cause)
– Check for loose cables by gently tugging each connection
– Try an alternative chassis connection point further from the battery
Prepare for Support Contact
If problems persist, contact AVAPOW support at support@avapowtec.com with these details:
– Your order number and model (A07, A17, A27, etc.)
– Vehicle make, model, and year
– Photos showing connection setup and LED status
– Description of attempted troubleshooting steps
Having this information ready speeds resolution significantly—most support cases are resolved within 24 hours when properly documented.
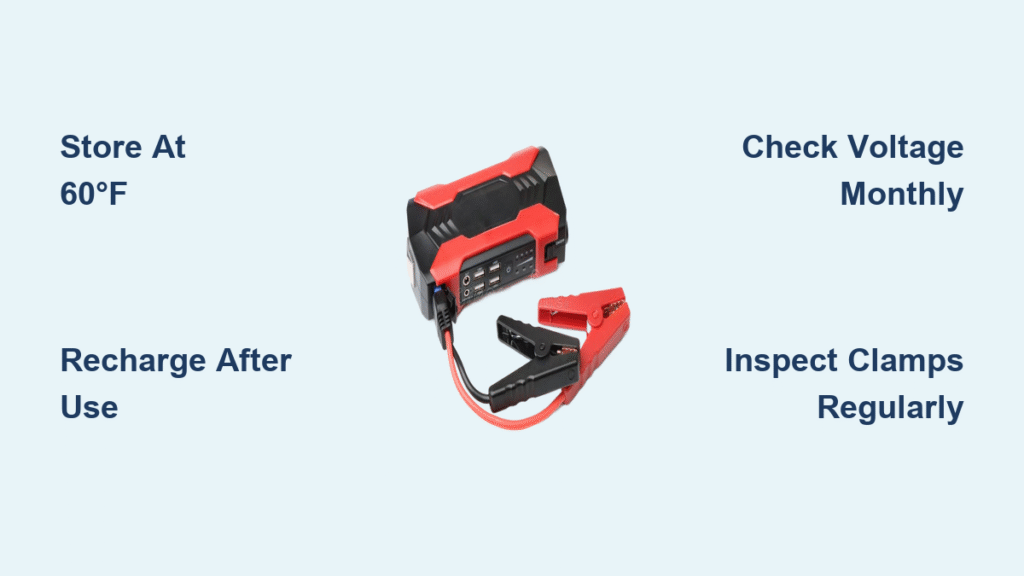
Keep Your AVAPOW Jump Starter Ready for Emergency Use
Your jump starter is useless if it fails when needed most. Proper maintenance ensures reliability during critical moments.
Charge and Storage Protocol
- Recharge every 3 months even when unused
- Store between 32°F-104°F (0°C-40°C)—extreme temperatures damage lithium batteries
- Maintain 60-80% charge during long-term storage
- Never wrap cables tightly—store loosely in designated compartments
Battery Longevity Tips
Lithium-ion batteries degrade fastest when fully discharged or exposed to heat. Before seasonal storage (like winterizing your emergency kit), charge to 75% and place in a climate-controlled environment—not your vehicle’s trunk where summer temperatures exceed 140°F.
Match Your Vehicle to the Right AVAPOW Jump Starter Model
All AVAPOW models (A07 through A68) use identical operating procedures, but power output varies significantly by model:
- A07/A17: Perfect for compact cars and motorcycles (up to 4L engines)
- A27/A37: Handles mid-size vehicles and SUVs (4-6L engines)
- A18/A28: Built for trucks and diesel engines (6-8L engines)
- A58/A68: Commercial-grade for heavy-duty vehicles (8L+)
Check your vehicle’s engine size before purchasing. Using an undersized model causes repeated failed starts and strains both batteries. Larger models work on smaller vehicles but add unnecessary bulk to your emergency kit.
Cold Weather and Emergency Jump-Starting Pro Techniques
Winter creates unique jump-starting challenges. Cold batteries require more power while lithium units deliver less in freezing temperatures.
Winter-Specific Protocol
- Warm your AVAPOW indoors before use (even 10 minutes makes a difference)
- Clear frost from battery terminals with a dry cloth
- Use shorter cranking intervals (2-3 seconds instead of 3-5)
- Keep the unit insulated against snow or rain during operation
Emergency Preparedness Checklist
Store your AVAPOW with these essentials:
– Work gloves (protects from cold metal and sharp edges)
– Safety glasses (prevents battery acid splash injuries)
– Wire brush (for cleaning corroded terminals)
– Basic toolkit (for accessing tight engine compartments)
Place your complete kit in an easily accessible location—not buried under other items in your trunk. Many users keep theirs in the glove compartment for immediate access during emergencies.
Final Tip: Practice the jump-starting process in your driveway once a year with your vehicle running. This builds muscle memory so you’ll stay calm and execute perfectly during a real emergency. With proper technique and maintenance, your AVAPOW jump starter provides reliable roadside assistance for years—turning potential disasters into minor inconveniences. Remember: mastering how to use AVAPOW jump starter correctly means never being stranded by a dead battery again.