Your car won’t start and you’re stranded in a parking lot. Instead of waiting for roadside assistance, a compact Buture jump starter can get you back on the road in minutes. These powerful devices eliminate the need for another vehicle or jumper cables, making emergency starts as simple as connecting two clamps and pressing a button. Knowing how to use Buture jump starter properly could save you hours of waiting and hundreds in towing fees.
Whether you own a BR700, BR1200, or BR2000 model, this guide walks you through every step—from initial safety checks to advanced features like air compressor integration. You’ll learn model-specific procedures, troubleshooting techniques, and maintenance tips that ensure your jump starter performs when you need it most. Let’s transform you from stranded driver to self-sufficient problem solver with this essential how to use Buture jump starter knowledge.
Essential Safety Steps Before Jump Starting
Position yourself in a well-ventilated area away from open flames, sparks, or ignition sources before attempting to use your Buture jump starter. Battery gases are highly flammable, and even a small spark can cause ignition. Never smoke or use electronic cigarettes near the battery compartment while performing jump starts.
Check that your Buture shows at least three LED indicator lights—this represents 50% charge or higher. Attempting to jump start with insufficient power can damage both your device and vehicle battery. If your jump starter has fewer than three bars lit, recharge it immediately using the included USB-C cable. Remove all metal jewelry including rings, watches, and necklaces that could accidentally contact battery terminals during the process.
Examine the jump starter and battery cables for any visible damage, cracks, or exposed wires before each use. A damaged jump starter can arc or fail during use, creating serious safety hazards. Never connect the clamps while the jump starter is charging or when the device power switch is in the ON position. Keep the device and cables clear of hot engine components such as exhaust manifolds and radiators.
Identify Your Buture Model’s Specific Capabilities

Match Your Vehicle Engine Size to Jump Starter Power
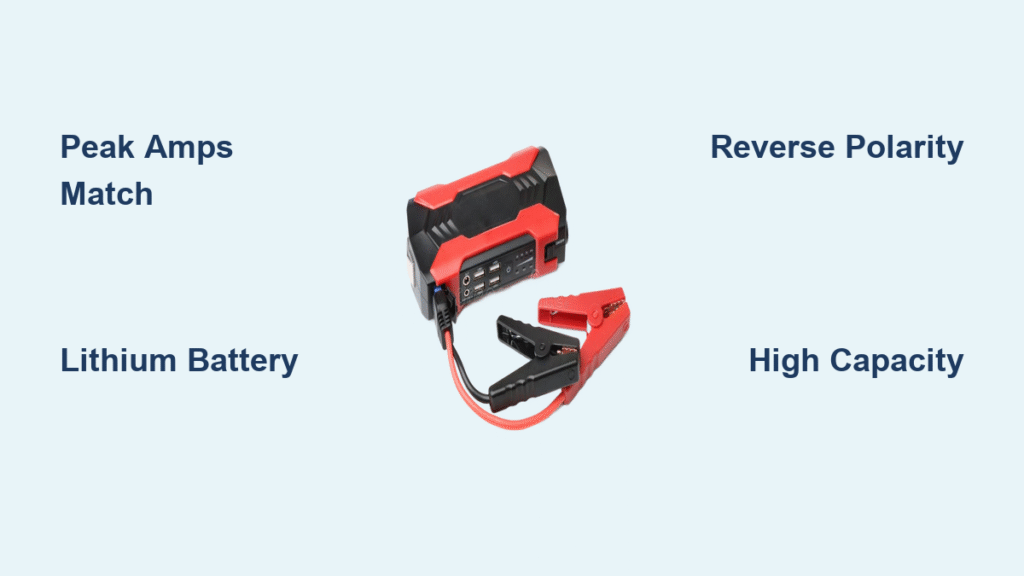
Confirm your Buture model matches your vehicle’s engine size specifications to ensure successful starting. The BR700 delivers 700A peak power for gas engines up to 6.5L or diesel up to 5.5L—perfect for compact cars and small trucks. If you drive a full-size SUV or larger vehicle, the BR1200 (1200A peak) handles gas engines up to 8.0L or diesel up to 6.5L.
Owners of heavy-duty trucks need the BR2000 model with 2000A peak power for gas engines up to 10.0L or diesel up to 8.0L. Using an underpowered jump starter for your vehicle size results in failed starts and wasted time. Check your vehicle’s engine displacement in the owner’s manual if you’re unsure which Buture model suits your needs.
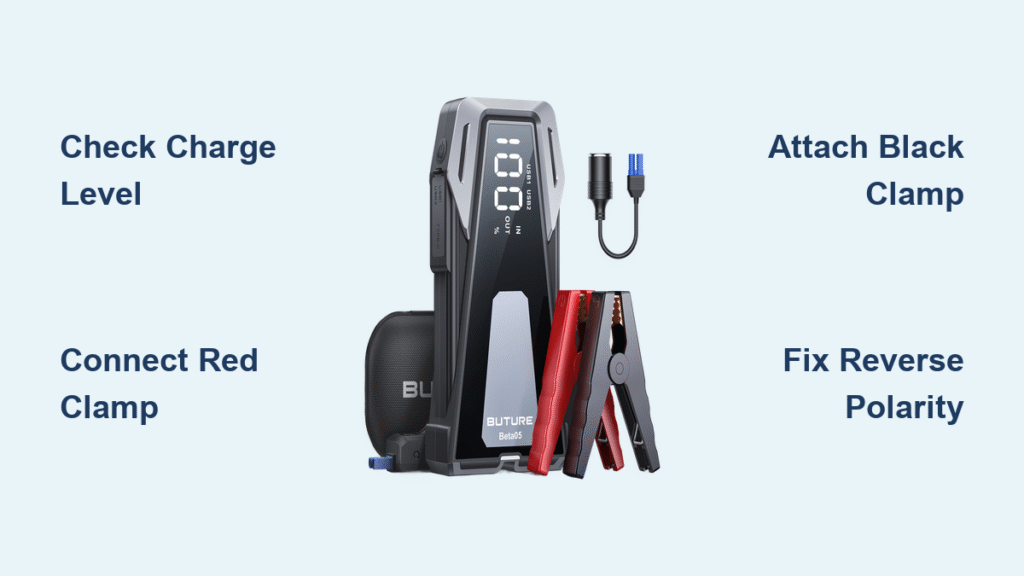
Locate All Critical Connection Points
Your Buture jump starter includes multiple connection points that serve different purposes. The red clamp connects exclusively to positive (+) battery terminals, while the black clamp attaches to chassis ground—not the negative battery terminal. Each clamp features LED indicators: solid green means correct connection, red indicates reverse polarity, and flashing signals a fault condition.
The main unit houses two USB-A ports providing standard 5V/2.4A charging for phones and tablets. The USB-C PD port delivers up to 18W fast charging for compatible devices while also recharging the jump starter itself. A 12V/10A barrel port powers accessories like air compressors or tire inflators—critical for roadside emergencies beyond just starting your car.
Complete Connection Process Without Mistakes
Step 1: Power On and Verify Charge Level
Press and hold your Buture’s power button for three seconds until the LED screen illuminates. Confirm at least three bars of charge are displayed—this is non-negotiable for successful starting. If fewer than three bars appear, your jump starter lacks sufficient power. Recharge your device before proceeding, as attempting a jump start with low power risks damaging both your vehicle battery and the jump starter.
Step 2: Connect Positive Clamp Correctly
Attach the red positive clamp to the positive battery terminal, ensuring the clamp’s copper jaws make solid metal-to-metal contact. The clamp shouldn’t wiggle or shift when touched—this is crucial for proper electrical transfer. Always connect to the battery post itself, not the cable connector attached to the post. If you see white or blue crusty buildup (corrosion), clean the terminal first with a wire brush to ensure optimal connection.
Step 3: Secure Ground Connection Safely
Connect the black negative clamp to an unpainted metal surface on the engine block or vehicle chassis. Preferred locations include strut tower bolts, engine lifting brackets, or dedicated grounding points marked on your vehicle. Never connect to the negative battery terminal, fuel lines, or moving engine components—this creates dangerous spark risks near flammable gases. The clamp’s safety module should display a solid green LED within seconds of proper connection.
Fix Common Starting Failures Immediately
Engine Cranks Slowly or Weakly
If your engine turns over sluggishly after connecting your Buture jump starter, first ensure the device has 100% charge. Clean battery terminals thoroughly with a wire brush to eliminate resistance. Verify your engine size compatibility with your jump starter model—using a BR700 on a large diesel engine won’t provide enough power. For deeply discharged batteries, activate manual override mode by pressing the power button five times rapidly when clamps are connected.
Complete Silence When Turning Key
When you get no cranking response whatsoever, check that the clamp LED shows solid green—red indicates reversed polarity. Test your vehicle battery voltage with a multimeter; it should read approximately 12V even when dead. Check for blown fuses or starter issues by listening for clicking sounds. Ensure your vehicle is in Park (automatic) or Neutral (manual) with the brake engaged before attempting to start.
Red or Flashing Clamp Indicators
A red light means you’ve connected the clamps backward—reverse them immediately to prevent damage. Flashing red signals poor connections or damaged cables; inspect your connections and reseat the clamps firmly. Clean corrosion from battery posts using a wire brush, as buildup creates resistance. Verify you’re working with a 12V automotive system, not a 6V motorcycle battery which requires different equipment.
Monthly Maintenance for Reliable Emergency Starts
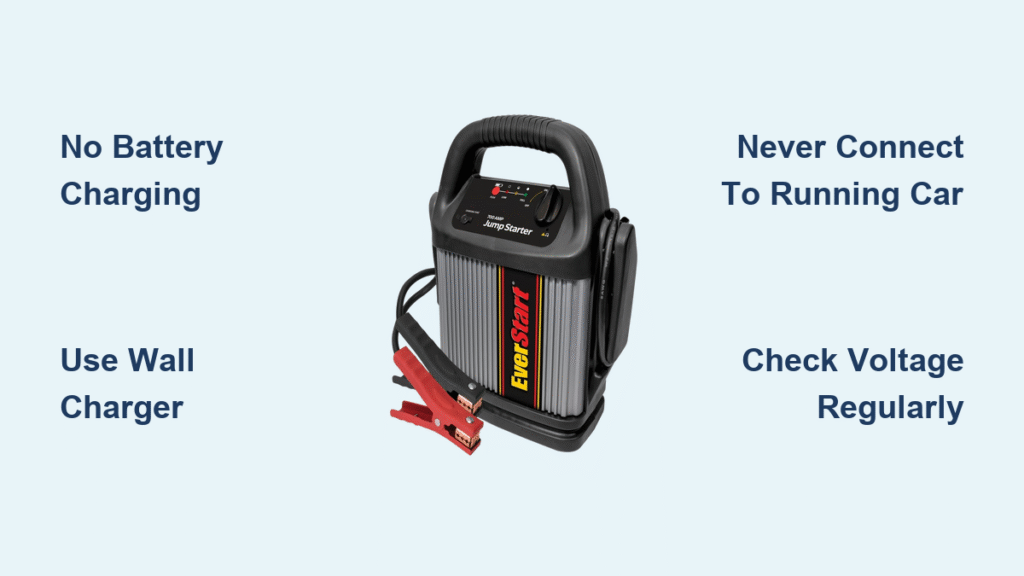
Test your jump starter every 90 days by performing a simulated start: connect it to your vehicle battery with the engine off, confirm green LED, then disconnect. This simple test exercises internal circuits and identifies potential issues before emergencies occur. Record test dates in your maintenance log to track performance over time.
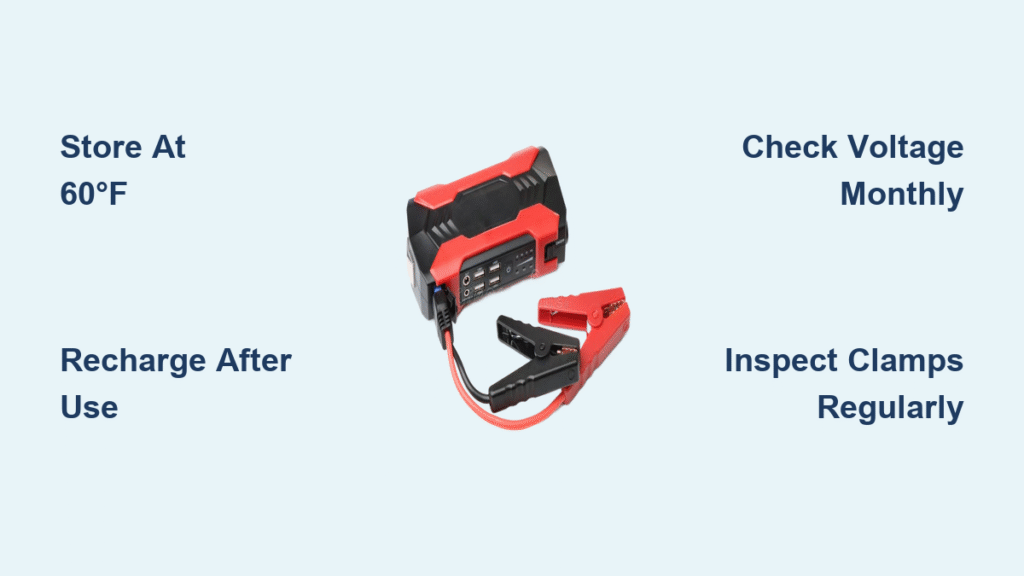
Store your Buture jump starter at 40-60% charge for long-term storage exceeding three months. Check charge levels monthly and recharge to 50% if below 40%. Ideal storage temperature ranges from 50-77°F—avoid direct sunlight and humid environments that degrade lithium battery performance. The device self-discharges approximately 2-3% per month at room temperature, so periodic checks are essential.
Use the included USB-C cable and a 5V/3A wall adapter for fastest recharging. Complete recharge takes 5-6 hours from empty. The device supports pass-through charging—use while charging if needed, though starting performance may be slightly reduced. LED indicators show charging progress with flashing lights for each 25% increment until fully charged.
Advanced Features That Extend Your Jump Starter’s Value
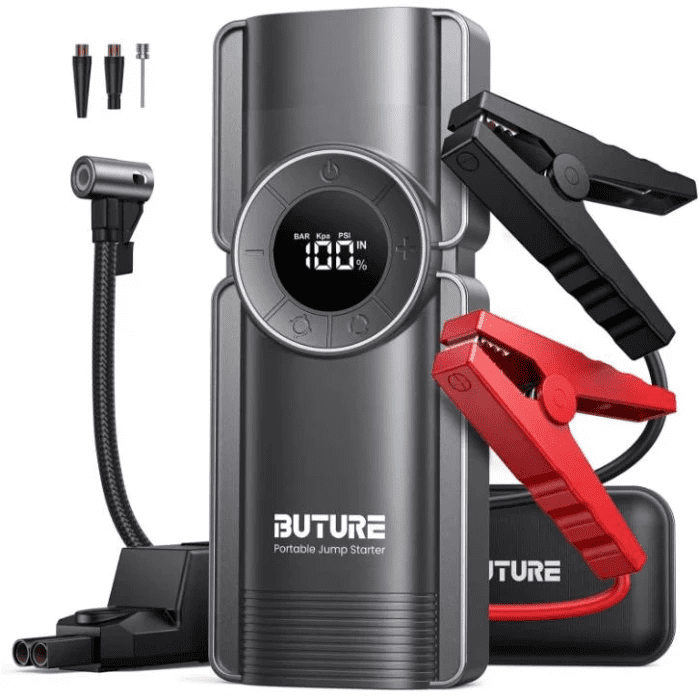
Transform your Buture into an emergency power bank by connecting phones or tablets to either USB-A port for standard 5V/2.4A charging. Use the USB-C PD port with compatible devices for 18W fast charging during roadside emergencies. Activate the 400-lumen flashlight by pressing the flashlight button for two seconds, cycling through steady beam, strobe, and SOS modes as needed.
Connect compatible 12V air compressors to the barrel port for tire inflation emergencies. The port delivers continuous 12V/10A power—perfect for roadside tire repairs. Typical passenger car tire inflation from 20-35 PSI takes 3-4 minutes, getting you back on the road faster than waiting for assistance.
In cold weather below 32°F, pre-warm your jump starter in your jacket pocket for 15 minutes before use. Device performance drops 20-30% in freezing temperatures, so allow 2-3 minutes recovery time between start attempts when temperatures fall below 20°F. This simple adjustment ensures reliable starting even in harsh winter conditions.
Troubleshooting Quick Reference Chart
| Problem | Solution | Time Required |
|---|---|---|
| No power | Recharge device, reset by holding power 10 seconds | 5-6 hours |
| Reverse polarity | Swap clamp positions immediately | 30 seconds |
| Poor connection | Clean terminals, reseat clamps firmly | 2 minutes |
| Overheating | Allow 30 minutes cooling time | 30 minutes |
| Deep discharge | Use manual override mode | 2 minutes |
Final Safety Reminders for Long-Term Reliability
Never use your Buture jump starter while it’s charging or when internal temperature exceeds 140°F. Always disconnect clamps within 30 seconds of successful starting to prevent damage to your vehicle’s electrical system. Keep the device and cables away from moving engine parts, belts, and hot components like exhaust manifolds.
With proper technique and regular maintenance, your Buture jump starter provides years of reliable emergency starting. Test monthly, store correctly, and you’ll never be stranded by a dead battery again. Mastering how to use Buture jump starter properly transforms a potentially stressful situation into a simple five-minute procedure—putting you back in control of your journey.