Your engine won’t turn over, the dashboard lights are dim, and you’re stranded in a grocery store parking lot. That compact Carlyle jump starter tucked in your trunk could rescue you from calling roadside assistance—if you know exactly how to use it properly. Many drivers waste precious minutes fumbling with connections or misinterpreting LED signals, leaving them still stranded despite having this powerful tool.
This guide cuts through the confusion with specific, actionable steps that transform you from a frustrated driver into a confident problem-solver. You’ll discover the precise connection sequence that prevents dangerous sparks, decode every LED indicator pattern, and learn the critical safety steps most manufacturers bury in tiny manuals. By the time you finish reading, you’ll be equipped to handle any dead battery situation in under 10 minutes.
Verify Carlyle Jump Starter Readiness Before Emergency
Check Battery Level with LED Indicator
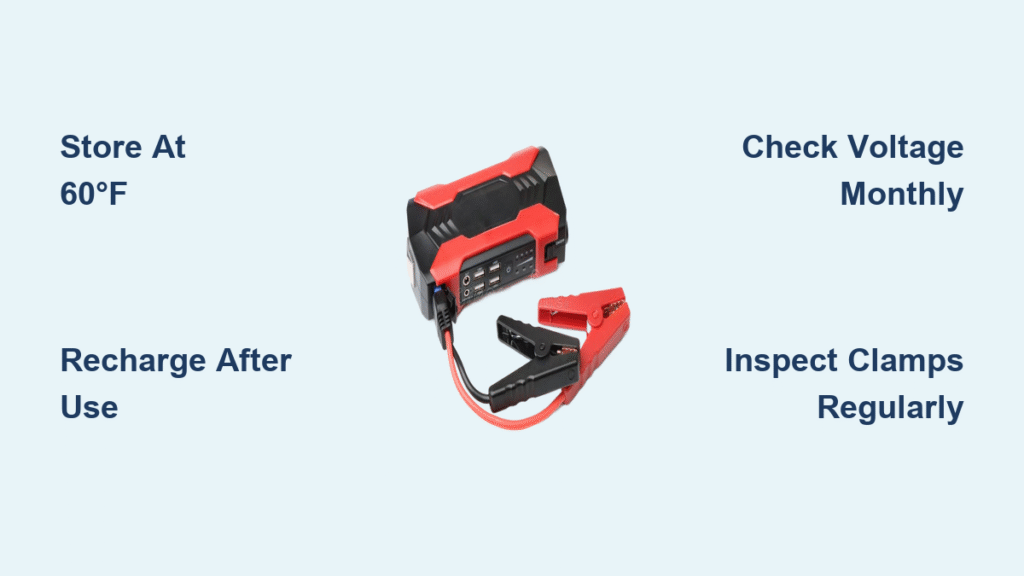
Don’t wait for an emergency to discover your Carlyle jump starter is dead. Press the power button once to activate the battery indicator—four solid LED bars mean you’re fully charged and ready for multiple jump attempts. Three bars (75% charge) works for most vehicles but requires immediate recharging after use. Two bars (50%) may struggle with larger engines, especially in cold weather. Never attempt a jump with just one flashing bar—this indicates critically low power that could leave you stranded mid-process.
Inspect Clamps and Cables for Damage
Examine both red (positive) and black (negative) clamps for corrosion, bent teeth, or loose connections. Damaged clamps create poor electrical contact that prevents successful jumps. Run your fingers along the entire cable length to detect hidden cuts or fraying that could expose live wires. Pro tip: Keep a small wire brush in your glove compartment to clean corroded clamp contacts before making connections. Properly maintained cables should snap firmly into place with a distinct metallic click.
Confirm Port Protection Integrity
Check that all rubber port covers seal tightly against dust and moisture. The main jump start ports should have snug-fitting caps that don’t rattle when shaken. Inspect USB ports for debris that could prevent phone charging during emergencies. Any compromised seals significantly reduce your device’s lifespan—replace damaged covers immediately through Carlyle’s customer service.
Execute Perfect Jump Start Connections Every Time

Position Red Clamp on Positive Terminal Correctly
Park both vehicles in park/neutral with parking brakes firmly engaged. Locate the dead battery and identify the positive (+) terminal—usually marked with a red cover or “+” symbol. Crucially: Attach the red clamp to this terminal first, ensuring it bites firmly into the metal post, not just the cable end. The clamp should require noticeable pressure to secure and resist gentle tugging. A loose connection creates dangerous arcing that can damage your vehicle’s electronics.
Secure Black Clamp to Proper Ground Location
Never connect the black clamp directly to the dead battery’s negative terminal—that risks explosive sparks near battery gases. Instead, find an unpainted metal surface on the engine block or chassis 12-18 inches from the battery. Ideal spots include clean bolt heads, suspension components, or the alternator bracket. Warning: Avoid moving parts like belts or fans that could entangle cables during engine cranking. The connection point must remain stationary and provide solid metal-to-metal contact.
Validate Connections Before Power Activation
Before pressing any buttons, perform these critical checks: Wiggle both clamps to confirm they’re firmly attached. Ensure cables aren’t draped across belts, fans, or hot engine components. Verify the Carlyle sits stable on a flat surface away from heat sources. The device should display a steady blue or green LED indicating proper connection—flashing lights mean you need to reposition clamps.
Activate Jump Sequence with Precision Timing
Initiate Power-On Self-Check Sequence
Press and hold the power button for 2-3 seconds until all LEDs illuminate briefly. Your Carlyle performs an internal diagnostic—flashing lights indicate system readiness while solid red lights signal connection problems. Important: If the boost LED doesn’t illuminate within 5 seconds, disconnect immediately and recheck clamp positions. Never force the process—most connection issues resolve with simple repositioning.
Engage Boost Mode for Severely Discharged Batteries
For batteries completely drained (indicated by no dashboard lights), press the boost button marked with a lightning bolt symbol. This delivers maximum power in 6-second bursts—never exceed this limit to prevent device overheating. The boost LED will flash rapidly during operation. If the engine doesn’t start after two 6-second attempts, wait 30 seconds between tries to allow the Carlyle to cool.
Execute Proper Engine Cranking Technique
Enter your vehicle and turn the key to “start” position for 3-4 seconds maximum. Critical mistake to avoid: Holding the key longer than 5 seconds drains both your battery and the Carlyle unnecessarily. If the engine doesn’t catch immediately, wait 30 seconds before trying again—this cooling period maintains jump starter efficiency. Most vehicles start within 2-3 attempts when connections are correct.
Decode Carlyle LED Indicators Like a Pro
Understand Charging Status Signals
The four-bar LED display shows remaining power during operation. Solid bars indicate current capacity while flashing bars show active charging. Expert note: Rapid flashing of all bars signals potential internal malfunction—immediately disconnect and contact Carlyle support. Aim to maintain at least three solid bars before attempting jumps for reliable performance.
Identify Connection Error Patterns
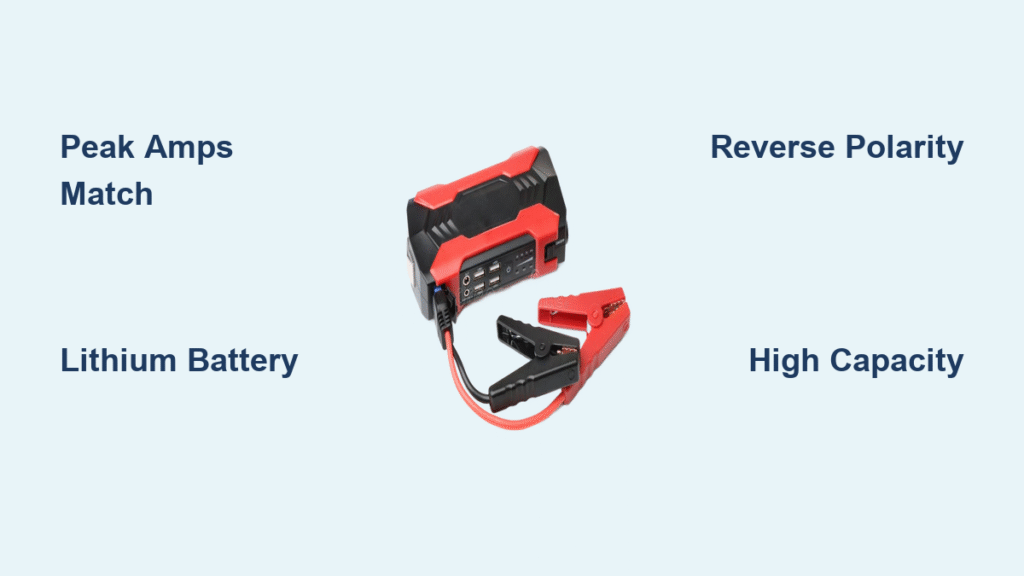
Flashing red LED means poor clamp connections—reposition both clamps for better contact. Alternating red/green flashing indicates reverse polarity (red clamp on negative terminal)—disconnect immediately and verify correct placement. Solid red LED during operation means the device is overheating—allow 2-3 minutes cooling before continuing. These visual cues prevent costly mistakes that damage your vehicle’s electrical system.
Troubleshoot Common Jump Starter Failures
Resolve No-Power Situations
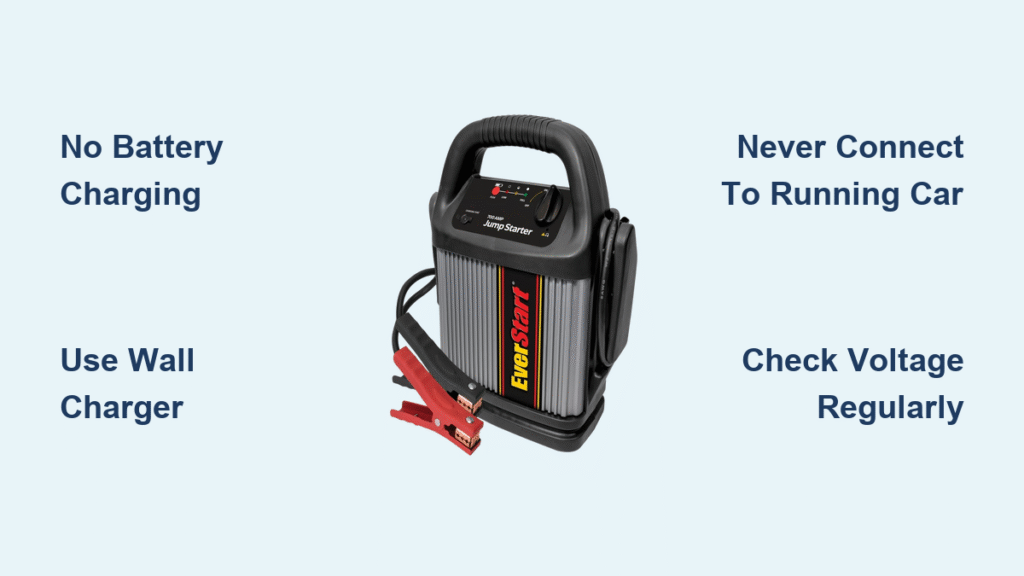
If your Carlyle shows no response to button presses, the internal battery may be completely depleted. Connect to a wall charger for 4-6 hours minimum using the original cable. Quick fix: Try different wall outlets to rule out power source issues—many public charging stations deliver insufficient current for proper recharging.
Fix Weak Cranking Performance
Dim lights or slow engine turnover indicate insufficient power delivery. Ensure all four LED bars are solid before attempting jumps. Clean battery terminals with a wire brush for better contact—corrosion creates resistance that blocks power flow. In cold weather below 40°F, warm the Carlyle indoors for 30 minutes—lithium batteries lose significant capacity when cold.
Maintain Your Carlyle for Emergency Readiness
Follow Monthly Charge Schedule
Preserve battery health by charging your Carlyle every 30-45 days, even when unused. Lithium batteries self-discharge approximately 2-3% monthly. Pro tip: Store at 75% charge for optimal longevity—avoid full discharge or constant 100% charge. Mark your calendar for consistent maintenance to ensure readiness when needed most.
Practice Proper Cable Storage
Always return cables to their designated slots after use—improper storage causes kinks that lead to connection failures. Clean clamps with a damp cloth to remove road grime after each use. Apply dielectric grease to metal contacts every 3-4 months to prevent oxidation that reduces conductivity.
Utilize Emergency Features During Breakdowns
Activate LED Flashlight for Roadside Safety
Press the light button once for steady illumination during nighttime emergencies. Double-press for strobe mode that increases roadside visibility to approaching traffic. Hold the button for 3 seconds to activate SOS signaling (three short, three long, three short flashes)—a critical feature when help is delayed. The flashlight provides 8-10 hours of continuous use from a full charge.
Implement Cold Weather Jump Starting Protocol
Below 20°F, warm the Carlyle against your body for 15-20 minutes before use—cold temperatures reduce capacity by 30-50%. Pre-warm your car battery by turning on headlights for 30 seconds before attempting the jump. Expect reduced performance and allow extra time between jump attempts as the device works harder in extreme cold.
Key Takeaway: Mastering how to use Carlyle jump starter correctly transforms it from forgotten trunk clutter into your most valuable roadside tool. Focus on perfecting the connection sequence, understanding LED indicators, and maintaining regular charging schedules. Most dead battery situations resolve within 5-10 minutes with proper technique—no waiting for roadside assistance.
Keep this guide accessible in your glove compartment or save it to your phone. When that inevitable dead battery strikes, you’ll diagnose issues quickly and get back on the road safely, avoiding costly towing fees and dangerous roadside waits. Your confidence in handling electrical emergencies grows with each successful jump—start practicing these steps today while you’re safely at home.