Your car won’t start—just a dreaded clicking sound or complete silence when you turn the key. That sinking feeling as you realize your battery’s dead, and you’re stranded with no other vehicle nearby for a traditional jump. A Halfords jump starter changes everything. These compact power banks fit in your glovebox and can revive your engine in minutes, but only if you know how to use halfords jump starter correctly. One wrong connection risks damaging your car’s sensitive electronics or causing dangerous sparks.
This guide cuts through the confusion with precise, safety-focused instructions verified against official jump-starting protocols. You’ll learn exactly how to connect your Halfords unit without frying circuits, recognize when it’s safe to proceed, and avoid the three most common mistakes that turn quick fixes into costly repairs. Whether you’re roadside at 6 AM or in a supermarket car park, you’ll gain the confidence to restart your vehicle safely—all without another car.
Critical Safety Checks Before Touching Cables
Never skip these checks—bypassing them risks acid burns, electrical fires, or battery explosions. First, inspect your car battery for visible damage: cracked casing, bulging sides, or white crust around terminals means do not attempt a jump start. Consult a mechanic immediately. Next, ensure your car is parked on level ground with the handbrake firmly engaged. Remove all metal jewellery, turn off the ignition completely, and confirm no cigarettes or open flames are within 15 feet. If jump-starting roadside, wear a high-visibility vest before opening the bonnet.
Why skipping safety checks causes irreversible damage
A single spark near a damaged battery can ignite hydrogen gas, causing an explosion that sprays acid. Corroded terminals increase resistance, forcing the jump starter to overwork and potentially melt internal circuits. Always prioritize these checks—they take 60 seconds but prevent 90% of jump-start disasters.
Required Equipment Checklist for Safe Operation
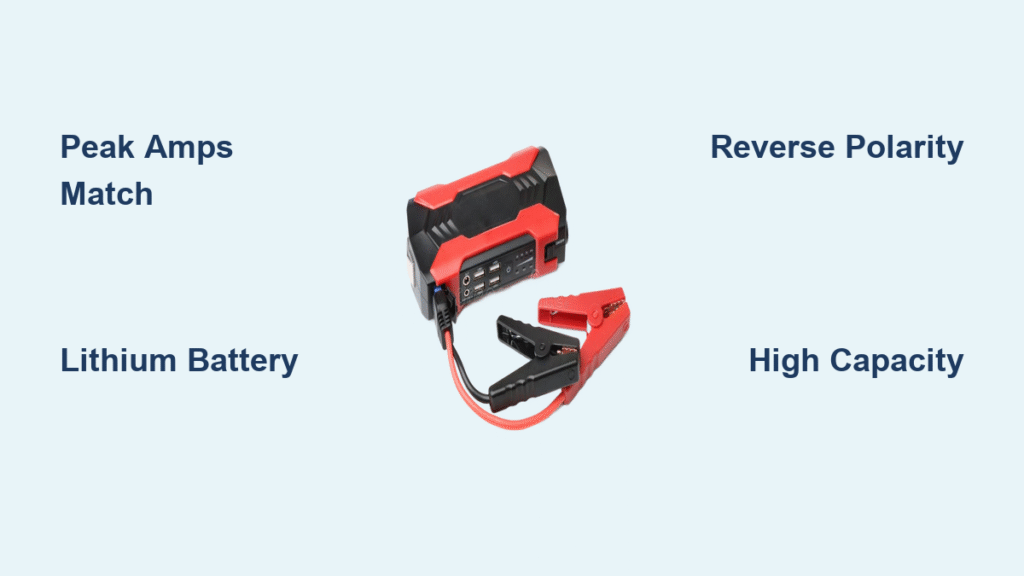
- Fully charged Halfords jump starter (verify via charge indicator)
- Insulated safety gloves and impact-resistant goggles
- High-visibility vest (mandatory for roadside use)
- Clean microfiber cloth for terminal cleaning
Your Halfords unit must be fully charged—indicated by its specific charge display—before use. Most models show readiness through LED patterns, but never assume; always check. Never substitute regular gloves for insulated safety gloves, as standard materials conduct electricity during accidental contact.
What to do if equipment is missing
If you lack goggles or gloves, use your jump starter’s built-in safety features: many Halfords models include spark-proof technology that prevents arcing during connection. However, never compromise on terminal inspection—proceed only if the battery shows zero damage.
Locate Battery Terminals Without Guessing
Pop the bonnet and secure it with the prop rod. Most batteries sit near the engine bay’s front corner, but some vehicles (like newer BMWs or Mercedes) hide them in the boot with remote jump points under the bonnet. Consult your owner’s manual if unsure—never force panels. Identify terminals by color and markings:
- Positive (+) terminal: Always covered with a red plastic cap or connected to a red cable, stamped with “+”
- Negative (-) terminal: Connected to a black cable or bolted directly to bare metal, stamped with “-“
Can’t find the battery? Emergency workaround
If your battery is inaccessible (e.g., under seats), locate the manufacturer’s designated jump points—usually a red “+” terminal and black “-” bracket near the engine bay. These are safer than guessing terminal locations.
Connect Halfords Jump Starter Cables in Exact Order
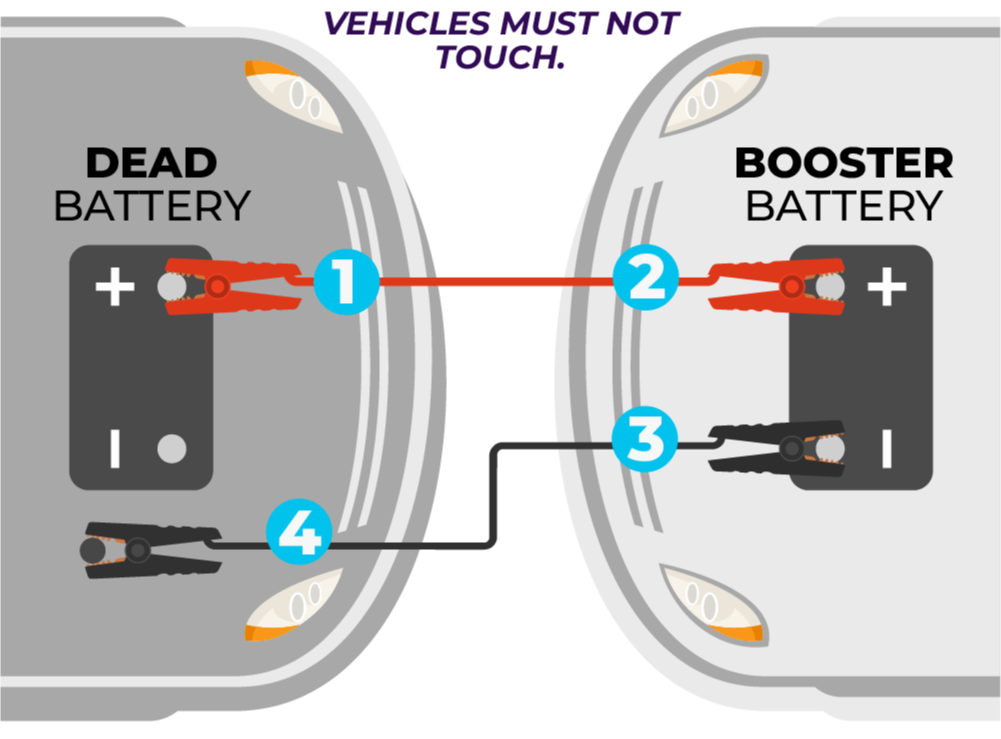
Attach red positive clamp first
Clip the red lead firmly onto the positive battery terminal. Wiggle the clamp to pierce minor corrosion—clean heavily corroded terminals with your cloth first. A loose connection prevents sufficient current transfer, causing failed starts.
Attach black negative clamp second
Connect the black lead to the negative terminal or a solid, unpainted metal engine bracket (like a suspension bolt). This placement minimizes spark risk near battery gases. Never attach to fuel lines or moving parts.
Critical warning: If you hear buzzing or see sparks during connection, disconnect immediately—you’ve likely reversed polarity. Double-check terminal markings before retrying.
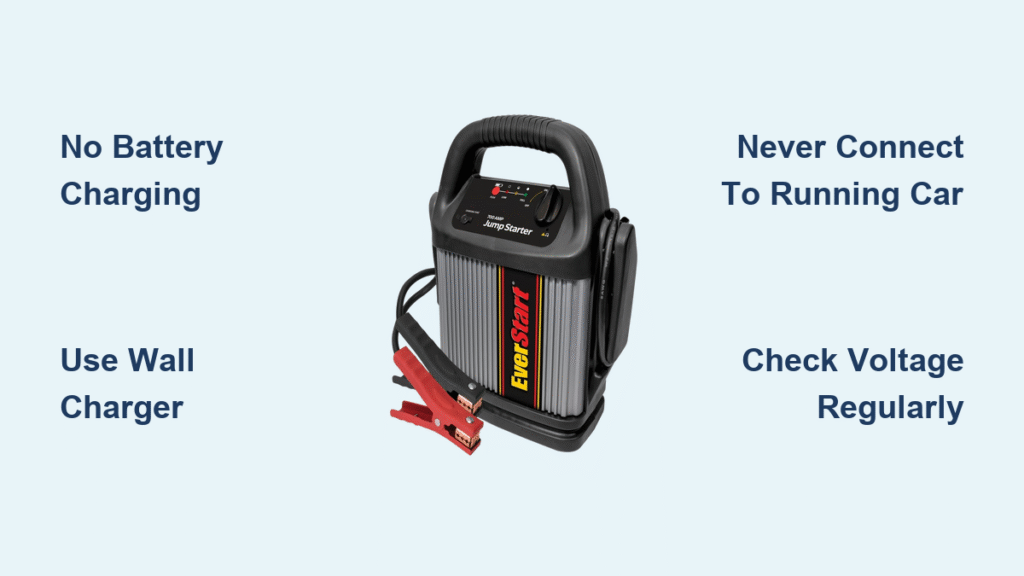
Power On and Start Your Engine Correctly
Press and hold your Halfords unit’s power button until the status indicator confirms readiness (usually solid green LEDs). If lights flash red, the unit lacks sufficient charge—recharge it before proceeding. Now, return to the driver’s seat and:
- Turn the ignition key fully or press the start button
- Listen for engine response: Healthy cranking lasts 2-3 seconds
- Wait 2 minutes if successful before driving
If the engine cranks slowly or won’t catch:
– Wait 30 seconds between attempts (prevents jump starter overheating)
– Recheck both clamp connections for tightness
– Move the black clamp to an alternative grounding point
Never exceed three start attempts—repeated draining can permanently damage your car battery.
Disconnect Cables to Avoid Electrical Surges
Reverse removal sequence is non-negotiable
- Remove black negative clamp from engine bracket/battery
- Remove red positive clamp from battery terminal
- Power off the Halfords unit immediately
- Stow cables securely before closing the bonnet
Pro tip: Keep clamps separated during storage—never let them touch metal surfaces. A single accidental connection can trigger dangerous short circuits.
Troubleshooting Halfords Jump Starter Failures

Unit won’t power on
- Charge check: Press power button—no lights indicate complete discharge
- Temperature fix: Bring unit indoors if below freezing; cool in shade if overheated
- Reset step: Hold power button for 10 seconds on most models
Engine cranks but dies immediately
- Fuel check: Verify you haven’t run dry (common in cold weather)
- Security system: Try your spare key if immobilizer light flashes
- Battery failure: If jumps work temporarily but battery dies within hours, replacement is needed
Sparks during connection
- Polarity error: Reconnect red to positive, black to negative (never reverse)
- Corrosion issue: Clean terminals with baking soda solution before retrying
- Grounding mistake: Attach black clamp to unpainted engine metal, not the battery
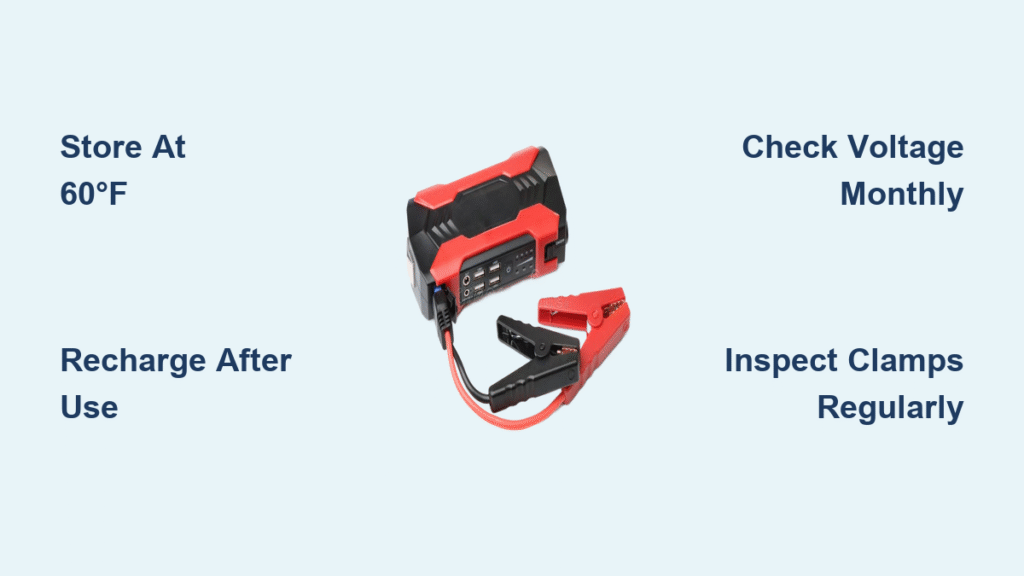
Maintain Halfords Jump Starter Readiness

Store your unit in the vehicle’s cabin (not boot) where temperatures stay moderate. After each use, recharge within 24 hours using the supplied adapter—most models reach full charge in 3-4 hours. Every 90 days, perform a readiness test: power on the unit and confirm all status lights illuminate brightly. If charge depletes rapidly, the internal lithium battery may need replacement (typical lifespan: 3-5 years with regular use).
Critical maintenance rule: Never let charge drop below 20%—lithium cells degrade if stored depleted. Top up monthly during winter when battery drain accelerates.
When Halfords Jump Starter Isn’t the Solution
If your car battery is over 5 years old, shows physical damage, or requires frequent jumps, replacement—not boosting—is necessary. Similarly, if the engine starts but stalls within 30 seconds, suspect alternator failure (check dashboard battery light). In these cases, a jump start provides only temporary mobility to reach a garage. Never use your Halfords unit on:
– Frozen or leaking batteries
– Vehicles with start-stop technology (consult manual first)
– Electric/hybrid cars (requires specialist equipment)
Your Halfords jump starter transforms from forgotten emergency tool to life-saving asset when used correctly. By following these precise steps—prioritizing safety checks, maintaining exact connection order, and respecting electrical limits—you’ll conquer dead batteries with confidence. Keep your unit charged, stowed in the cabin, and tested quarterly. Next time that ominous click replaces your engine’s rumble, you won’t just have power in your boot—you’ll know exactly how to use halfords jump starter to turn frustration into freedom. For model-specific guidance, always reference your Halfords manual’s troubleshooting section before attempting complex repairs.