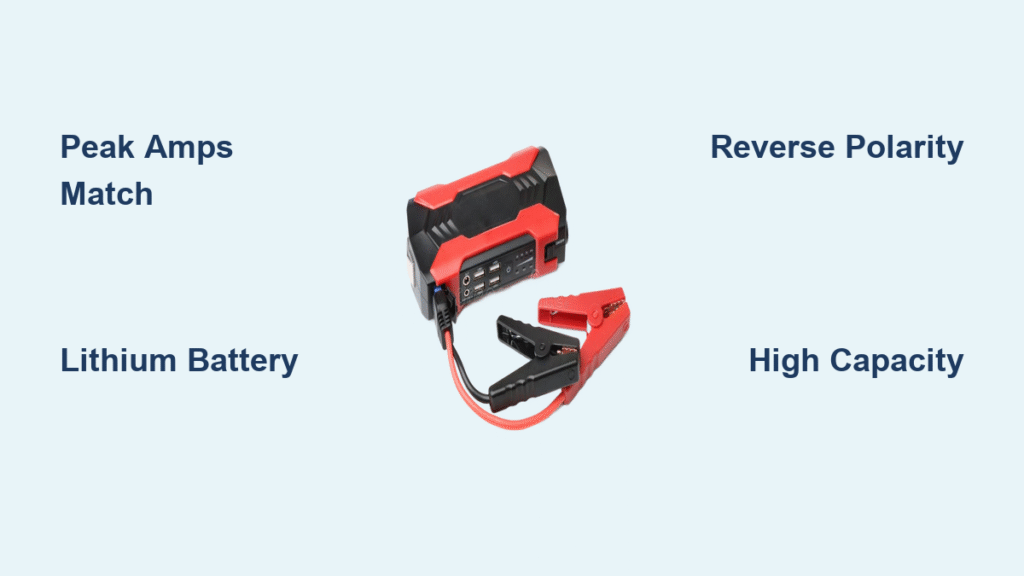
Your engine won’t turn over, dashboard lights are dim, and you’re stranded in a grocery store parking lot. The JNC660 Jump-N-Carry delivers 1,700 peak amps to revive most gas and diesel vehicles without another car—no more waiting for roadside assistance. This professional jump starter combines military-grade lithium power with foolproof safety features, but improper use risks damaging your vehicle’s electronics or causing dangerous sparks. Follow this exact sequence to jump-start confidently in under 5 minutes, whether you’re reviving a sedan or a heavy-duty truck.
Before risking a dangerous spark or costly mistake, verify these three critical safety points in under 30 seconds. A cracked battery casing or leaking acid means you need professional help—never attempt a jump-start. Inspect for swollen battery sides, white/green corrosion on terminals, or that telltale rotten egg smell indicating sulfur gas buildup. Simultaneously check the JNC660’s 46-inch cables for frayed insulation, loose clamp connections, or melted plastic from overheating. If you spot bent clamp teeth or visible copper wire, stop immediately—using damaged equipment could cause a short circuit. Skipping this visual scan risks explosions from hydrogen gas igniting near sparks, so when in doubt, call for professional assistance.
Position JNC660 for Maximum Safety and Power Transfer
Place the jump starter on stable ground 12-18 inches from your battery to prevent accidental clamp contact during connection. Never set it directly on the engine block where vibrations could dislodge it mid-crank—secure it on pavement or the wheel well instead. Test cable reach by gently stretching the clamps toward terminals; cables should connect without tension since taut wires increase resistance and reduce power delivery. Ensure both clamps rest on non-conductive surfaces while positioning, and confirm the unit’s cooling fan vents face upward for proper airflow. This precise placement prevents voltage drops that cause failed jump attempts and protects sensitive electronics from power surges.
Avoid These Critical Positioning Mistakes
- Engine contact: Causes unit to vibrate loose during cranking
- Overstretched cables: Drops voltage by 20%+ during cranking
- Blocked vents: Traps heat, triggering thermal shutdown
- Wet surfaces: Creates conductive paths for stray currents
Connect Red Clamp First: The Spark-Safe Sequence
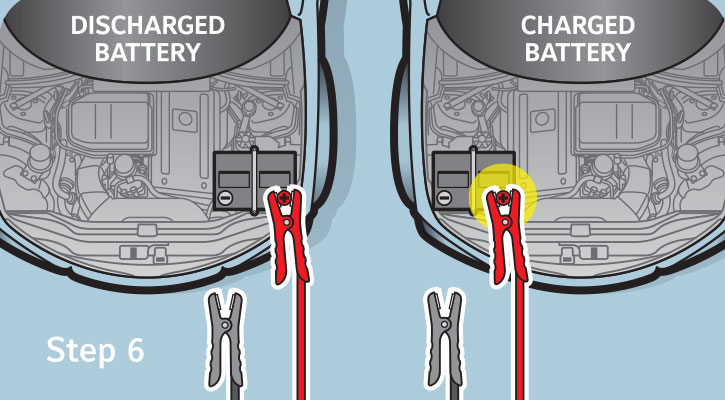
Always attach the red (positive) clamp before black to minimize dangerous sparks near battery gases. Locate your battery’s positive terminal marked with “+” or a red cover, then firmly bite the clamp onto clean, unpainted metal—never onto corroded surfaces. If corrosion is present, disconnect and scrub terminals with a wire brush first. Perform the wiggle test: grasp the clamp and twist gently; if it moves, reposition until you feel solid metal-to-metal contact. This step is non-negotiable—loose connections cause arcing that melts terminals and drains the JNC660’s charge before cranking even begins.
Attach Black Clamp to Engine Ground (Never Negative Terminal)

Here’s where 90% of jump-start failures occur: connecting the black clamp to the battery’s negative terminal instead of a proper engine ground point. Always clamp onto unpainted metal at least 12 inches from the battery—like an alternator bracket, intake manifold bolt, or suspension strut tower. This critical step routes sparks away from hydrogen gas emitted by the battery during charging. Never use painted surfaces, fuel lines, or drive belts as ground points. If you hear a buzzing sound or see the JNC660’s reverse polarity LED flash red, disconnect immediately and reverse your clamp positions—connecting backwards fries vehicle electronics in seconds.
Power On and Verify System Readiness
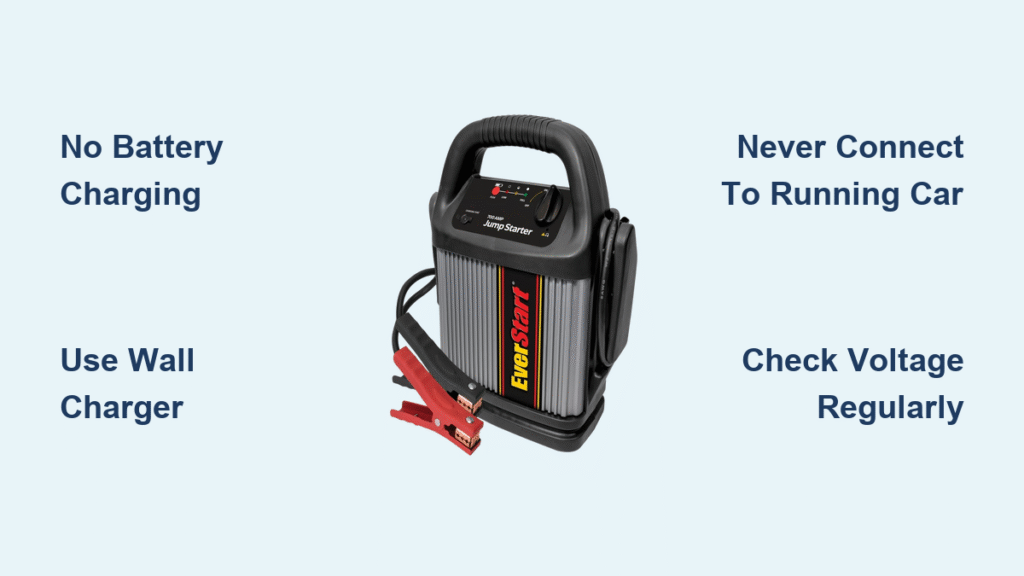
With clamps secured, press the JNC660’s status button to activate its safety systems. Confirm all three battery indicator LEDs illuminate (showing sufficient charge), and verify the voltage display reads 12.4V or higher. Listen for the cooling fan to engage automatically—this isn’t a malfunction but essential thermal management during high-current delivery. If the red “Reverse” LED flashes, disconnect clamps immediately and swap positive/negative connections. Never attempt to start with warning lights active, as this indicates dangerous polarity errors that could destroy your vehicle’s computer modules. This 10-second verification prevents catastrophic electrical damage before you even turn the key.
Execute the Perfect Crank Sequence
Turn your ignition key and hold for exactly 6 seconds—no longer. If the engine doesn’t catch, wait 30 seconds before retrying to let the JNC660’s capacitors recharge. After three failed attempts, disconnect and troubleshoot connections; extended cranking overheats the unit’s internal circuitry. Success shows as noticeably faster cranking than normal battery-powered starts, followed by smooth engine operation. If cranking remains slow despite correct connections, your battery may be beyond recovery—proceed to post-jump diagnostics immediately. Remember: the JNC660 delivers maximum power in short bursts, so patience between attempts preserves its 1,000+ cycle lifespan.
Troubleshoot Failed Starts Immediately
- Check clamp tension: Loose connections cause 50%+ power loss
- Test voltage display: Must stay above 11V during cranking
- Wait 2 minutes: Allows full capacitor recharge for next attempt
- Inspect battery terminals: Hidden corrosion breaks electrical paths
Disconnect in Reverse Order to Prevent Voltage Spikes

Always remove the black clamp from the engine ground first, followed by the red clamp from the positive terminal. This reverse sequence prevents dangerous sparks near the battery. Before disconnecting, turn off all vehicle accessories like headlights and radio—sudden power cuts during disconnection cause voltage spikes that damage electronics. Secure both clamps onto the JNC660’s storage posts immediately after removal to prevent accidental contact. Rushing this step risks 200+ volt surges that fry alternators and ECUs, so take 15 extra seconds for safe disconnection.
Post-Jump Battery Health Assessment
Drive continuously for 15+ minutes after starting to allow the alternator to recharge your battery. Within 30 minutes, turn off the engine and attempt a restart—if it cranks slower than the initial jump-start, your battery needs replacement. Test voltage with the engine off: 12.6V indicates health, while 12.2V or lower means immediate replacement is needed. Watch for dashboard warning lights like “Check Charging System” or dimming headlights during operation—these signal alternator failure requiring professional diagnosis. Ignoring these signs risks being stranded again within days.
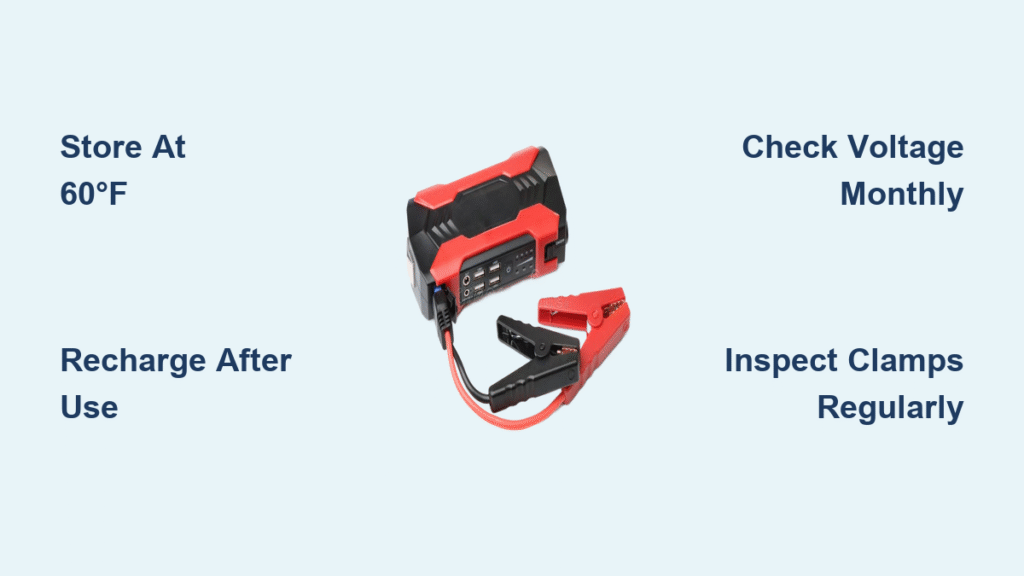
Recharge JNC660 Within 24 Hours for Longevity
Plug the included 12V wall charger into the JNC660’s port immediately after any jump attempt. A full recharge takes 12-24 hours—never leave it charging unattended overnight. The indicator light turns solid green when complete, but check monthly during storage to maintain 50%+ charge. Lithium packs degrade rapidly below 20% capacity, so recharge every 90 days even if unused. Using car adapter charging? Limit sessions to 4 hours to prevent voltage fluctuations that shorten battery life. This discipline extends your unit’s service life from 3 to 5+ years.
Troubleshoot Common JNC660 Failures
When the unit shows no power, press the battery test button—2-3 illuminated LEDs confirm charge. If outlets work but the jump starter doesn’t, reset its protection circuit by disconnecting all loads for 60 seconds. For slow cranking despite good connections, clean corrosion from clamps with a wire brush; even thin residue blocks 30% of power transfer. If the cooling fan runs excessively, place the unit in shade during summer jumps—ambient temps above 95°F trigger thermal throttling that reduces output. Never attempt jump-starts below 14°F without pre-warming the unit indoors first.
Extend JNC660 Lifespan with Proactive Care
Store the jump starter upright in your vehicle’s cabin (not trunk) where temperatures stay between 40-80°F—extreme cold permanently reduces lithium capacity. Wrap cables loosely in figure-eights to prevent kinks that damage internal wires, and inspect clamps monthly for corrosion. Before winter, verify charge level exceeds 80% since cold weather drains standby power 50% faster. After each use, wipe terminals with a dry microfiber cloth to remove acidic residue. These habits prevent the #1 cause of premature failure: degraded battery cells from improper storage.
The JNC660 Jump-N-Carry delivers reliable roadside rescues when you follow this exact sequence. Master these steps once, and you’ll conquer dead batteries with confidence—no second vehicle required. Keep it charged, store it properly, and perform monthly connection checks to ensure it’s ready when disaster strikes. For immediate assistance with Clore Automotive products, contact their technical service team directly through the official website. Your safety depends on proper jump-starter use, so never skip the pre-checks or disconnect sequence—these 10 seconds could prevent thousands in electrical repairs.