You’re running late for an important meeting, turn the key in the ignition, and hear only a faint clicking sound. Your heart sinks as you realize your car battery has died. This frustrating scenario affects millions of drivers annually, but with a Michelin jump starter in your emergency kit, you can solve the problem yourself in minutes. These compact power devices deliver enough amperage to jump-start most vehicles without needing another car or roadside assistance.
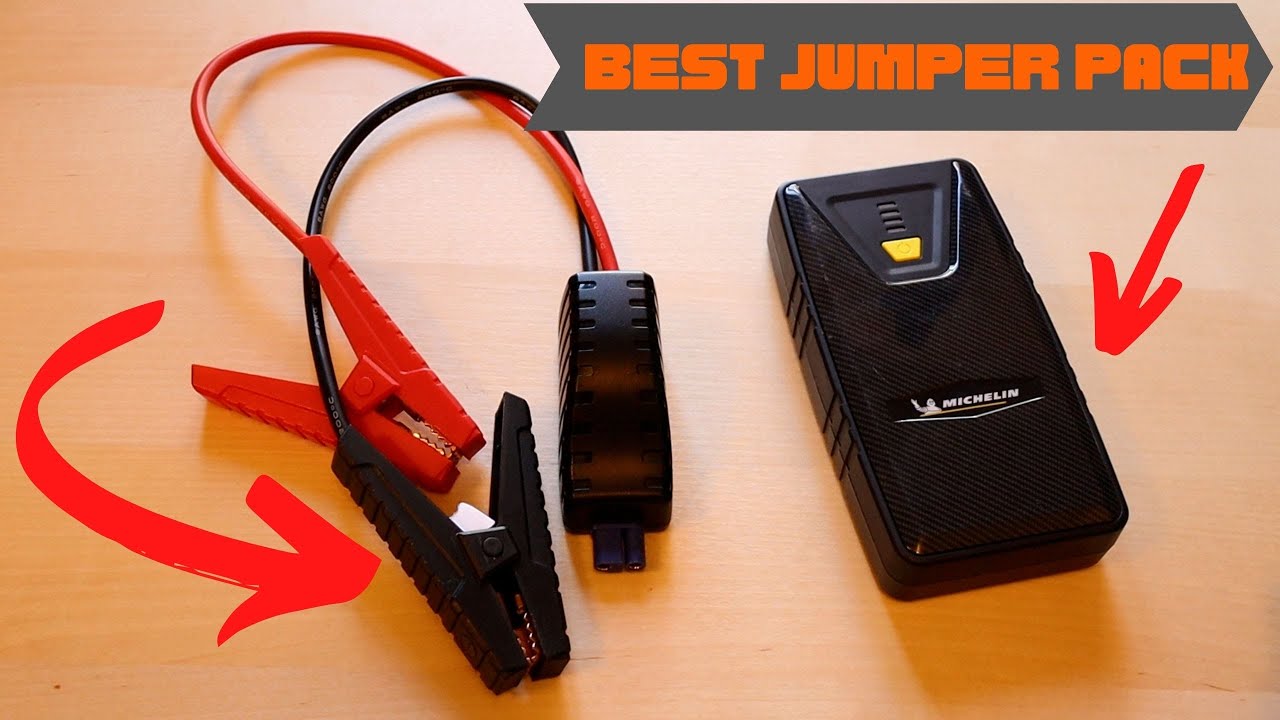
Michelin jump starters like the XR1, MP120, and other models feature user-friendly designs that make battery revival accessible to drivers of all experience levels. By following proper procedures, you can safely restart your vehicle in under five minutes. This guide provides clear, actionable instructions for using your Michelin jump starter correctly every time, whether you’re stranded in a parking lot or preparing for winter emergencies.
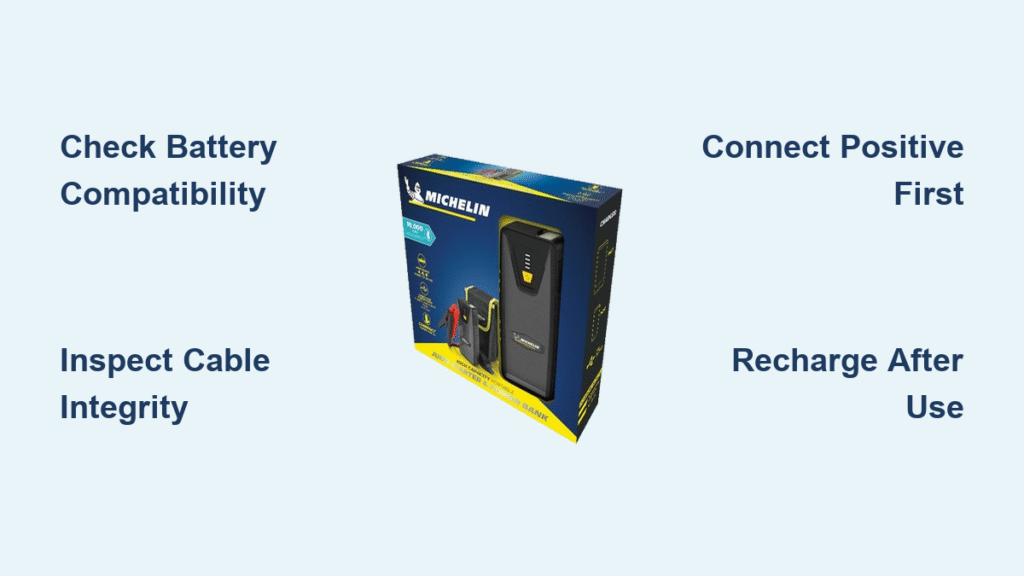
Verify Your Michelin Jump Starter Model Compatibility
Before attempting a jump start, confirm your device matches your vehicle’s requirements. Michelin produces multiple jump starter models with varying power capacities and features, so identifying yours prevents wasted effort during an emergency.
Match Power Capacity to Your Engine Size
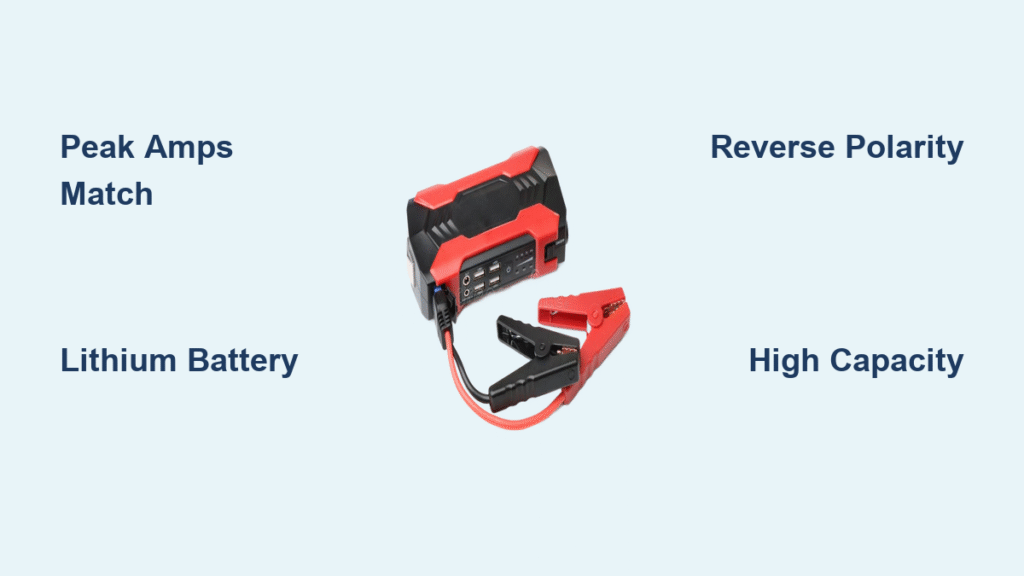
Check your jump starter’s specifications against your vehicle’s engine type. The Michelin MP120 supports engines up to 4.0L gasoline, while the XR1 handles up to 6.0L. Diesel engines typically require 50% more starting power than comparable gasoline engines, so adjust your expectations accordingly. Attempting to jump-start a larger engine than your device supports will drain the unit without turning over your engine.
Confirm Vehicle Battery Compatibility
Your Michelin jump starter works exclusively with 12-volt lead-acid batteries found in most passenger vehicles. Check your battery case for voltage markings—6-volt batteries (common in older motorcycles and golf carts) or 24-volt systems (in commercial trucks) won’t work with standard Michelin units. The device automatically detects battery voltage during connection, but verifying compatibility beforehand prevents confusing error codes during critical moments.
Conduct Pre-Use Safety Inspection
Skipping this crucial step risks equipment damage or personal injury. Your safety depends on verifying your jump starter’s condition before each use, especially after storage periods.
Check Power Level Indicators
Press the power button to activate the LED display—four solid lights indicate full charge (100%), three lights show 75%, two indicate 50%, and a single flashing light means immediate recharging is necessary. Never attempt a jump start with less than 50% charge; insufficient power could damage both your vehicle’s electrical system and the jump starter itself.
Examine Cable and Clamp Integrity
Inspect both red and black cables for cracks, fraying, or exposed wiring. Gently flex the cables along their entire length—healthy cables feel firm throughout. Closely examine the clamp teeth for rust or corrosion that could reduce conductivity. Damaged components compromise safety and effectiveness; replace faulty parts before attempting any jump start.
Position Vehicles for Safe Operation
Proper positioning prevents accidents and ensures optimal working conditions during the jump-start process.
Secure the Dead Vehicle
Park on level ground away from traffic, engage the parking brake, and shift automatic transmissions to Park (manual transmissions to Neutral). This prevents accidental movement during the procedure. Turn off all electrical accessories like headlights, radio, and climate control to reduce strain on the electrical system.
Prepare the Engine Bay
Open the hood and secure it with the prop rod. Remove any plastic covers or shields obscuring the battery terminals. If your battery has corrosion buildup, use the included wire brush to clean the terminals—this ensures maximum conductivity during the jump start. Position your Michelin jump starter on stable ground near the battery, but never directly on the battery or hot engine components.
Connect Cables Using Proper Sequence
Following the correct connection order prevents dangerous sparks and potential damage to your vehicle’s electrical system.
Attach Positive Clamp First
Identify the positive battery terminal (marked with a “+” symbol, usually covered by a red plastic cap). Firmly attach the red clamp to this terminal, ensuring metal-to-metal contact. Gently wiggle the clamp to help it bite through minor corrosion. If your battery terminals are heavily corroded, clean them thoroughly before connecting.
Connect Negative Clamp to Ground Point
Attach the black clamp to an unpainted metal surface on the engine block or vehicle chassis—never directly to the negative battery terminal. Suitable grounding points include the engine’s metal brackets or bolts. This creates a safer path for electricity, reducing the risk of igniting hydrogen gas that batteries emit.
Activate Jump Start Sequence Safely
Michelin jump starters feature intelligent circuitry that protects against common user errors, but you must follow activation procedures correctly.
Power Up and Monitor Status
Press and hold the power button for two seconds until the display illuminates. The unit automatically checks connections and battery status. Wait 30 seconds for the device to stabilize before attempting to start your engine—this allows the capacitors to build sufficient charge.
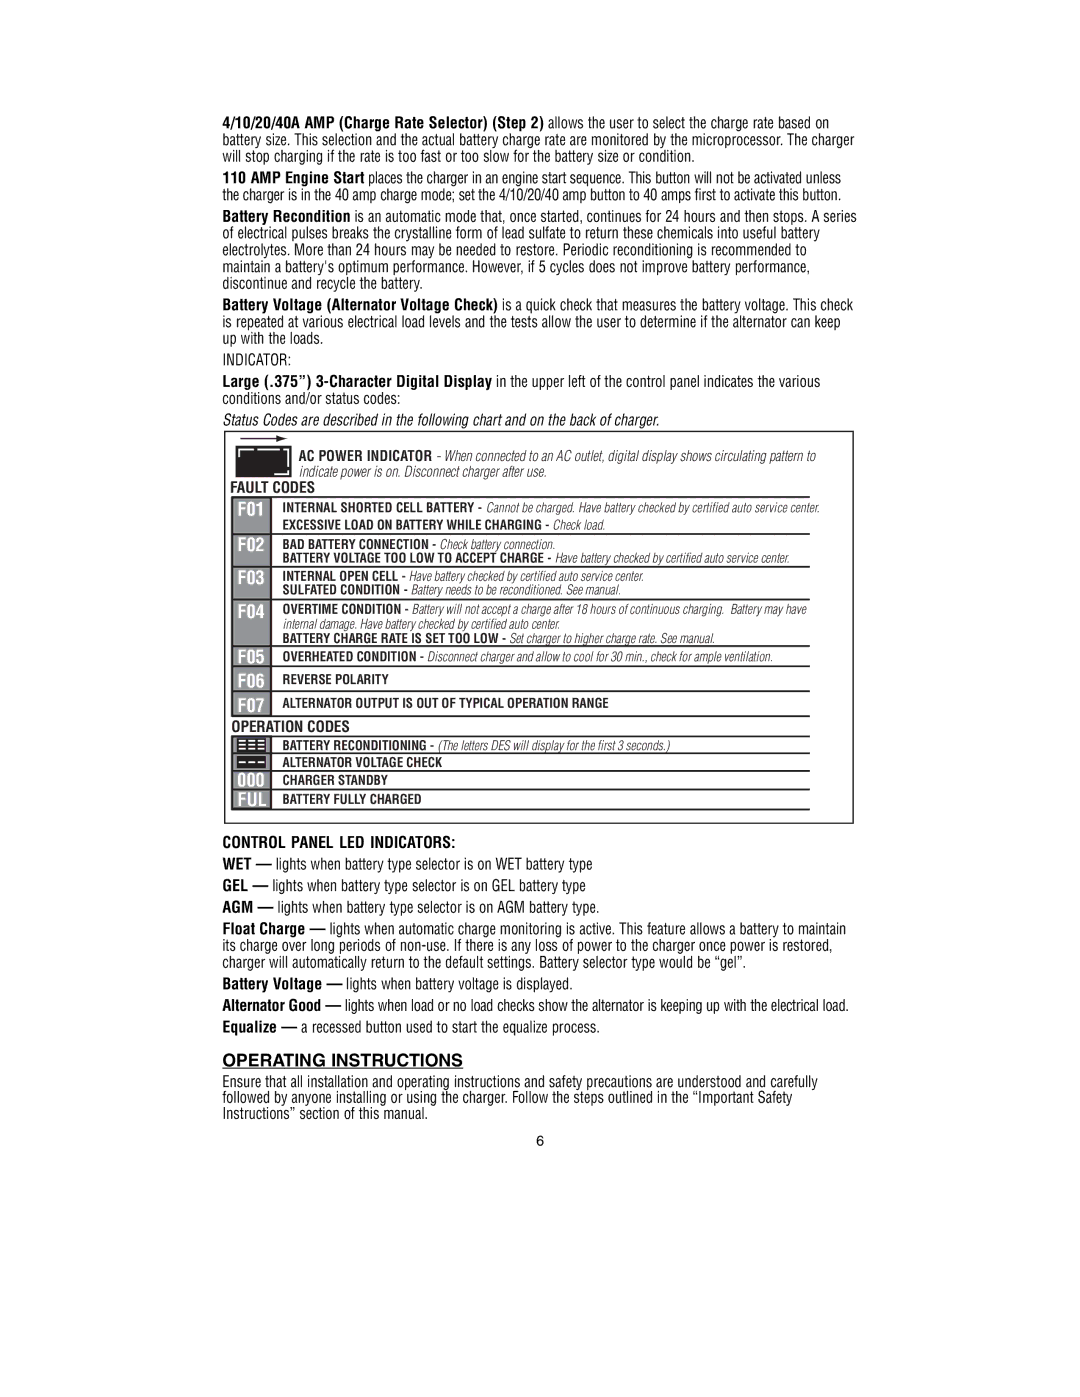
Interpret Error Codes Immediately
If the display shows “F01,” check for loose connections. “F02” indicates reversed polarity—swap the clamps immediately. “F03” means the vehicle battery is too depleted for jumping and requires replacement. Ignoring error codes can damage your vehicle’s sensitive electronics or the jump starter itself.
Start Your Engine Successfully
The moment of truth requires patience and proper technique to avoid damaging components.
Crank Engine Properly
Turn the ignition key or press the start button normally. Allow the engine to crank for no more than 5 seconds. If it doesn’t start, wait 2-3 minutes before retrying—this cooling period protects both your starter motor and the jump starter from overheating.
Handle Multiple Start Attempts
If your engine starts but immediately stalls, let it idle for 2-3 minutes before turning it off. This stabilizes the electrical system. If multiple attempts fail, your issue may extend beyond a dead battery—check for alternator problems or other electrical faults before continuing jump-start attempts.
Disconnect Components in Reverse Order
Removing connections incorrectly can cause dangerous sparks or electrical damage.
Remove Negative Clamp First
Detach the black clamp from its grounding point on the engine block. Keep it away from any metal surfaces while handling to prevent accidental short circuits. Never let the black clamp touch the red clamp during removal.
Disconnect Positive Clamp Last
Remove the red clamp from the positive battery terminal. Immediately return both clamps to their designated holders on the jump starter. This reverse removal sequence matches the connection order and maintains safety throughout the process.
Recharge Your Michelin Unit Immediately
Every jump start significantly depletes your unit’s power reserve, requiring prompt recharging.
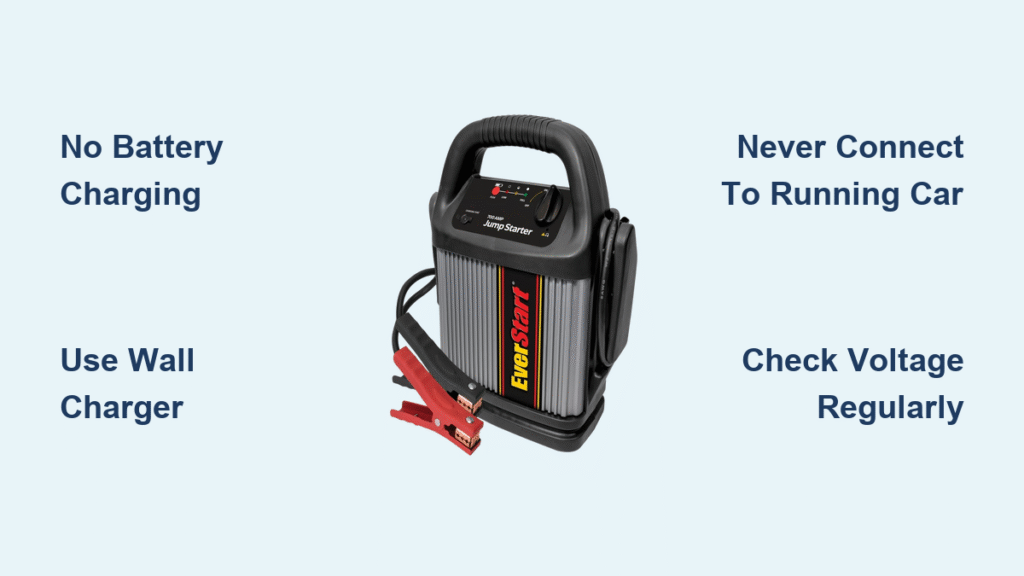
Choose Optimal Charging Method
Use the included wall adapter for fastest results (4-6 hours for full charge). The 12V car adapter works but takes 6-8 hours. USB charging from power banks is possible but inefficient—requiring 12+ hours for complete recharge. Always charge in temperatures between 32-80°F for optimal battery health.
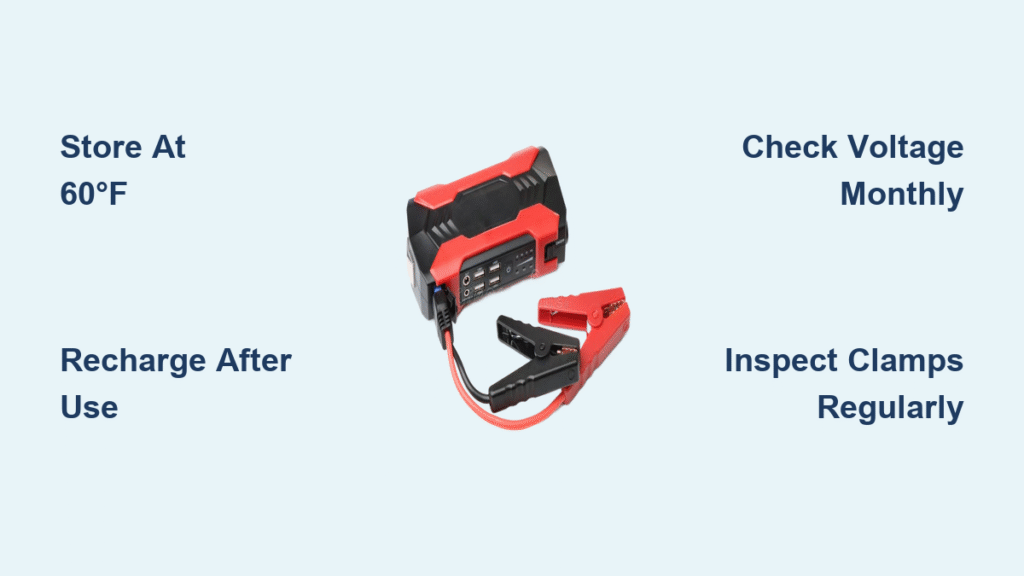
Maintain Emergency Readiness
Check your unit’s charge level monthly and recharge when below 75%. Properly maintained Michelin jump starters retain charge for 3-6 months in storage. Store in a cool, dry place away from direct sunlight to maximize battery lifespan.
Troubleshoot Common Jump Starter Issues
Quick problem-solving keeps you moving when time matters most.
Address Power Response Failures
If your unit doesn’t power on, press and hold the power button for 10 seconds to reset it. Charge for at least 30 minutes before retrying. Persistent failure after charging indicates internal component issues requiring replacement.
Fix Weak Cranking Performance
Ensure clamps make solid contact with clean metal surfaces—corrosion or paint reduces power transfer by up to 50%. Clean terminals with the included wire brush and retry. If problems continue, your vehicle may have deeper electrical issues beyond a simple dead battery.
Maintain Your Jump Starter for Long-Term Reliability
Regular upkeep ensures your emergency device works when needed most.
Conduct Monthly System Checks
Test the jump starter’s charge level, flashlight function, and USB ports monthly. A fully functional unit should power small devices and illuminate brightly when tested. These features often fail before the main jump-start capability, providing early warning of battery degradation.
Plan for Timely Replacement
Replace your Michelin jump starter every 3-4 years regardless of usage frequency. Lithium-ion batteries degrade over time, losing capacity even when unused. An aging unit may show full charge but deliver insufficient power when you need it most—don’t wait for failure during an emergency.
Your Michelin jump starter transforms from forgotten trunk item to essential lifesaver when used correctly. Practice these procedures in your driveway during daylight hours so you’re prepared when darkness or weather complicates the process. Keep your unit charged, store it properly, and combine it with other emergency essentials for complete roadside confidence. Remember that a jump starter works best as part of your overall emergency preparedness—pair it with basic tools, a charged phone, and roadside assistance coverage for maximum security on every journey.