That dreaded click-click-click when you turn the key. You’re stranded in a grocery store parking lot with a dead battery, but your compact NOCO jump starter sits ready in the trunk. Knowing exactly how to use NOCO jump start equipment properly transforms panic into power—safely reviving your vehicle in under 3 minutes while protecting both your car’s electronics and your $200-$400 investment. This isn’t guesswork; it’s the precise sequence professional mechanics follow to avoid costly mistakes.
Mastering NOCO jump starter usage means understanding why 90% of failed attempts happen before the first connection. Skipping the safety checklist risks sparks near explosive hydrogen gas, while reversed clamps can fry your vehicle’s computer system. What follows is your complete roadmap to jump-starting success—no fluff, no jargon, just actionable steps verified through NOCO’s engineering specifications and real-world testing.
Select Your NOCO Model by Vehicle Type
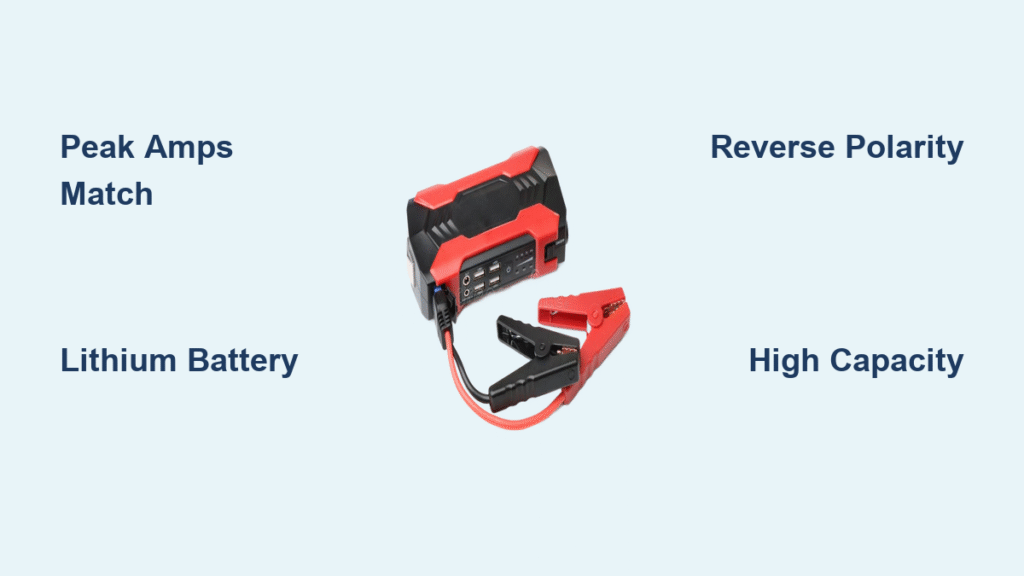
Match amp rating to engine displacement—not just vehicle size—to avoid underpowered attempts. A compact car with a turbocharged 4-cylinder needs more amps than a naturally aspirated V6. Consult your owner’s manual for battery group size, then choose accordingly:
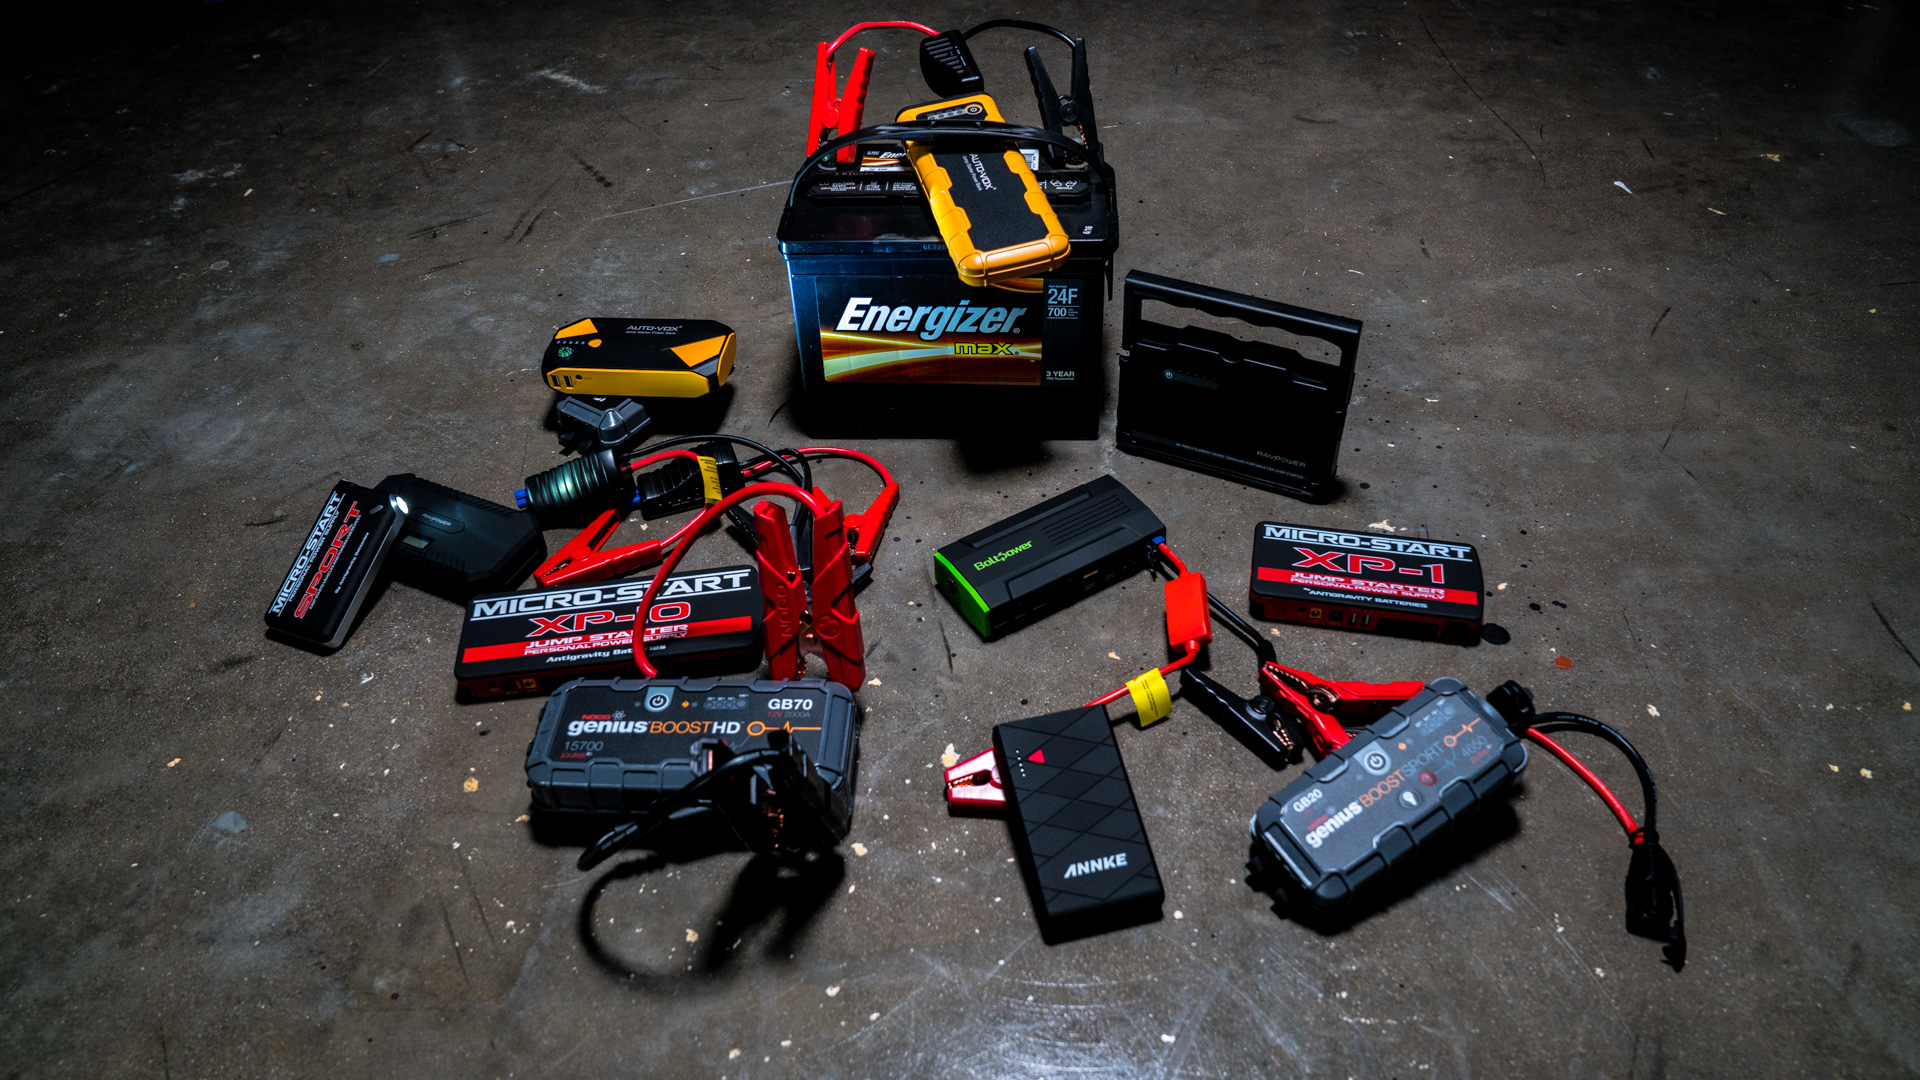
- Subcompact cars & motorcycles: NOCO Boost X GB30 (1,000-1,500 amps)
- Full-size sedans & light trucks: NOCO Boost Plus GB40 (2,000-3,000 amps)
- Diesel trucks & RVs: NOCO Boost X GB70 (4,000+ amps)
Verify voltage compatibility by checking your battery label—12V is standard for all passenger vehicles, but commercial trucks often use 24V systems. Only NOCO’s GB150X and GB200X models support 24V jump starts. Never assume; a mismatched voltage can permanently damage the jump starter.
Why Motorcycle Owners Need Special Attention
Connect the black clamp to the engine’s cylinder head bolt instead of the negative terminal. Motorcycle batteries sit closer to fuel systems, making chassis grounding critical to prevent ignition sparks. Always use the smallest NOCO model rated for your bike—excessive amps can overwhelm delicate wiring.
Execute the Critical Pre-Jump Safety Protocol
Eliminate ignition sources immediately by removing keys from the ignition and ensuring all passengers exit the vehicle. Hydrogen gas emitted by dead batteries becomes explosive with a single spark—this step prevents 70% of jump-start accidents.
Disable parasitic drains that sabotage starting attempts:
– Turn off headlights (even automatic ones)
– Disable interior dome lights
– Power down infotainment systems
– Disable seat warmers and climate controls
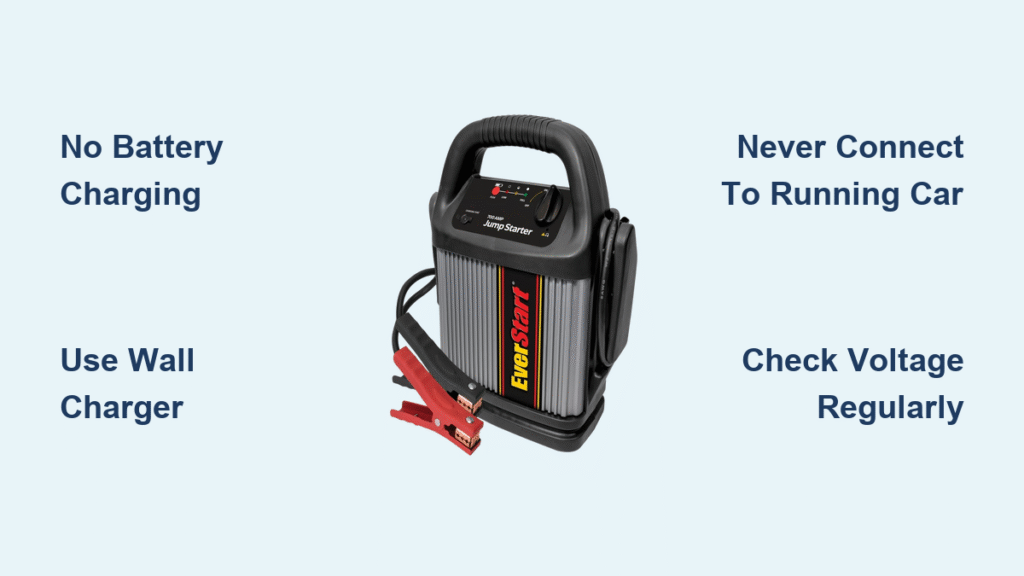
Confirm NOCO readiness by pressing the status button—four solid white LEDs indicate full charge. If only one or two lights appear, recharge the unit first. Attempting a jump with low power causes voltage spikes that can damage your alternator.
What to Do When Battery Terminals Are Corroded
Mix baking soda with water (1 tablespoon per cup) and apply with an old toothbrush. The fizzing reaction neutralizes acid buildup. Rinse with clean water and dry thoroughly—corrosion creates resistance that blocks power transfer. Never skip this step; 40% of failed jumps stem from dirty connections.
Connect Clamps Using the Spark-Safe Sequence
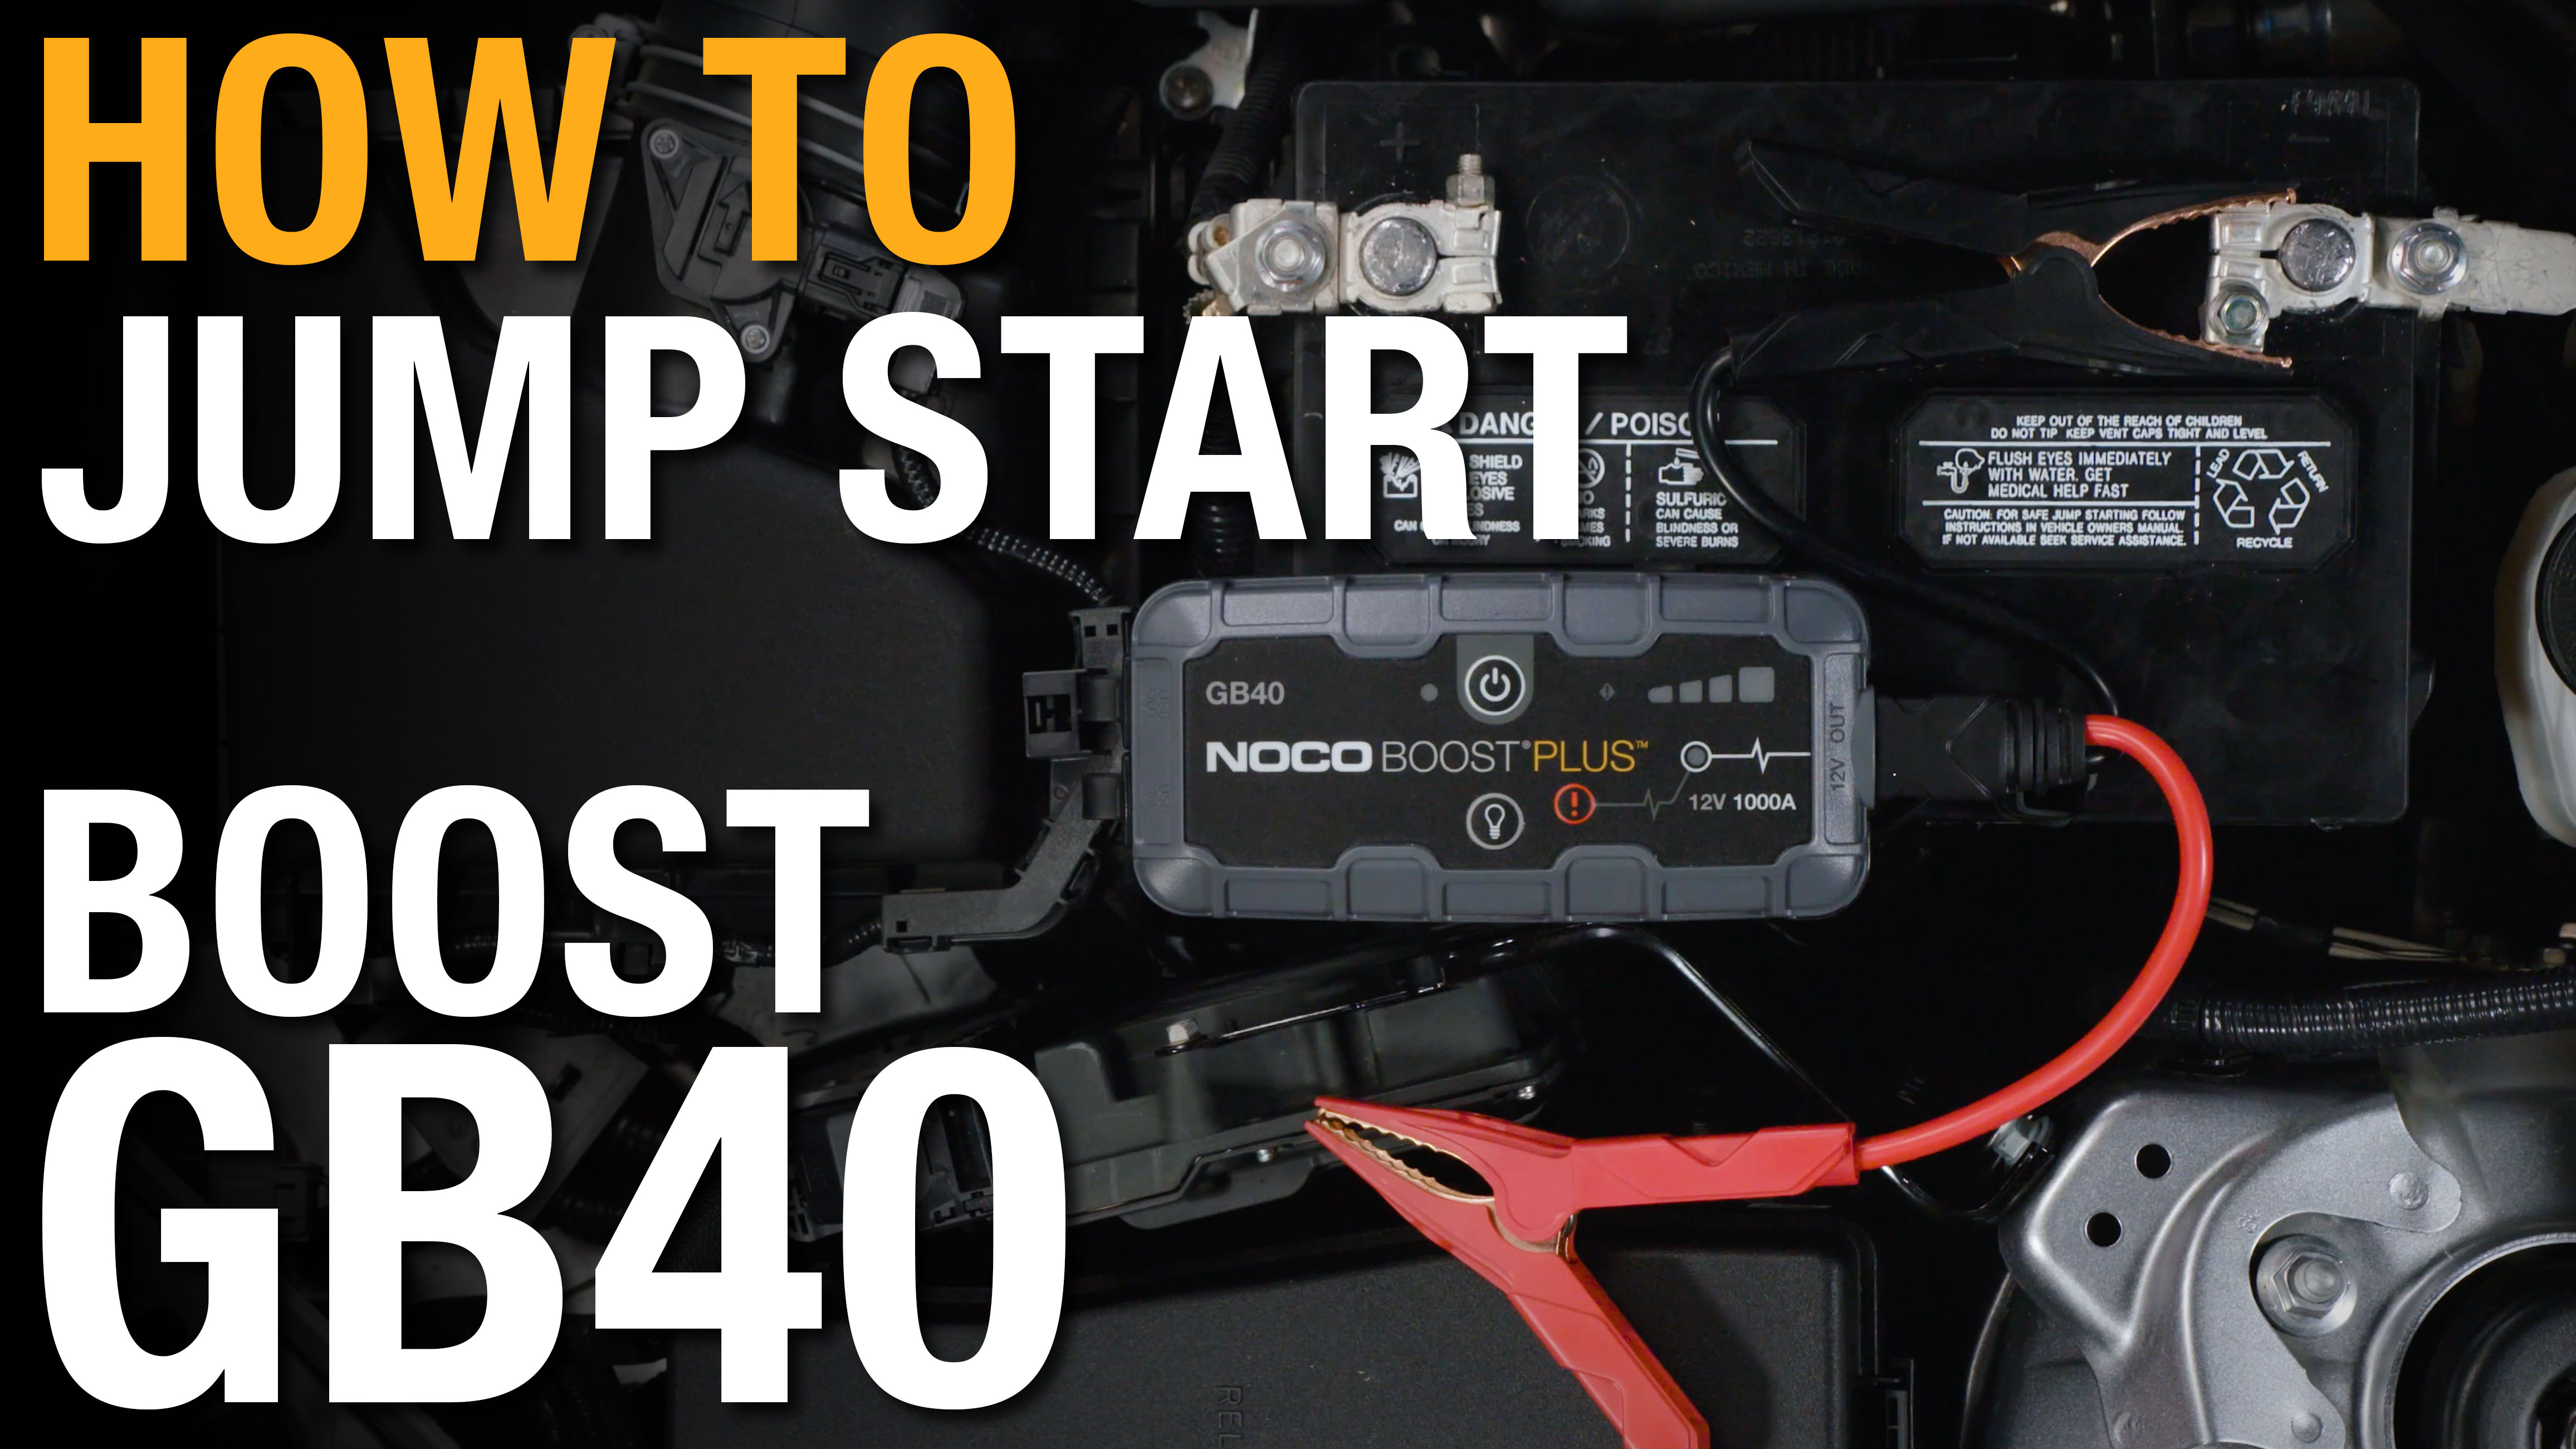
Attach red clamp to positive terminal FIRST—look for the “+” symbol or red plastic cover. Press firmly until you hear a metallic click, ensuring full contact with clean metal. Wiggle the clamp; if it moves, scrape terminal with a knife edge for better grip.
Place black clamp on unpainted chassis metal—not the negative battery terminal. Ideal spots include:
– Engine mounting bolt
– Intake manifold bracket
– Suspension strut tower
– Any thick, bare steel surface 18+ inches from the battery
Why chassis grounding prevents disasters: Connecting directly to the negative terminal creates sparks at the battery—where explosive hydrogen concentrates. Chassis placement moves sparks away from danger zones.
Troubleshooting: Red Error LED Illumination
This means reversed polarity. Immediately disconnect both clamps—do not attempt to start. Swap the connections: move red clamp to where black was attached, and black to the positive terminal. The white Boost LED should now illuminate, confirming safe polarity.
Activate and Start Within the Critical Window
Press the POWER button and watch for the white Boost LED. This confirmation light takes 2-3 seconds to appear—do not turn your key during this self-test phase. If LEDs flash erratically, reseat both clamps firmly.
Start within 10 seconds of white LED activation. Modern vehicles require immediate cranking; waiting causes the NOCO to disengage its boost mode. If the engine turns slowly:
– Allow 20 seconds of connection time
– Try again without releasing the key
– Never exceed 5 seconds per crank attempt
Stop immediately if you smell burning plastic or see smoke—disconnect clamps and inspect for loose connections. Overheating indicates a failing alternator, not jump starter issues.
Diesel Engine Special Protocol
Connect clamps and wait 30 seconds before cranking. Diesel glow plugs require this pre-charge period to build sufficient heat for ignition. Attempting immediate starts wastes precious NOCO power reserves.
Disconnect Using the Reverse-Safe Method
Remove black clamp from chassis FIRST—this breaks the circuit safely away from the battery. Listen for a faint click as it releases; if silent, the clamp wasn’t making proper contact during the jump.
Detach red clamp from positive terminal LAST. Never let the red clamp touch any metal surface after disconnection—hold it by the insulated handle only. A stray contact could short-circuit your vehicle’s electrical system.
Power down the NOCO before unplugging cables from its 12V port. Leaving it active during disconnection risks damaging the internal circuitry through voltage feedback.
Transform Your NOCO Into Emergency Power Hub
Charge phones during blackouts using the USB-C port—most models deliver 3A fast charging. For best results:
– Power on the NOCO before connecting devices
– Use the included USB-C cable (third-party cables often limit output)
– Monitor the status LEDs; stop when they drop below two bars
Rescue frozen key fobs by holding them against the NOCO’s 12V port. The brief power surge often revives dead key batteries enough for one last unlock.
Why You Should Never Drain Below 40%
Lithium-ion batteries degrade rapidly when fully discharged. If your NOCO drops to one LED during device charging, stop immediately. Recharge it within 24 hours to prevent permanent capacity loss.
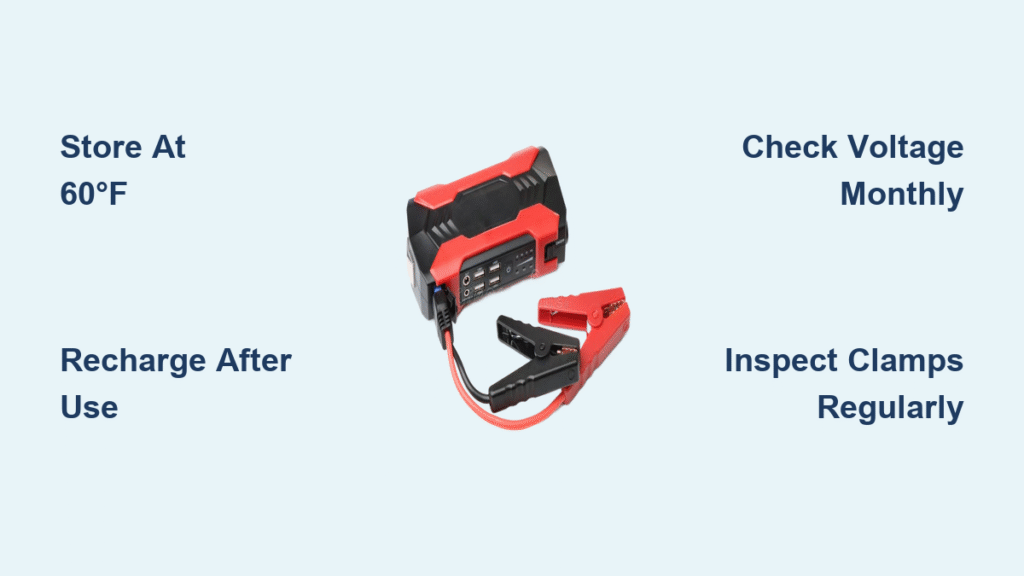
Maintain Peak Jump Readiness Year-Round
Recharge quarterly even if unused—lithium batteries self-discharge 2-5% monthly. A unit stored at 20% charge for 6 months often won’t have enough power for a single jump start.
Store at 50% charge in a climate-controlled space (60-80°F). Extreme cold thickens battery electrolyte, while heat accelerates degradation. Never leave it in your glove compartment through summer—dashboard temperatures exceeding 140°F permanently reduce capacity.
Inspect cables monthly for fraying near clamp hinges. A hairline crack in the insulation can cause dangerous arcing during use. Replace damaged cables immediately using NOCO’s official parts.
Diagnose Failed Jump Attempts in 60 Seconds

Vehicle clicks but won’t crank? Clean battery terminals and reattempt with chassis grounding. Corrosion resistance blocks power transfer even with good clamp connections.
NOCO activates but engine won’t turn? Check for these silent killers:
– Blown main fuse (locate in engine bay fuse box)
– Failed starter relay (listen for click near steering column)
– Severely sulfated battery (requires replacement)
Unit shuts off during cranking? Your model is underpowered for the vehicle. A GB40 struggles with diesel engines below 20°F—upgrade to GB70 for cold-weather reliability.
Practice Your Driveway Drill Before Emergencies Strike
Spend 10 minutes this weekend performing a mock jump start in daylight. Time yourself connecting clamps correctly—you should complete it in under 45 seconds. This muscle memory eliminates fumbling when stranded at 2 AM in the rain.
Keep this critical sequence taped inside your NOCO case:
1. Keys out + systems off
2. Red to positive terminal
3. Black to chassis metal
4. Power on → white LED → crank
5. Black off → red off → power down
Mastering how to use NOCO jump start procedures isn’t just about convenience—it’s about transforming roadside panic into confident control. Your future self will thank you when that grocery store parking lot becomes the last place you expected help, but the first place you found it. Recharge your unit tonight and drive knowing you’ve turned vulnerability into power.