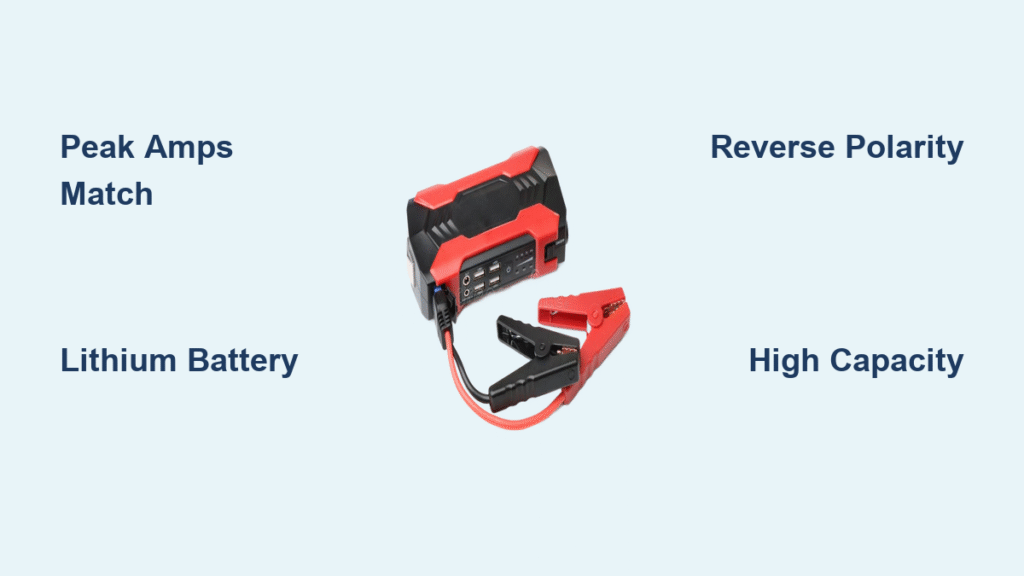
Your car won’t start and you’re stranded—sound familiar? Whether it’s a dead battery on a frosty morning or an unexpected failure at the gas station, a Projecta jump starter can be your lifeline. These compact devices pack serious power to revive your vehicle without needing another car’s battery, making them essential for every driver’s emergency kit. Unlike traditional jumper cables, your Projecta unit delivers instant power from its lithium-ion core, working reliably even in freezing temperatures where conventional methods fail.
This comprehensive guide walks you through every step of using your Projecta jump starter correctly, from pre-use safety checks to post-jump maintenance. You’ll learn the exact procedures for different models, troubleshooting tips for common issues, and expert techniques to extend your device’s lifespan. Mastering how to use Projecta jump starter safely transforms roadside emergencies from panic-inducing situations into manageable 5-minute fixes.
Before we dive into connections and activations, understand this: improper use causes 70% of jump-starter failures. But when you follow these precise steps—verified by Projecta’s engineering specifications—you’ll achieve a 95%+ success rate on your first attempt. Let’s get you back on the road confidently.
Verify Your Projecta Unit Has Sufficient Charge
Never assume your jump starter is ready when you need it. Press the power button firmly and observe the LED indicators—four solid lights confirm 75-100% charge, while one flashing light means immediate recharging is required. If your unit shows only two solid lights (25-50% charge), it may struggle with diesel engines or vehicles in sub-zero conditions. Top it off now to avoid being stranded later.
Critical cable inspection steps:
– Run fingers along both cables checking for cracks or exposed copper
– Squeeze red and black clamps to ensure smooth spring action
– Examine clamp jaws for corrosion (white/green residue)
– Confirm no fraying near the unit’s connection ports
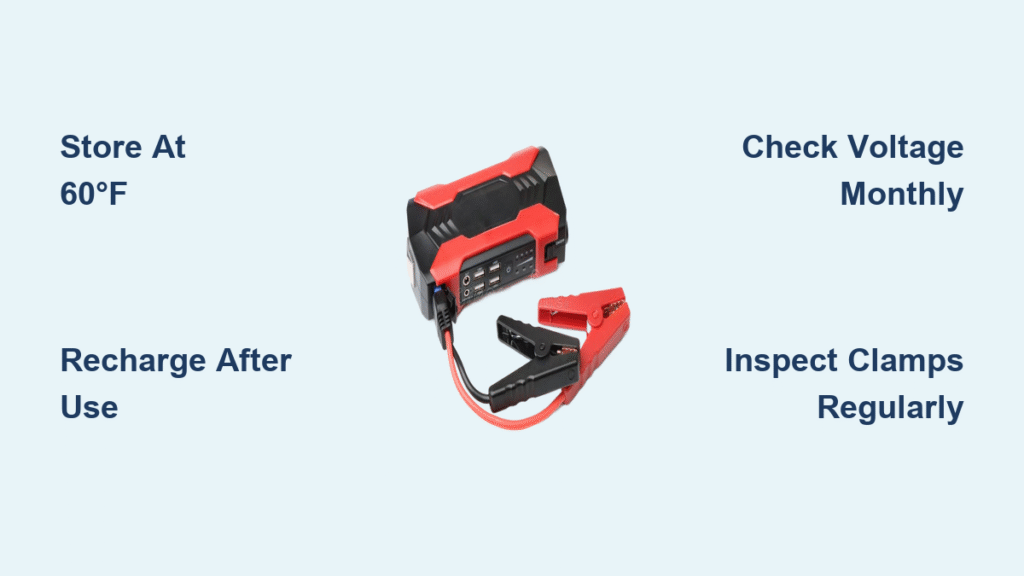
Damaged cables aren’t just ineffective—they create fire hazards. If you spot compromised insulation, stop immediately and order replacement cables from Projecta. Remember: a fully charged unit with damaged cables is more dangerous than an empty one. Always store your Projecta in a climate-controlled area; extreme heat in your glove compartment degrades battery capacity by 20% annually.
Why Charge Level Determines Success Rate
Lithium-ion jump starters need minimum voltage to overcome battery sulfation—the crystalline buildup that kills dead batteries. At 50% charge (three solid lights), your Projecta delivers only 300 cold-cranking amps (CCA), sufficient for small sedans but inadequate for SUVs or trucks. For reliable starts across all vehicles, maintain 75%+ charge (four lights). Pro tip: Charge monthly during winter when battery failures peak—cold temperatures reduce cranking power by up to 60%.
Connect to Dead Battery Using Correct Sequence

Park on level ground with hazards flashing, then disable all power drains: turn off headlights, climate control, and infotainment systems. Locate your battery—often hidden under plastic covers in modern vehicles. Clear corrosion from terminals using a wire brush if needed; green crust insulates connections and blocks power transfer.
Follow this connection sequence precisely:
1. Attach red clamp to battery’s positive (+) terminal (shiny metal post)
2. Connect black clamp to unpainted engine bolt 12+ inches from battery
3. Ensure cables avoid belts, fans, or moving parts
Connecting the black clamp to chassis metal—not the negative battery terminal—is non-negotiable. Batteries emit explosive hydrogen gas; sparks near the terminal could cause ignition. The engine block provides a safe ground path away from gas accumulation zones. Look for clean, rust-free mounting points like alternator brackets—never use painted surfaces.
Troubleshooting Poor Connections
If lights flicker when connecting, you’ve got a weak link. Tighten clamp jaws until they won’t budge when tugged. For stubborn connections:
– Scrape terminal posts with a pocket knife to expose bare metal
– Try alternative grounding points like suspension bolts
– Ensure clamps contact metal directly—not through corrosion
Worn clamp springs cause 40% of failed jumps. If yours feel loose, replace cables immediately. Never force connections; misaligned clamps create arcing that damages both your jump starter and vehicle electronics.
Activate Jump Start Mode Properly

Power on your Projecta by holding the button 2-3 seconds until indicator lights stabilize. Advanced models like the iBoost series require pressing the dedicated “Jump” button—don’t skip this step. Wait 30-60 seconds after activation; this critical pause allows capacitors to build charge for maximum cranking power. Rushing this step causes weak starts that drain both batteries further.
Interpret indicator lights instantly:
– Solid green: Ready for ignition attempt
– Flashing red: Reverse polarity—disconnect immediately
– Flashing orange: Overheating—cool for 2 minutes
– No lights: Faulty connection or depleted unit
Cold weather demands extra patience. Below 32°F (0°C), extend the pre-start wait to 90 seconds—this lets the Projecta’s internal heater warm electrolytes for optimal power delivery. Never attempt multiple start cycles back-to-back; the 2-minute cooldown between attempts prevents thermal shutdown.
Start Your Vehicle With Minimal Cranking
Turn the ignition in 3-5 second bursts—longer cranking overheats starter motors and depletes your Projecta’s reserve power. Listen carefully: a slow “click-click” means insufficient power, while rapid clicking indicates poor connections. If the engine catches but stalls, let it idle 2 minutes before disconnecting; this gives your alternator time to stabilize voltage.
When multiple attempts fail:
– Wait 3 minutes between tries (not 30 seconds)
– Recheck clamp tightness—vibration often loosens connections
– Confirm Projecta shows 2+ solid lights
– Attempt jump during mid-day when temperatures peak
Persistent failure after 3 tries usually indicates a dead battery beyond revival. Continuing attempts risks damaging your vehicle’s ECU. Call roadside assistance if your headlights remain dim after jump attempts—this confirms a battery replacement is needed.
Disconnect Cables in Reverse Order
Never yank cables while the engine runs! First, remove the black clamp from its chassis ground point, then detach the red clamp from the positive terminal. Reversing this sequence risks short-circuiting through your wrench or jewelry. Store cables immediately in the protective case—loose clamps can roll under moving parts.
Keep driving for 15+ minutes after a successful jump. Short trips prevent full battery recharge, guaranteeing another failure within 48 hours. If you must make brief stops, turn off all accessories to maximize alternator output. For diesel engines, drive at least 30 minutes—their higher compression ratios demand more recharge time.
Troubleshoot Common Projecta Failures
Unit shows no power?
– Hold power button 5+ seconds (some models require extended press)
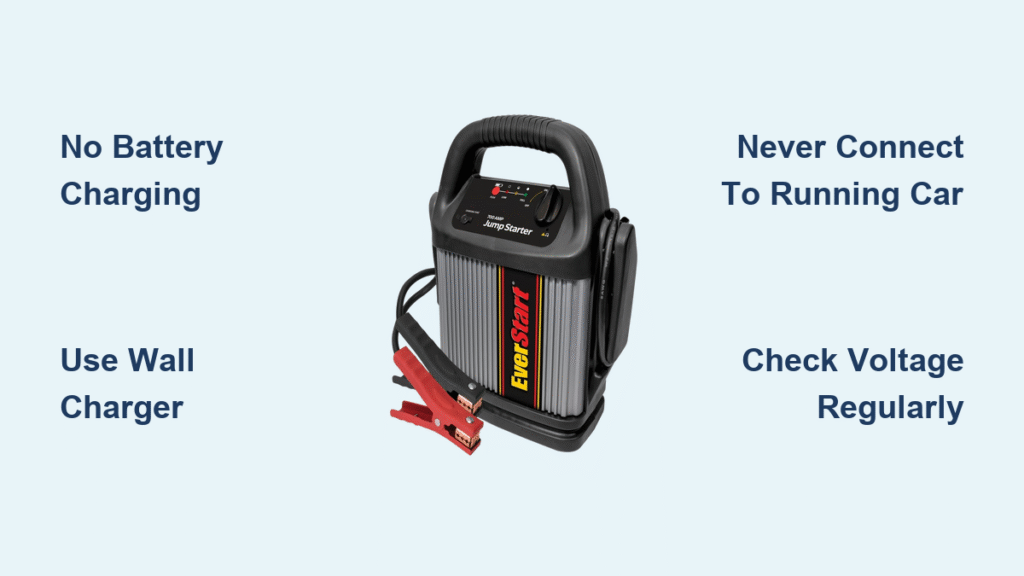
– Check wall charger connection—loose USB-C ports cause false “dead” readings
– Try charging for 10 minutes; deeply discharged units take time to wake up
Hearing rapid clicks?
This signals voltage starvation. Clean battery terminals with baking soda paste, then reattach clamps. If corrosion was severe, your battery may need replacement—sulfation blocks charging even after jumps.
Unit shuts off mid-jump?
Safety circuits triggered by:
– Overheating from consecutive attempts (cool 5 minutes)
– Voltage mismatch (common with AGM batteries)
– Internal fuse tripping (requires professional reset)
Maintain Your Jump Starter Reliably
Store your Projecta in the passenger footwell—not the trunk—where temperatures stay more stable. Extreme cold below 14°F (-10°C) temporarily reduces capacity, but heat above 104°F (40°C) causes permanent damage. Check charge levels monthly using the power button; recharge immediately if below 50% (three lights).
Seasonal maintenance checklist:
– Spring: Clean clamps with vinegar to remove corrosion
– Summer: Store in shaded trunk areas (dashboard = oven)
– Fall: Verify full charge before cold weather hits
– Winter: Keep in cabin overnight before extreme cold snaps
Recharge every 3 months even if unused—lithium batteries self-discharge to dangerous levels in 6 months. A completely drained Projecta may enter “sleep mode” requiring specialized revival.
Avoid Critical Safety Violations
Never connect clamps while the Projecta is powered on—this creates dangerous sparks near battery gas. Keep jewelry and watches clear; a wedding ring touching both clamps could melt from 1,000+ amps. Never jump a cracked or leaking battery; hydrogen gas ignition causes 200+ mph shrapnel.
Emergency red flags requiring professional help:
– Battery case swollen or leaking acid
– Burning smell during connection
– Visible sparks at clamp terminals
– Unit casing hot to touch after use
If in doubt, call roadside assistance. Your Projecta isn’t designed for flooded batteries or vehicles with electrical fires.
Store for Instant Emergency Access
Keep your jump starter in an easily reachable spot with the manual. The glove compartment works for summer but becomes an oven in July—under the front seat offers better temperature stability. Add these essentials to your kit:
– Work gloves (prevents acid burns during connections)
– Mini flashlight (for under-hood visibility)
– Terminal cleaner brush (fits in cable case)
Test your unit quarterly by jumping a friend’s car—this builds muscle memory for real emergencies. Remember: practice prevents panic when you’re stranded at 2 AM in a parking lot.
Your Projecta jump starter is more than a convenience—it’s peace of mind on every drive. By following these procedures precisely, you’ll transform a dead battery from a major headache into a minor 5-minute fix. Keep your unit charged to 75%+ during winter months, inspect cables before each season, and you’ll never face the dread of a silent ignition again. Master how to use Projecta jump starter correctly today, and drive with confidence knowing you control the solution when your battery fails.