
Your NOCO battery charger suddenly starts blinking red instead of charging your car, boat, or RV battery. That steady 1-second on/off red pulse isn’t random—it’s your charger’s urgent warning that it detected a critical fault and shut down to prevent damage. Ignoring this signal risks battery failure or even fire. The good news? Most blinking red issues resolve in under 10 minutes with systematic troubleshooting.
This guide cuts through the confusion by decoding exactly what your NOCO charger’s red blinking means. You’ll learn to diagnose whether the problem lies with your battery, connections, or charger itself—and fix 9 out of 10 cases without professional help. Stop guessing and start solving your noco battery charger blinking red emergency right now.
What Your Blinking Red Light Actually Means
That persistent red blink follows a precise 1-second on/1-second off pattern across all NOCO Genius models. This specific sequence always indicates a hard fault that completely stops charging—it’s your charger’s emergency brake. Unlike normal operation where lights change color during charging stages, this red-only blink means “danger detected” with zero tolerance.
Genius2 and Genius5 models (2021+) add audible beeps every 2 seconds for nighttime alerts. Genius10+ units go further by displaying error codes F01-F08 alongside the red blink. Never assume the charger is “just broken”—this blinking red pattern is deliberately designed to protect your expensive battery from catastrophic damage.
Why NOCO Blocks Charging During Red Blinking
NOCO intentionally halts all current flow because the detected fault could cause:
– Battery overheating from internal shorts
– Explosive gas buildup in severely discharged batteries
– Charger circuit damage from reverse polarity
– Fire risk when cables short against metal
Skipping troubleshooting to force-charge could destroy your $200 battery or worse. That blinking red light is your first line of defense.
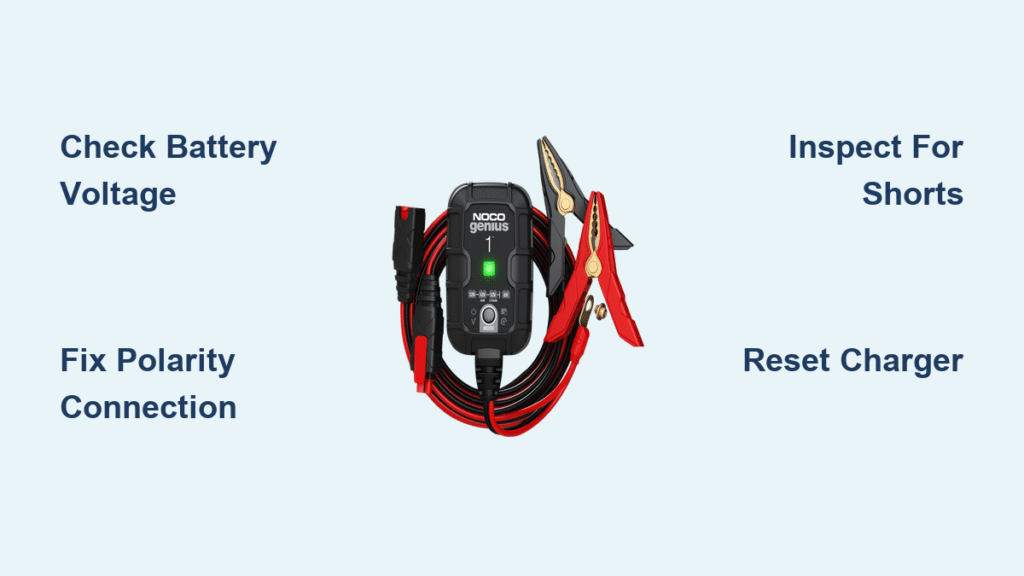
Top 5 Causes of NOCO Red Blinking (With Fixes)

Battery Voltage Outside Safe Range
Your NOCO charger expects batteries within strict voltage windows:
– 12V mode: Must read 2V–19V
– 6V mode: Must read 1V–9.5V
Below these ranges means your battery has a shorted cell or is dangerously deep-discharged. Above these ranges suggests you accidentally connected a 12V charger to a 24V system. Always verify voltage before connecting:
| Battery Type | Healthy Voltage | Red Blink Threshold |
|---|---|---|
| 12V Flooded Lead-Acid | 12.6–12.8V | Below 2V or above 19V |
| 12V AGM | 12.8–13.0V | Below 2V or above 19V |
| 6V Battery | 6.3–6.4V | Below 1V or above 9.5V |
Pro Tip: If voltage reads below 2V on a 12V battery, connect a working 12V battery in parallel for 5 minutes before attaching the NOCO charger. This “jump-starts” the dead battery enough for safe charging.
Reverse Polarity Connection
This common mistake happens when clamps touch the wrong terminals—positive to negative or vice versa. The red blink starts immediately as the charger’s safety cutoff activates. Crucially, no current flows, so your battery and charger remain protected.
Quick polarity test: If red blinking continues after connecting:
1. Momentarily swap the clamps
2. If LED turns solid red, your original connection was correct
3. If blinking stops, you had reversed polarity
Never force connections—if terminals feel tight but resistance exists, clean corrosion with a wire brush first.
Short Circuit Detection
NOCO triggers red blinking when resistance drops below 0.1Ω, which could mean:
– Metal tools bridging both clamps
– Internal battery plate shorts from severe sulfation
– Damaged cables exposing copper strands
Visual inspection checklist:
– 🔍 Check for frayed insulation near clamp jaws
– 🔍 Look for burn marks on cable sheaths
– 🔍 Ensure no jewelry or tools rest near clamps
If cables show damage, replace them immediately—splicing creates fire hazards.
Extreme Temperature Shutdown
Internal sensors halt operation when:
– Below -4°F (-20°C): Electrolyte freezes, preventing charging
– Above 122°F (50°C): Risk of thermal runaway
The red blinking persists until temperatures stabilize within the 32–104°F (0–40°C) operating window. Critical note: Moving a frozen battery directly to a warm charger causes condensation that triggers short circuits. Always allow 30+ minutes for thermal equalization.
Battery That Won’t Hold Charge
After 24 hours in recondition mode, if voltage still drops below 10.5V (12V) or 5.25V (6V) under 1A load, the charger flags a “bad cell.” This isn’t a charger fault—it’s protecting you from repeatedly charging an irreparable battery.
Sulfation recovery window: If voltage reads 11–12V but blinking persists, allow the full 48-hour recondition cycle. Success shows as blinking stopping and green charging light resuming.
Step-by-Step Fix That Works for 90% of Cases
Immediate Safety Protocol
- Unplug AC power—never troubleshoot live units
- Remove clamps from battery posts
- Inspect cables for exposed copper, burns, or melted spots
- Check battery for leaks, bulging, or terminal corrosion
Warning: If you smell sulfur (rotten eggs) or see acid leaks, stop immediately—replace the battery outdoors wearing gloves.
Voltage Verification (Critical First Step)
Grab a digital multimeter and test open-circuit voltage:
1. Set multimeter to DC 20V
2. Touch red probe to battery positive (+)
3. Touch black probe to battery negative (-)
4. Record reading with charger disconnected
Action based on results:
– Below 2V (12V battery): Battery likely has shorted cell—replace it
– 10.5–12V: Attempt 48-hour recondition cycle
– Above 19V: Verify you’re not on a 24V system
Soft Reset Procedure (Resets 70% of Errors)
- Unplug charger for 30 seconds
- While unplugged, touch clamp jaws together for 3 seconds
- Reconnect to battery and plug in
- Monitor for 5 minutes
This discharges internal capacitors that sometimes trick the microcontroller. Works especially well after temperature-related errors.
When to Replace Battery vs. Charger
Replace the Battery If:
- Fails 100A load test (drops below 9.6V for 12V)
- Voltage won’t exceed 10.5V after 24-hour charge
- Case shows bulging or cracked terminals
- Is older than 5 years with recurring issues
Replace the Charger If:
- Genius10+ shows persistent F06 error after resets
- Multiple known-good batteries trigger red blinking
- You detect burning smells or visible component damage
- Unit is under 3-year warranty (NOCO covers shipping)
Real user example: A 2021 F-150 owner resolved red blinking by replacing one collapsed AGM battery in his dual-battery system—proving the issue wasn’t the charger.
Prevent Future Blinking Red Emergencies
Terminal Maintenance Routine
- Clean terminals every 6 months with wire brush + baking soda solution
- Apply NOCO battery terminal protectant spray after cleaning
- Tighten connections to 5–7 ft-lbs torque (loose clamps cause intermittent faults)
Storage Best Practices
- Never store batteries below 50% charge—sulfation begins within days
- Use NOCO’s maintenance mode during seasonal storage
- Keep RV batteries above 40°F in winter (insulate with thermal blankets)
Pro Tip: For vehicles stored over 30 days, disconnect the negative terminal and connect a NOCO maintainer to the positive post. This prevents parasitic drain while keeping the battery healthy.
Warranty Claim Shortcut
NOCO covers genuine internal faults (like F06 errors) under their 3-year warranty. Maximize approval chances by:
1. Documenting all troubleshooting steps
2. Including photos of multimeter readings
3. Noting error codes displayed (Genius10+)
4. Calling support at 1-800-456-6626 before shipping
Critical: Warranty excludes damage from reverse polarity or physical impacts—always prove you followed safety protocols.
Final Takeaway: That noco battery charger blinking red light is your ally, not an enemy. In 90% of cases, the blinking red indicates a battery issue—not charger failure—saving you from dangerous charging attempts. Always start with voltage verification, then perform the soft reset. If problems persist after checking polarity, temperature, and cable integrity, your battery likely needs replacement. For confirmed charger faults, NOCO’s warranty makes replacements painless. Keep this guide handy—you’ll solve your next blinking red emergency in under 15 minutes.


