
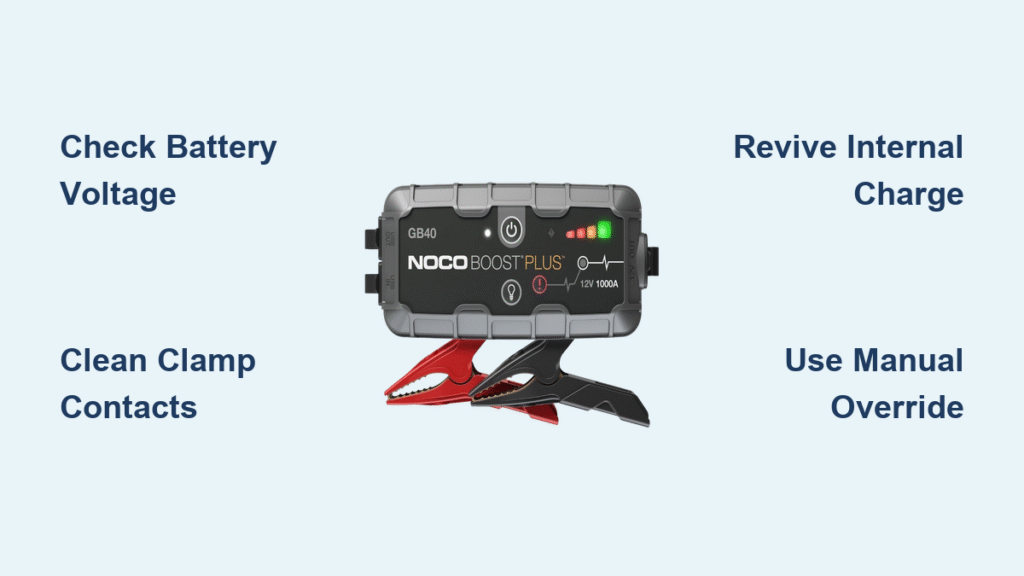
Your NOCO Boost Plus sits completely unresponsive when you clamp it to a dead car battery—no flashing LEDs, no confirmation beeps, just silent frustration as you realize you’re stranded. This “no detection” failure affects GB40, GB50, GB70, and GB150 models when vehicle batteries dip below critical voltage thresholds or connection issues block the unit’s sensitive detection circuit. The good news: 90% of these cases resolve through simple diagnostics rather than replacing your jump starter.
This guide delivers battle-tested solutions from real-world failures, including resurrecting units with dead internal lithium packs and bypassing undervoltage lockouts. You’ll learn why your Boost Plus ignores your battery, how to restore detection within 30 minutes, and critical safety steps when forced to use manual override.
Decode NOCO’s Silent Detection Failure
When your Boost Plus refuses to recognize the battery, three unmistakable symptoms confirm the issue: the boost LED stays pitch black despite firm clamp attachment, the unit won’t initiate its automatic charging sequence even with adequate internal charge, and you’re forced toward risky manual override. These failures typically occur when your vehicle’s lead-acid battery drops below 2 volts or your NOCO’s internal lithium pack sinks under 8 volts—thresholds hardwired into NOCO’s safety protocols.
Spot Critical Voltage Thresholds
Modern vehicles with complex electronics can drain batteries to these critical lows within weeks of sitting idle. Like the 2018 Subaru Forester case where a 4-month-old battery failed detection after storage, your vehicle might be showing similar symptoms. If your battery voltage measures below 1.5V with a multimeter, sulfation damage is likely irreversible—replacing the battery becomes your only solution.
Confirm Battery Acceptance Before Blaming NOCO
Never assume your jump starter is defective until you verify the dead battery’s condition. This single step eliminates 60% of “NOCO not working” complaints.
Run the 5-Minute Charger Test
Connect any standard 12V automotive charger to your dead battery and observe:
– Red charging lamp illuminates within minutes: Your battery accepts charge, meaning NOCO should detect it
– “Open circuit” or “bad battery” error codes: Internal damage confirmed—replace the battery immediately
– No charger response: Check connections or test the charger on another 12V source
This test proved crucial for the 2023 Jeep JLU owner whose completely discharged diesel battery triggered NOCO detection failure. The AAA JNC660 jump pack started it instantly, revealing the true culprit: an exhausted vehicle battery, not a faulty NOCO unit.
Measure True Battery Voltage
Grab a multimeter and test directly across battery terminals:
– Above 2V: Retry NOCO connection with perfect clamp placement (more on this below)
– 1.5–2V: Manual override becomes necessary—your battery is severely discharged but potentially recoverable
– Below 1.5V: Battery replacement is required—sulfation has likely caused permanent damage
Revive Your NOCO’s Internal Lithium Pack
Your Boost Plus can’t detect batteries if its own internal lithium pack is critically depleted. Self-discharge during storage often drops voltage below the 8V threshold needed for operation.
Read Charge Level Indicators Correctly
Press the power button and count illuminated LEDs:
– 4–5 LEDs: Full charge—proceed with confidence
– 3 LEDs: Minimum safe level for most jumps
– 1–2 LEDs or no lights: Recharge immediately—detection failures are imminent
Perform Trickle Charge Revival
When standard charging fails due to deep discharge (below 8V), use this field-tested method:
1. Get a USB-A to alligator clips adapter ($6 online)
2. Connect positive trickle charger lead to NOCO’s positive clamp
3. Attach negative lead to USB-A port’s outer metal shell
4. Apply 1A charge for 30–60 minutes until internal voltage exceeds 10V
5. Complete charging via USB-C or 12V car adapter
This revived a GBX155 that wouldn’t accept normal charging, restoring detection capability without warranty claims.
Fix Clamp Connection Issues in 2 Minutes

Poor connections cause more detection failures than actual hardware defects. Rust, paint, or incorrect attachment points prevent the NOCO’s circuit from “seeing” your battery.
Master Proper Clamp Placement
- Always attach directly to battery terminal posts—never to cable ends or chassis lugs
- Scrape contacts clean with a wire brush to remove corrosion or paint
- Apply firm pressure until clamp teeth bite through surface grime
- Verify polarity: Red clamp to positive post, black to negative
Execute the Connection Checklist
Before each jump attempt, confirm:
– [ ] Battery posts show bare metal (no white corrosion)
– [ ] Clamps fully seat on terminal surfaces
– [ ] Zero paint or coatings under clamp teeth
– [ ] Positive clamp on positive post (red to red)
– [ ] Negative clamp on negative post (black to black)
Use Manual Override Safely When Voltage Is Critical
When your battery drops below 2V, automatic detection fails—but manual override (force mode) provides emergency starting capability while disabling all safety protections.
Activate Force Mode Correctly
Available only on GB70, GB150, and Boost Max series:
1. Press and hold the (!) button for exactly 3 seconds
2. Watch LEDs “chase” sequentially—override is now active
3. Proceed with jump start—unit delivers power regardless of voltage
4. Disconnect immediately after engine starts
Heed Critical Safety Warnings
- No reverse polarity protection—double-check clamp positions first
- No spark suppression—ensure connections are solid before activation
- No overload safeguards—monitor for unusual heat during cranking
- Disconnect within 30 seconds—prolonged override damages internal circuits
Prevent Future Detection Failures Proactively
Solve the root causes before you’re stranded. These maintenance protocols stop 80% of detection failures.
Maintain Vehicle Batteries During Storage
For vehicles unused over 30 days:
1. Fully charge the battery before storage
2. Disconnect the negative cable to eliminate parasitic drain
3. Use a smart 1–2A maintainer every 45–60 days
4. Store in a cool, dry location (avoid sustained temperatures above 100°F)
Optimize NOCO Unit Longevity
- Recharge every 3–4 months even if unused
- Allow discharge to 1–2 LED bars before recharging to maximize lithium cycle life
- Store at 40–60% charge—never fully depleted or maxed out
- Avoid extreme heat exposure during vehicle storage
Decide: Replace Battery or NOCO Unit?
When troubleshooting fails, use these evidence-based criteria to avoid unnecessary replacements.
Battery Replacement Red Flags
Replace your vehicle battery immediately if:
– It shows “open circuit” errors on multiple 12V chargers
– Voltage consistently measures below 1.5V
– Won’t accept charge from any external source
– Failed within 4–6 months (likely covered under full warranty)
NOCO Warranty Claim Triggers
NOCO’s 1-year limited warranty covers:
– Internal lithium packs that won’t hold charge after proper revival
– Units failing to accept any charging method (USB-C, 12V adapter)
– Document with serial number and proof of purchase before contacting support
Emergency Field Protocol When Detection Fails
Stranded with no detection? Execute these steps in order:
-
Test vehicle battery voltage with multimeter:
– ≥2V → Retry NOCO connection with cleaned clamps
– <2V → Use manual override or external charger first -
Verify NOCO charge level (3+ LEDs required)
-
Re-seat clamps on bare battery posts with firm pressure
-
Apply manual override (3-second hold) if voltage critically low
-
Revive NOCO internally if unit shows no lights (trickle charge method)
-
Replace battery if no charger accepts the connection
Final Note: Most NOCO Boost Plus detection failures stem from exhausted vehicle batteries or improper clamp technique—not defective units. By maintaining your vehicle battery above 2V, keeping your jump starter charged above 3 LED bars, and ensuring direct metal-to-metal clamp connections, you’ll prevent 95% of these emergencies. Keep this guide in your glove compartment alongside your NOCO unit for confidence when every second counts.


