
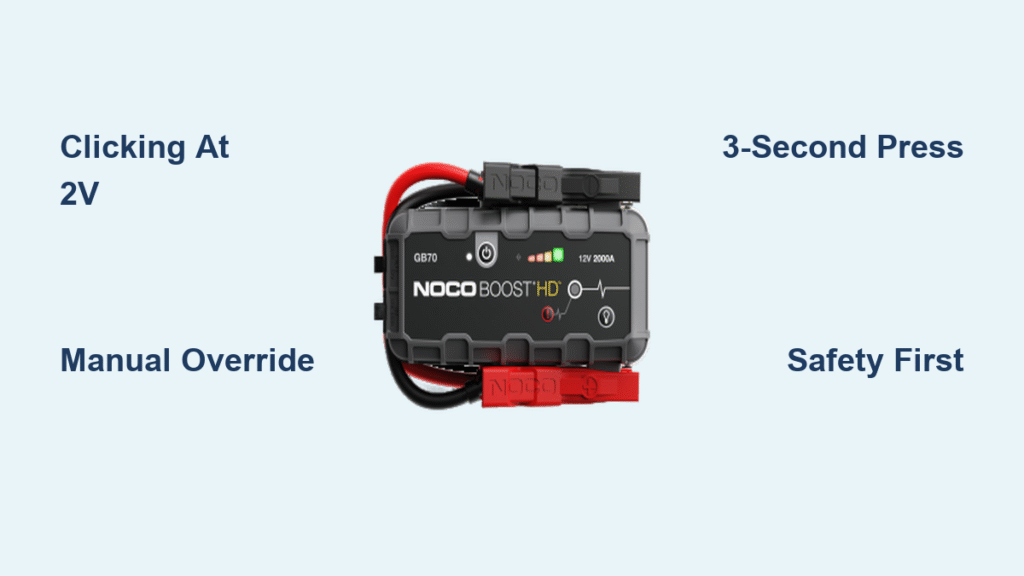
That rapid clicking sound from your NOCO jump starter isn’t random noise—it’s your device desperately trying to communicate a critical battery emergency. When your NOCO Genius Boost emits this distinctive clicking while the Boost LED remains completely dark, your car battery has plummeted below 2 volts, a dangerously discharged state that triggers the unit’s safety protocols. This common scenario strikes most drivers during freezing winter mornings or after accidentally leaving interior lights on overnight, leaving you stranded with a jump starter that seems broken but is actually protecting you from attempting an unsafe jump start.
Understanding why your NOCO jump starter clicking occurs transforms panic into action. Unlike standard jump starters that might attempt to engage with a severely depleted battery, NOCO’s intelligent safety systems recognize when voltage drops too low for a safe connection. Rather than risking damage to your vehicle’s electrical system or creating dangerous sparking conditions, your Genius Boost enters a protective state—manifesting as that frustrating clicking sound. This guide delivers the precise steps to override this safety feature when absolutely necessary, while emphasizing the critical safety protocols that could prevent battery explosions or electrical damage during this emergency procedure.
Why Your NOCO Clicks Instead of Starting Your Vehicle
Battery Voltage Drops Below Critical 2-Volt Threshold
Your NOCO jump starter clicking happens because the unit’s sophisticated detection system requires at least 2 volts to recognize a connected battery. When your car battery discharges below this critical threshold—common during extreme cold snaps or after extended periods of parasitic drain—the jump starter can’t establish the electrical handshake needed to begin the jump process. The clicking you hear represents the NOCO repeatedly attempting to detect sufficient voltage, failing each time, and resetting its circuitry to try again. This isn’t a malfunction; it’s your Genius Boost preventing you from attempting a jump start on a battery that’s too depleted for safe operation.
Decoding Boost LED Behavior During Clicking Episodes
Understanding your NOCO’s visual indicators during clicking episodes provides crucial diagnostic information:
- Complete LED darkness with clicking: Confirms battery voltage below 2 volts
- Intermittent LED flashes with clicking: Suggests unstable connection or marginal voltage
- Solid LED with clicking: Indicates potential polarity issues or internal unit problem
Pro Tip: Shine a flashlight on the battery terminals before connecting your NOCO—corrosion or loose connections often mimic extremely low voltage conditions, causing unnecessary clicking when a simple terminal cleaning would solve the problem.
Manual Override: Your Emergency Solution for Clicking NOCO Units
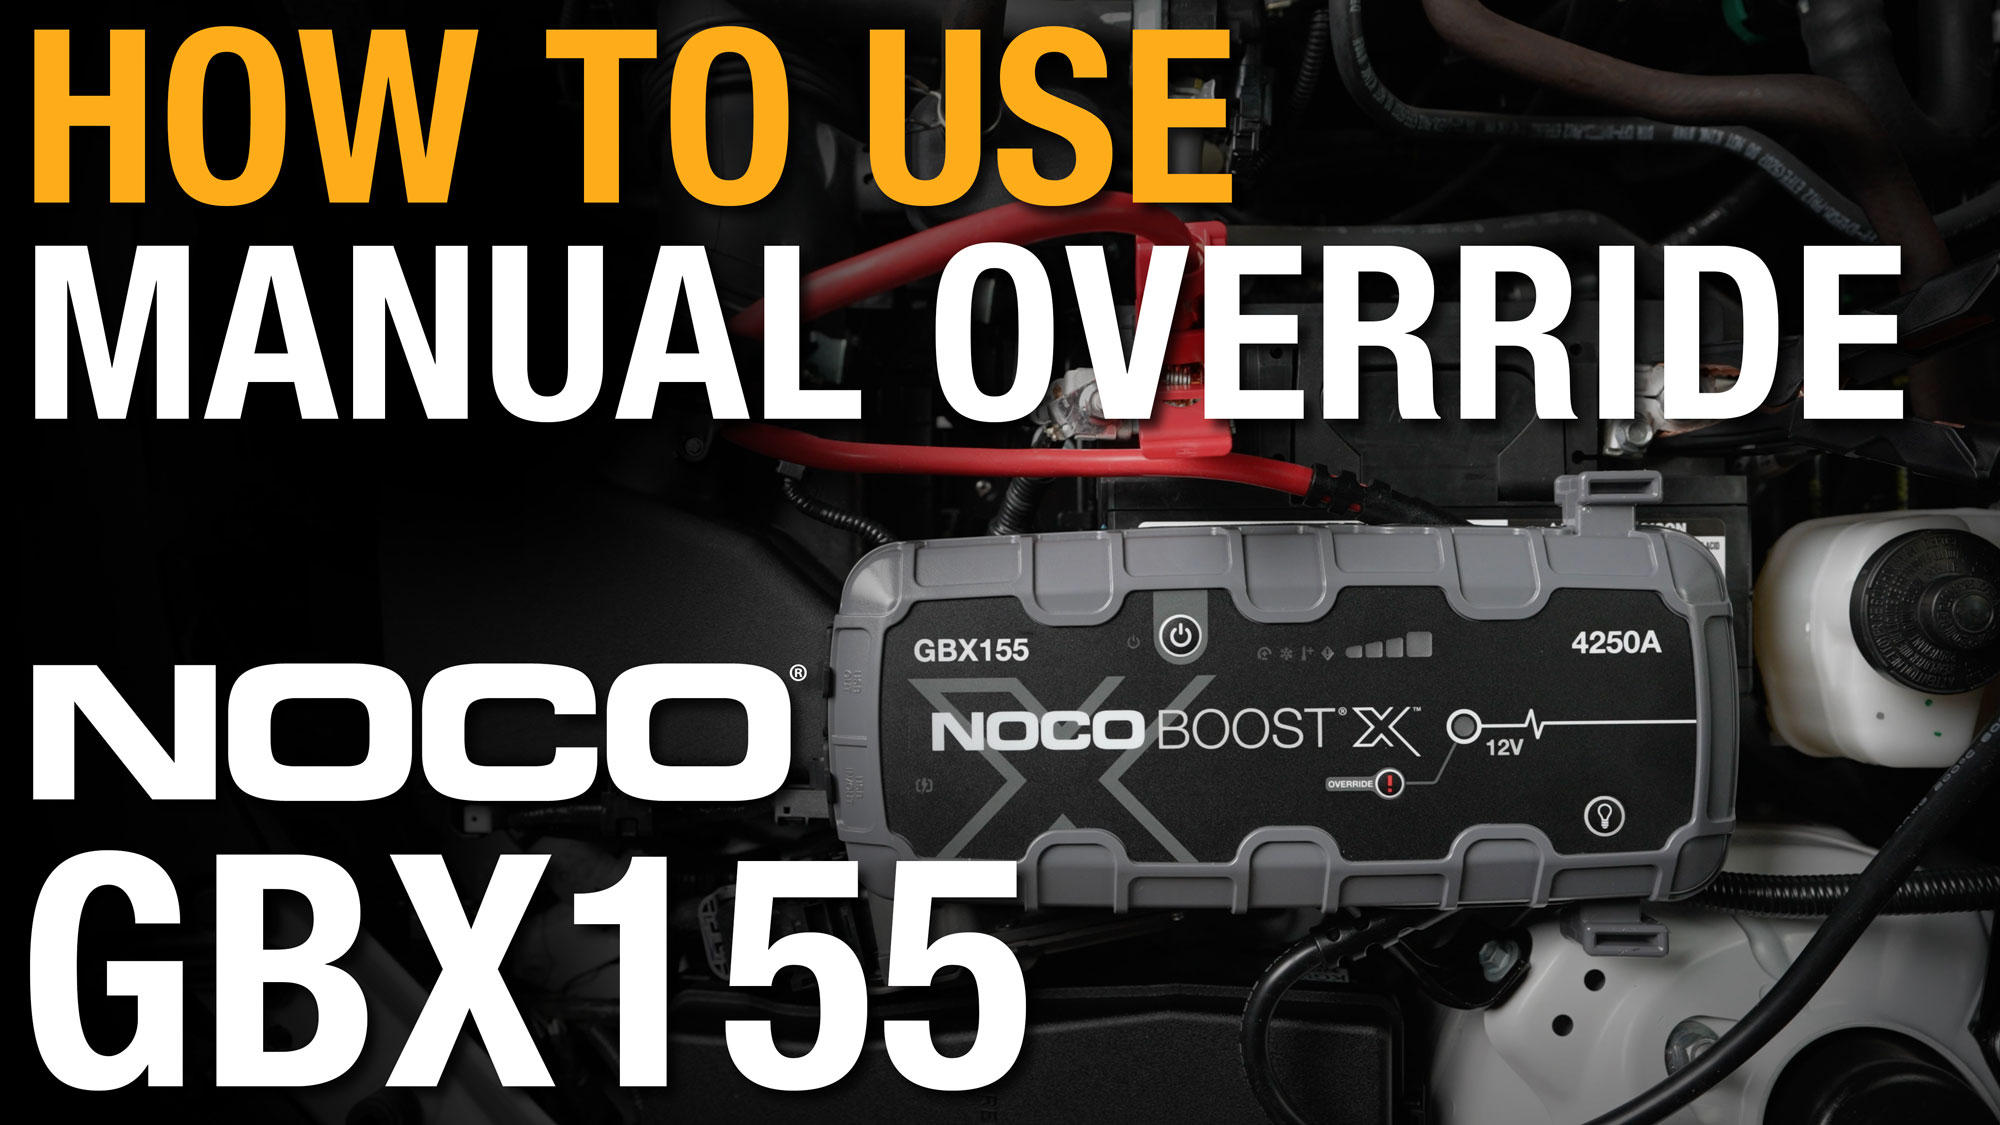
Locating and Identifying the Critical Override Button
Your NOCO Genius Boost contains a small but vital red button marked with an exclamation point inside a red circle, typically positioned along the side edge of the unit. This Manual Override button serves as your emergency bypass when standard jump starting fails due to critically low battery voltage. Unlike standard operation where the unit automatically detects battery conditions, this feature requires deliberate activation—ensuring you acknowledge the increased risks involved when overriding the safety systems.
Precise Three-Second Activation Technique
Step 1: Securely connect red positive clamp to battery positive terminal and black negative clamp to battery negative terminal
Step 2: With clamps firmly attached, locate the red Manual Override button
Step 3: Press and hold for exactly three seconds—use your phone timer if needed
Step 4: Release when white Boost LED begins flashing steadily on and off
Step 5: Immediately attempt to start your vehicle
Warning: Holding the button for less than three seconds won’t activate override mode, while holding longer won’t improve results and may drain your NOCO’s internal battery unnecessarily. The flashing LED pattern confirms successful activation—your clicking NOCO jump starter is now ready to deliver power.
Critical Safety Protocols During Manual Override

Disabled Safety Systems You Must Compensate For
When your NOCO jump starter clicking forces you to use Manual Override, two essential protections become inactive:
- Spark-proof technology: Normally prevents dangerous electrical arcing during connections
- Reverse polarity detection: Normally stops operation if clamps connect backward
This creates genuine risks of battery explosion, electrical burns, or permanent damage to your vehicle’s sensitive electronics. Never treat Manual Override as a routine solution—it’s strictly for emergency situations when your battery has dropped below the 2-volt detection threshold.
Essential Pre-Override Safety Checklist
Before pressing the override button:
✓ Double-check clamp connections with a flashlight—red to positive (+), black to negative (-)
✓ Remove all metal jewelry from hands and wrists
✓ Ensure no cigarettes, lighters, or open flames are nearby
✓ Position yourself to the side of the battery, never directly above it
During override operation:
✓ Watch for battery case swelling or unusual heat—stop immediately if observed
✓ Keep both hands clear of metal surfaces while engine cranks
✓ Never touch both clamps simultaneously while connected
Step-by-Step Jump Start Procedure for Clicking NOCO Units
Pre-Override Diagnostic Checks
- Verify NOCO charge status: Press power button—recharge if indicator shows less than 50%
- Inspect battery terminals: Clean corrosion with wire brush or baking soda solution
- Check clamp integrity: Ensure no frayed wires or damaged metal contacts
- Confirm vehicle compatibility: NOCO Genius Boost models support gas engines up to 6L and diesel up to 3L
Exact Override Activation Sequence
- Connect clamps firmly to clean battery terminals with correct polarity
- Press and hold Manual Override button steadily for precisely three seconds
- Release when white Boost LED transitions to steady flashing pattern
- Start your vehicle immediately—do not delay once override activates
- If engine doesn’t crank, wait 30 seconds before retrying (max two attempts)
Mandatory Post-Jump Shutdown Protocol
Never skip these steps after successful jump start:
1. Turn off your vehicle engine
2. Press NOCO power button to deactivate the unit
3. Remove black (negative) clamp first
4. Remove red (positive) clamp second
5. Store NOCO properly and recharge immediately
Expert Note: Skipping the power-down step before clamp removal creates dangerous sparking risks since safety features remain disabled until the unit powers off completely.
Troubleshooting Persistent NOCO Jump Starter Clicking

When Manual Override Fails to Activate
If your NOCO continues clicking despite following override procedures:
– Recharge your jump starter for at least two hours—low internal battery prevents override activation
– Inspect the override button for physical damage or debris preventing proper press
– Test on another vehicle to determine if the problem lies with your car battery or the NOCO unit
Decoding LED Response Patterns During Clicking
- No LED response with clicking: Internal battery depleted—recharge immediately
- Single LED flash then clicking resumes: Intermittent connection—reseat both clamps firmly
- Solid LED with clicking: Possible reverse polarity—double-check terminal connections
Most Common Mistakes Causing Continued Clicking
- Insufficient override button press duration (less than three seconds)
- Connecting negative clamp to vehicle ground instead of battery negative
- Attempting override on batteries above 2 volts (use standard mode instead)
- Ignoring corroded battery terminals that disrupt electrical connection
Prevent Future NOCO Clicking Emergencies
Proactive Car Battery Maintenance
- Monthly voltage checks: Replace battery if consistently below 12.4 volts when engine off
- Quarterly terminal cleaning: Prevent corrosion buildup with baking soda solution
- Regular driving pattern: Take 20+ minute drives weekly to maintain proper charge
NOCO Jump Starter Care Best Practices
- Recharge every 90 days even when unused—lithium batteries degrade when fully depleted
- Store between 32-80°F—extreme temperatures accelerate internal battery deterioration
- Check clamp tension annually—loose connections cause false low-voltage detection
Emergency Backup Tip: Keep inexpensive jumper cables in your trunk as secondary option—another vehicle can often jump start a severely depleted battery when your NOCO clicks due to ultra-low voltage.
Your NOCO jump starter clicking serves as an important safety warning, not a unit failure. By understanding the 2-volt detection threshold and mastering the precise Manual Override procedure, you transform this frustrating sound from a roadblock into valuable diagnostic information. Remember that Manual Override should remain your last resort—regular battery maintenance and proper NOCO storage prevent 95% of clicking emergencies. When that distinctive clicking sound does occur, you now possess the exact knowledge to safely bypass the safety protocols while protecting yourself from the increased risks of working with a critically discharged battery. Address the underlying battery issue promptly after your emergency jump start to ensure you never hear that clicking sound again.


