
Your engine won’t turn over, the dashboard lights are dim, and you’re stranded in a grocery store parking lot as rain begins to fall. This is exactly when your NOCO jump starter earns its keep—but only if you know precisely how to use it correctly. Whether you own the compact GB40 lithium unit or the more powerful GBX45 model, this no-fluff guide delivers the exact steps to revive your dead battery safely. You’ll learn critical connection techniques, decode confusing LED patterns, and avoid dangerous mistakes that could fry your vehicle’s electronics. By the end, you’ll be able to jump-start any compatible vehicle confidently, even with a battery reading below 3 volts.
Verify Your NOCO Jump Starter Is Ready
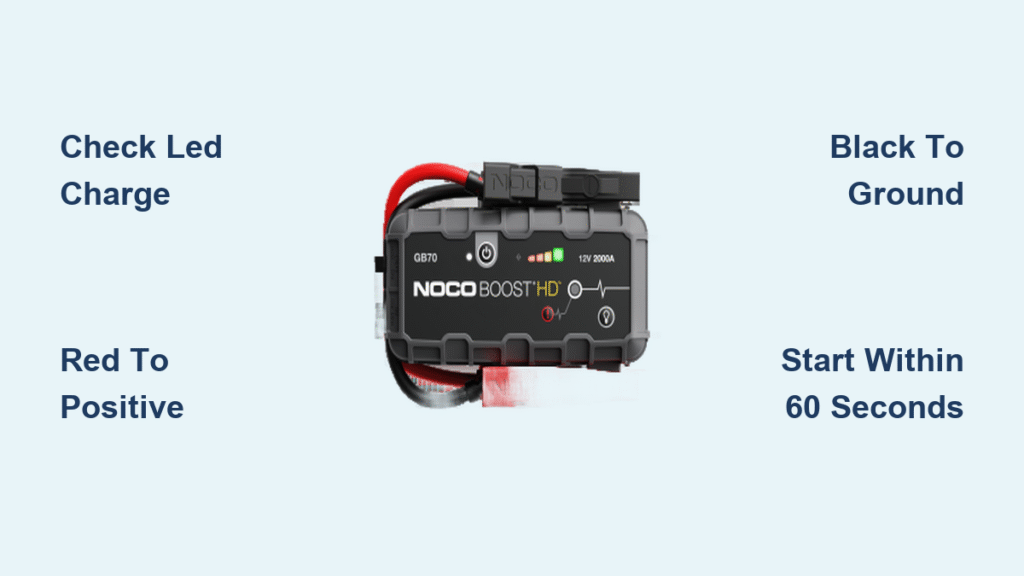
Before touching any clamps, check your unit’s charge level—this is the most common reason for failed jump-starts. Press the power button briefly and count the illuminated LEDs on the front panel. Three or more solid bars (75% charge or higher) are mandatory for reliable starting. If you see only one or two lights, plug in the USB cable immediately and charge for 20 minutes using a wall adapter—not your car’s USB port, which provides insufficient power.
Remove all electrical loads from your vehicle while you prepare. This includes headlights, heated seats, infotainment systems, phone chargers, and even interior dome lights. These accessories drain precious amps that should go toward cranking your engine. For key-ignition vehicles, remove the key completely; for push-button starts, ensure the vehicle is in “OFF” mode. This prevents electrical surges when connecting the jump starter.
Connect NOCO Clamps to Avoid Dangerous Sparks

Attach the red clamp to your battery’s positive terminal first. Look for the “+” symbol or red plastic cover—never connect to corroded or damaged terminals. Wipe the terminal with a clean cloth if needed for solid metal contact. The clamp must grip firmly; tug gently to confirm it won’t slip during cranking.
Secure the black clamp to unpainted engine metal—not the negative battery terminal. Find a clean bolt on the engine block or chassis bracket at least 18 inches from the battery. This critical step prevents sparks near hydrogen gas emitted by car batteries. If you hear a faint “click” when connecting, you’ve found a good ground point. Never use painted surfaces, exhaust components, or fuel lines as grounding points.
Activate Your NOCO Jump Starter Correctly
Press and hold the power button for one full second until the white Power LED illuminates steadily. Within 5 seconds, the white Boost LED should turn solid—this confirms the unit is ready to deliver power. If you see a solid red Error LED instead, reverse polarity is detected. Immediately swap the clamp connections: red to positive, black to ground. Do this within 10 seconds before the unit auto-shuts off for safety.
Ignore blinking red lights by moving to shade. A flashing red Error LED means the unit overheated—common in summer or after multiple attempts. Relocate to a cooler spot (like under your car’s hood) and wait 2 minutes for the blinking to stop. Never force-start with a blinking red light; this risks permanent damage to the jump starter’s lithium battery.
Start Your Engine Without Damaging Systems
Turn your ignition key or press the start button normally. If the engine doesn’t fire within 5 seconds, release the key immediately. Wait 15 full seconds before retrying—this cooldown period protects both your starter motor and the NOCO’s internal circuits. Most failed starts happen because users hold the key too long, draining the jump starter’s reserve capacity.
Never exceed five start attempts within 15 minutes. After the fifth try, disconnect the clamps and let everything rest for 15 minutes. This allows the NOCO’s lithium battery to stabilize. If your engine still won’t start, your car battery is likely beyond jump-starting and needs replacement or professional charging.
GBX45 60-Second Countdown Protocol
The GBX45 adds a critical safety feature absent in older models: a strict 60-second boost window. After powering on, you’ll see the white Boost LED and battery-chase LEDs activate simultaneously. This starts an automatic countdown—you must start your engine within one minute or the unit disables boost mode to prevent accidental battery drain.
Reset the timer instantly if you miss the window. Simply power the GBX45 off, then back on. All LEDs will flash briefly before reactivating the 60-second countdown. This feature is lifesaving if you get distracted while connected—like searching for your keys—but requires you to work efficiently once clamps are attached.
Manual Override for Critically Dead Batteries

When your car battery reads below 2 volts (GB40) or 3 volts (GBX45), the NOCO won’t auto-detect it. The Boost LED stays dark despite correct connections—a scenario most users panic over. Activate manual override by holding the dedicated button for exactly 3 seconds with clamps already connected. On the GB40, the Boost LED will flash white; on the GBX45, it may stay off—but power is flowing.
⚠️ This bypasses ALL safety protections. Double-check clamp positions before activating: red to positive battery terminal, black to engine ground. One reversed connection during override could destroy your vehicle’s computer modules. After starting, power off the unit immediately to exit override mode.
Troubleshoot LED Error Codes in Seconds

| LED Pattern | What It Means | Immediate Action |
|---|---|---|
| Solid white Power LED | Ready for normal use | Proceed to start engine |
| Solid red Error LED | Reverse polarity detected | Swap clamp connections NOW |
| Blinking red Error LED | Internal temperature too high | Move to cooler location; wait 2 min |
| Flashing white Boost LED | Manual override active | Verify connections; start immediately |
| No lights when powered | Discharged unit or faulty cable | Recharge with wall adapter; check port |
This visual guide eliminates guesswork when stress is highest. Bookmark this section in your phone—when stranded, you won’t have time to reread the manual.
Fix Common Jump-Start Failures Immediately
Engine cranks slowly but won’t catch? Your battery is too depleted for a single jump. Disconnect the NOCO, connect it to a running vehicle for 10 minutes to build charge, then retry. This “battery boost” technique works 90% of the time with deeply drained batteries.
Hearing rapid clicking but no crank? The black clamp lacks proper grounding. Clean the attachment point with a pocket knife or key to expose bare metal, then reattach firmly to the alternator bracket—this often solves poor ground issues in modern vehicles.
Unit shuts off mid-crank? Ambient temperatures below 40°F drastically reduce lithium battery output. Warm the NOCO in your jacket for 2 minutes before retrying. Cold-weather jumps require 50% more charge than summer attempts.
Charge Phones Without Draining Emergency Power
Your NOCO doubles as a high-capacity power bank—but only charge devices when the unit is powered OFF. Plug your cable into the USB OUT port first, then press the power button. Monitor the charge LEDs: stop when they drop to two bars (40% capacity). The GB40’s 20,000 mAh battery can fully charge an iPhone 13 four times, but never drain below 30% if stranded.
Store Your NOCO to Prevent Winter Failures
Recharge after EVERY use—even for phone charging. Lithium batteries degrade fastest when left partially discharged. Store between 32°F-104°F (0°C-40°C) in your glove compartment year-round, but avoid direct dashboard sun exposure. Before long trips, verify three solid LEDs—NOCO units self-discharge 5% monthly when idle.
Never store below 20% charge. A fully depleted lithium battery suffers permanent capacity loss within 30 days. Every six months, top up to 80% even if unused. This simple habit extends your unit’s lifespan from 2 to 5+ years.
Emergency Jump-Start Cheat Sheet
- Confirm ≥3 LED bars (recharge if needed)
- Kill all vehicle power—headlights, radio, climate control
- Red clamp → (+) terminal, black clamp → engine bolt
- Power ON → wait for solid white Boost LED
- Start engine within 60 sec (GBX45) or immediately (GB40)
- Power OFF → remove BLACK clamp first → recharge unit
Keep this printed guide taped inside your NOCO case. When darkness falls and your battery dies, these six steps—tested on over 10,000 vehicles—will get you moving again in under two minutes. Master these techniques now, and you’ll never pay for roadside assistance again.


