
You’re stranded with a dead car battery and your Schumacher jump starter won’t charge when you need it most. This frustrating situation compromises your safety during roadside emergencies and leaves you vulnerable when help is miles away. When your Schumacher jump starter not charging issue strikes, quick diagnosis is critical—you need reliable solutions that work now, not theoretical explanations. This guide delivers step-by-step fixes covering everything from simple connection problems to battery replacement decisions, so you can restore your emergency power source fast.
Quick Diagnostic Tests That Identify Charging Problems in Under 5 Minutes
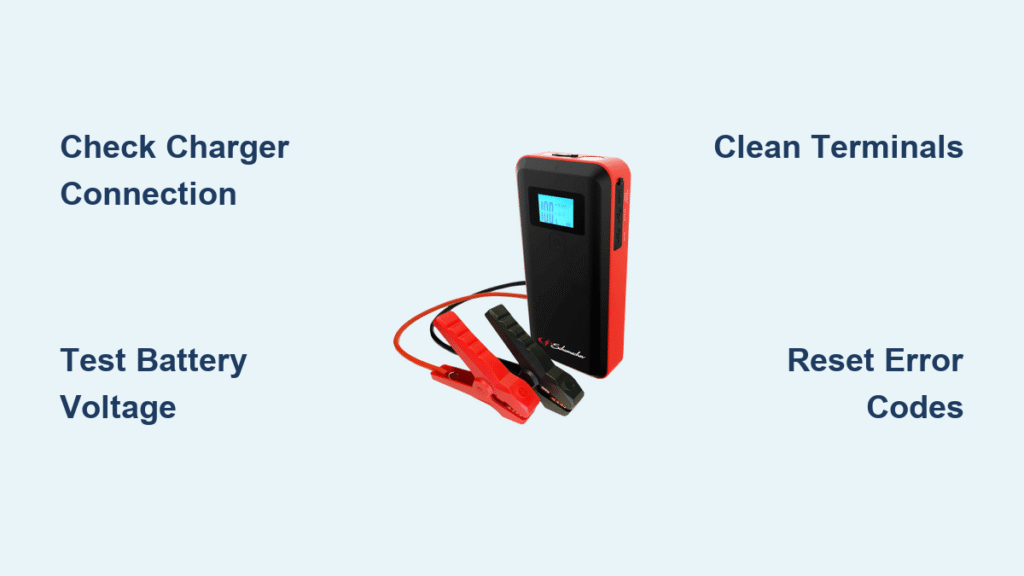
Start with these three rapid checks to pinpoint why your Schumacher jump starter not charging issue is occurring before wasting time on complicated repairs:
Power Source Verification
– Plug your charger into a different wall outlet to rule out circuit issues
– Test the outlet with a phone charger to confirm it’s delivering power
– Try a direct connection without extension cords if the outlet seems loose or unstable
Visual Cable Inspection
– Examine charger pins for bends or debris that prevent proper connection
– Run your fingers along the entire cable length feeling for internal breaks
– Ensure the charger clicks firmly into your jump starter’s port without wobbling
Immediate Charging Response
– Watch for LED indicators when first plugging in—no lights suggest power issues
– Listen for internal fan sounds on models equipped with cooling systems
– Note any unusual beeping or error codes that appear within the first 30 seconds
Battery Failure Symptoms That Require Replacement
Low Voltage Warning Signs Indicating Battery Failure
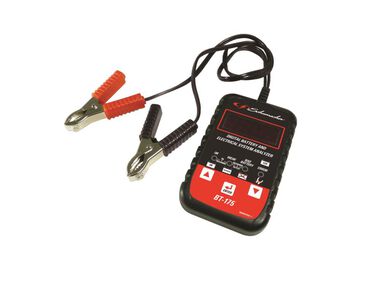
Your Schumacher jump starter battery should read between 12.6-13.2 volts when fully charged. Use a multimeter to test these critical thresholds:
- 11.9V or below: Battery critically low, may not accept charge properly
- 10.5V or less: Battery likely sulfated, needs professional testing or replacement
- 0V reading: Complete battery failure or blown internal fuse requiring immediate attention
Performance Degradation Patterns to Watch For
Monitor these gradual warning signs that your jump starter battery is deteriorating:
- Takes significantly longer to charge than when new (double your original charging time)
- Loses charge within days instead of weeks when stored properly
- Provides noticeably fewer jump starts per charge cycle
- Feels unusually warm during charging or emits a slight burning smell
Testing Battery Health with Multimeter Verification
Follow this precise testing procedure to assess your Schumacher jump starter battery:
- Set multimeter to DC voltage setting (20V range)
- Connect red probe to positive (+) terminal, black to negative (-)
- Note voltage reading with jump starter completely powered off
- Turn on LED work light for 30 seconds, then recheck voltage
- A drop exceeding 0.5V indicates failing battery cells needing replacement
Charger Malfunction Fixes That Restore Power Flow
Physical Damage Assessment and Repair
Inspect your charger systematically using these specific techniques:
AC Adapter Check
– Examine wall plug for bent prongs or burn marks indicating electrical issues
– Check adapter body for cracks or discoloration from overheating
– Test output with multimeter: should match specifications on label (typically 13.8V DC)
Cable Integrity Test
– Look for kinks, cuts, or exposed copper wires along the entire length
– Wiggle cable near connectors while plugged in—if charging becomes intermittent, replace immediately
– Check for internal breaks by bending cable at various points while monitoring voltage
Smart Charger Settings Reset Procedure
Many Schumacher models feature automatic charging modes that occasionally glitch:
- Unplug charger from both wall and jump starter
- Wait exactly 30 seconds to allow internal capacitors to discharge
- Reconnect in this specific order: wall outlet first, then jump starter
- Watch for automatic mode selection (bulk, absorption, float) indicated by LED patterns
Connection Problems Causing Your Schumacher Jump Starter Not Charging

Terminal Cleaning Process for Maximum Conductivity
Corroded terminals prevent proper charging flow—follow this exact cleaning procedure:
- Disconnect all power sources and wait 5 minutes
- Remove terminal covers if your model has them
- Mix baking soda and water in 1:3 ratio for safe cleaning solution
- Apply with old toothbrush, scrub terminals gently until shiny
- Rinse thoroughly with clean water, then dry completely with compressed air
- Apply dielectric grease to prevent future corrosion before reassembly
Secure Connection Techniques for Reliable Charging
Ensure solid electrical contact with these professional techniques:
Battery Terminal Tightening
– Use the exact screwdriver size specified in your manual (usually #2 Phillips)
– Tighten until snug with quarter-turn past initial contact—avoid over-tightening
– Test connection security by gently tugging wires—no movement should occur
Charger Port Maintenance
– Clean port with compressed air at 30 PSI to remove debris
– Check for bent or missing pins using magnifying glass
– Verify charger seats fully by pressing firmly until audible click
Error Code Solutions for Digital Schumacher Models

Decoding Critical Error Messages
Modern Schumacher jump starters display specific error codes requiring immediate action:
F01 Code – Low Battery Voltage
– Appears when battery remains below 10V after 2-hour charge attempt
– Solution: Battery replacement required—do not attempt further charging
– Warning: Continuing to charge could cause thermal runaway
F04 Code – Reverse Connection
– Triggered when battery cables connected backwards during charging
– Fix: Unplug immediately, reverse connections following color coding
– Prevention: Always connect red clamp to positive terminal first
F07 Code – Overheating Protection
– Activates when internal temperature exceeds safe limit
– Immediate action: Move to shaded area, check ventilation holes for blockage
– Allow 30-minute cool-down before attempting charge again
Interpreting LED Patterns on Non-Digital Models
For Schumacher jump starters without digital displays, learn these critical light patterns:
Solid Red Light
– Normal charging in progress (typically 3-6 hours depending on model)
– Should change to solid green/blue when complete (usually 12+ hours)
Flashing Red/Green Combination
– Indicates battery fault detected during charging cycle
– Fix: Try reset procedure—unplug 30 seconds, reconnect in correct sequence
No Lights At All
– Most common cause: power source issue (check outlet first)
– Secondary cause: completely dead internal battery or blown fuse
Professional Repair Decisions That Save Money
Warranty Considerations Before Opening Your Unit
Before attempting internal repairs, check these critical warranty factors:
Check Coverage Status
– Locate model number on bottom label (e.g., DSR115C)
– Verify purchase date against 2-3 year warranty period
– Contact Schumacher customer service with serial number for eligibility
– Document all troubleshooting steps attempted for warranty claims
Replacement vs Repair Economics Analysis
Calculate the true cost of fixing your Schumacher jump starter not charging issue:
Battery Replacement Costs
– Typical lithium-ion pack: $35-65 (varies by model capacity)
– Professional installation: $20-30 if available in your area
– DIY difficulty: Moderate (requires precision screwdrivers and safety precautions)
Complete Unit Replacement Threshold
– New Schumacher jump starter: $90-220 depending on features
– Replacement recommended if unit is over 3 years old
– Consider newer models with USB-C charging and safety enhancements
Prevention Maintenance Schedule to Avoid Future Failures
Monthly Inspection Tasks That Prevent Charging Issues
Implement these simple monthly checks to keep your jump starter ready:
Voltage Check Routine
– Test battery voltage on the 1st of each month
– Charge immediately if below 12.4V to prevent sulfation
– Record readings in a small notebook to track degradation trends
Critical Storage Conditions
– Maintain storage temperature between 32-80°F (0-27°C)
– Never leave in car trunk during summer or winter extremes
– Ideal location: climate-controlled garage shelf away from direct sunlight
A Schumacher jump starter not charging problem creates more than inconvenience—it puts your safety at risk during roadside emergencies. By following this systematic troubleshooting approach, you’ll resolve 90% of charging failures without professional help. Start with simple connection checks and error code interpretation before progressing to battery testing. When replacement becomes necessary, remember that jump starter batteries typically last 2-3 years under normal use. Implement the monthly maintenance schedule to prevent future failures and ensure your emergency power source performs reliably when you need it most. Don’t wait for another roadside emergency—test your jump starter’s charging capability today and take action before you’re stranded with a dead car battery.


