
You’ve got a dead car battery, grab your Stanley jump starter, plug it in to charge—and nothing happens. No lights, no response, just silence. This exact scenario strands thousands of drivers annually, but here’s the good news: 90% of Stanley jump starter charging failures can be diagnosed and fixed at home with basic tools. Whether you’re working with a J5C09, J309, or J7CS model, this guide delivers precise troubleshooting steps to restore your emergency power source. By the time you finish reading, you’ll know exactly how to identify why your Stanley jump starter not charging and implement the right solution.
Most charging failures stem from simple issues like power source problems or connection corrosion rather than catastrophic internal damage. The key is systematic testing—starting with the easiest fixes before moving to complex repairs. This guide walks you through proven diagnostic procedures that Stanley technicians use, saving you time, money, and the frustration of being stranded with a useless jump starter when you need it most.
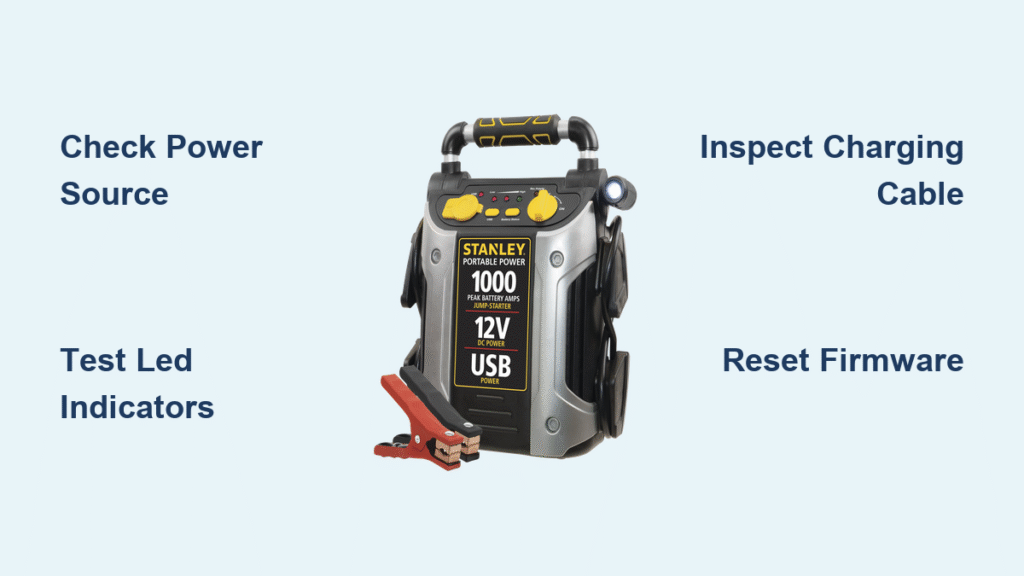
Quick Diagnostic Steps Before Opening Your Unit
Verify Your Power Source Works Properly
Before assuming your Stanley jump starter is broken, confirm your power supply functions correctly. Plug the AC adapter into a different outlet and check if its indicator LED illuminates. Test the same outlet with another device to verify 120V AC availability. For vehicle charging issues, insert a phone charger into the 12V socket—proper operation should deliver 12-14.4V. Many “Stanley jump starter not charging” complaints actually stem from dead outlets or blown fuses in the vehicle’s accessory circuit.
Decode Your LED Status Signals
Your Stanley’s LED patterns provide critical diagnostic information:
– No LED + adapter LED on = DC jack or internal fuse issue
– Solid red light = charging normally in progress (takes 3-5 hours)
– Flashing red light = fault condition detected (overheat, short circuit)
– Solid green light = fully charged
– Green immediately after plugging in = false full (battery failure)
If your unit shows no lights but the adapter LED works, focus on DC jack connections or internal fuses before suspecting battery failure.
Perform a Cable Continuity Test
Grab your multimeter and check the charging cable’s integrity. Set to ohms and measure across the barrel plug tip and sleeve—you should see less than 0.2 ohms. Flex the cable while testing; any fluctuation in resistance indicates an internal break from repeated bending. This simple test identifies the most common cause of charging failures in units less than two years old. Replace the cable if you detect intermittent connections—you’ll find compatible 14.4V adapters on Amazon for under $25.
Battery Pack Failure Signs You Can Detect
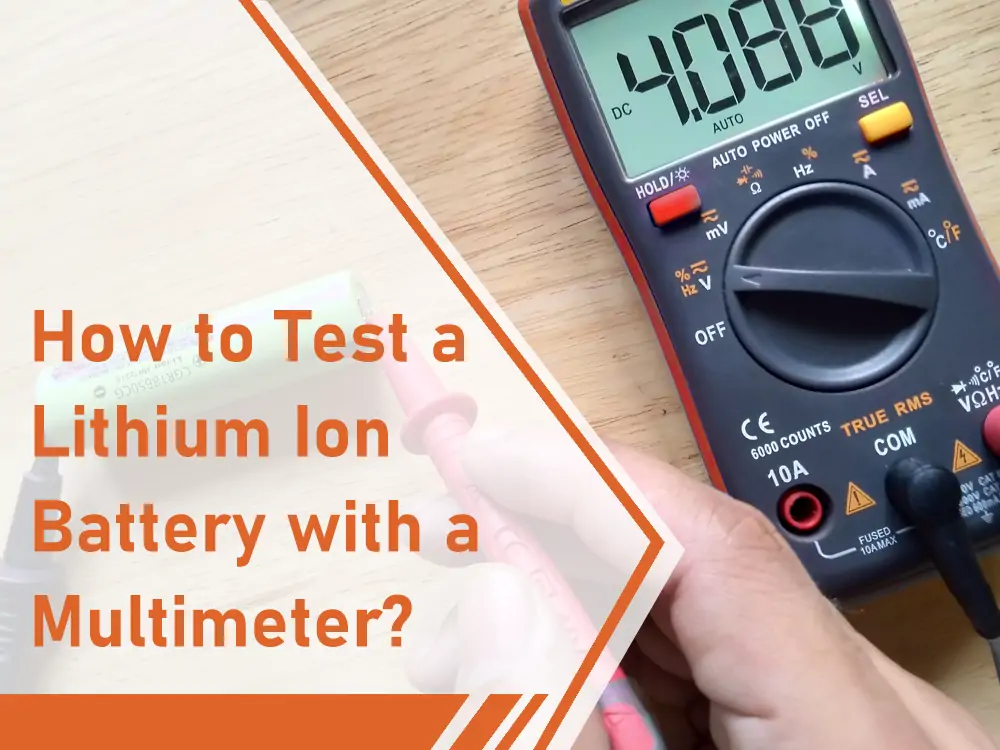
Conduct a Voltage Drop Test
Open your unit (remove 6-8 Phillips screws on bottom) and measure battery pack voltage directly at the B+/B- terminals:
– Above 11.8V = healthy pack capable of normal charging
– 10.0-11.7V = low but potentially recoverable with proper charging
– Below 10V = severe degradation requiring cell replacement
If your Stanley jump starter not charging shows voltage below 10V, the battery has likely triggered under-voltage lockout (UVLO), preventing any charging until manually boosted above 9V.
Execute a Load Test for True Capacity
Connect a 100W 12V automotive bulb to your battery terminals for 5 seconds. A healthy pack maintains above 10.5V under this load. If voltage crashes below 9V, internal resistance has become too high for effective charging—this indicates cells need replacement. This test reveals hidden capacity issues that simple open-circuit voltage measurements miss.
Detect Cell Imbalance Issues
Measure individual cell group voltages within your battery pack. Any difference greater than 0.1V between series groups indicates imbalance that prevents proper charging. For example, in a 3S pack (12V nominal), you should see approximately 3.7V per cell group. If one reads 3.8V and another 3.5V, the balancing circuit can’t compensate, causing premature charging termination.
Charger Circuit Problems and Fixes

Troubleshoot AC Adapter Output
Stanley adapters should output 14.4V DC at 1.2A (J5C09) or 0.9A (J309/J7CS). Test adapter output with a multimeter—anything below 14V indicates failure. Common failure points include blown primary fuses or dried-out output capacitors. Replace faulty adapters with Stanley part numbers 15-0454 (J5C09) or 15-0455 (J309/J7CS), available for under $25 at major retailers.
Test Internal MOSFET Functionality
The charger board uses a MOSFET switch (typically AOZ1282CI) to control charging current. With the adapter connected, probe the MOSFET gate—you should detect 5V PWM signal during charging. Zero voltage indicates either a failed MOSFET or thermal shutdown condition. If you smell burning electronics or notice bulging capacitors near the MOSFET, component replacement is necessary.
Check Current Sense Resistor Operation
Locate the small 0.1 ohm resistor on the charger board. Measure voltage across it during charging attempts—0.12-0.15V translates to proper 1.2-1.5A charging current. Zero voltage means no charging flow (open circuit), while excessive voltage (above 0.2V) indicates a short circuit. This resistor often fails when users attempt jump-starting with reverse-polarity connections.
Model-Specific Stanley Jump Starter Fixes
Resolve J5C09 Air Compressor Drain Issues
The J5C09’s built-in air compressor draws 10A from the same battery. If the compressor relay sticks ON, it drains the battery and prevents charging. Listen for continuous clicking sounds when the unit is off—this indicates a stuck relay. Replace the faulty relay (typically a 12V SPDT automotive relay) to restore normal charging operation.
Fix J309 12V Input Failures
The J309 model includes both AC and 12V DC charging options. The cigarette-lighter plug contains a hidden 15A mini-blade fuse that’s the #1 cause of 12V charging failures. Remove the plug’s end cap to access and test this fuse—replace if blown. Keep spare fuses in your glove compartment for roadside emergencies.
Address J7CS USB Parasitic Drain
The J7CS features dual USB ports that can cause parasitic drain when their buck converter fails. If your unit won’t charge and the USB ports feel warm when disconnected, the converter MOSFET has shorted. Disconnect the USB board from the main pack or replace the faulty MOSFET to eliminate this constant 50-100mA drain that prevents proper charging.
Firmware Reset Procedure That Actually Works
Stanley units lack a physical reset button, but you can force microcontroller re-initialization with this sequence:
1. Disconnect all cables and clamps
2. Hold the Power button for 30 seconds to discharge residual power
3. Connect AC adapter while continuing to hold Power for 10 more seconds
4. Release Power—LEDs should flash red/green then settle to solid red
This reset clears thermal latches and UVLO conditions that prevent your Stanley jump starter not charging from accepting a charge. Perform this reset before attempting more complex repairs.
Preventive Maintenance That Avoids Future Charging Failures
Storage Best Practices: Maintain 40-60% charge for storage over 3 months. Store between 0-25°C—never leave in a hot car during summer. Extreme temperatures accelerate lithium degradation and trigger thermal protection circuits.
Regular Testing: Once yearly, run a full discharge to automatic shut-off followed by complete charging. This verifies capacity retention above 80% and identifies developing issues before they strand you.
Charge Schedule: Recharge after every use and every 3 months if unused. Lithium batteries self-discharge 2-3% monthly, and allowing them to sit deeply discharged causes permanent capacity loss.
Your Stanley jump starter should now charge properly. Remember that lithium batteries have finite lifespans—even well-maintained packs typically need replacement after 3-5 years. By following these diagnostic steps and maintenance practices, you’ll maximize reliability and ensure power when you need it most. If you’re uncomfortable with internal repairs or smell burning components, contact Stanley Factory Service at (800) 262-2161 for professional assistance—they offer flat-rate repairs for $39.95 plus parts when warranty coverage has expired.


