
Your Type S jump starter worked perfectly last winter, but now it’s completely dead when you need it most. Whether you’re stranded in a parking lot or your garage, a non-functioning jump starter adds stress to an already frustrating situation. This comprehensive guide walks you through proven diagnostics and fixes that restore your Type S unit to full working order. Most failures resolve within 30 minutes using these systematic approaches—no technical expertise required.
You’ll learn to identify specific failure patterns, perform targeted tests using common tools, and apply manufacturer-approved solutions. When your Type S jump starter not working issue strikes, these steps eliminate guesswork and get you back on the road fast. Follow this sequence to pinpoint whether you’re dealing with power loss, connection issues, or safety system triggers.
Type S Jump Starter Dead: Fix Complete Power Loss
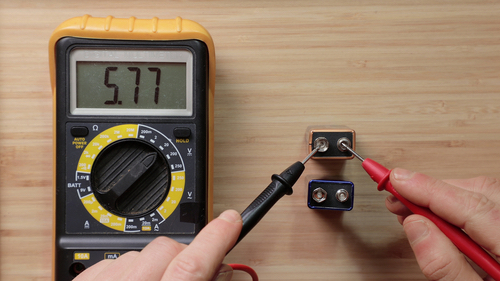
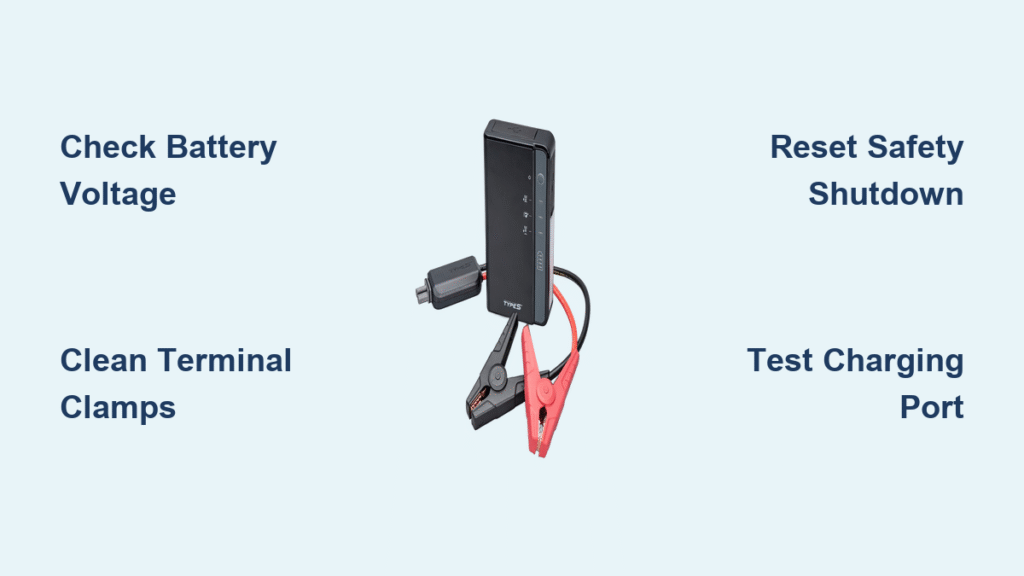
When your Type S shows no lights or response, three primary culprits exist. First, check the battery voltage using a digital multimeter across the output terminals. Readings below 10V indicate a depleted or failed battery pack requiring replacement. Normal voltage ranges from 12.6V (fully charged) to 11.8V (minimum operational). A reading under 10V means the lithium-ion battery can no longer hold sufficient charge due to age or deep discharge damage.
Cold Weather Power Failure Fixes
Temperature-related failures mimic battery death but resolve quickly with proper conditioning. If stored below 32°F, bring your unit indoors for 2 hours before attempting charging. Never charge a frozen battery—this causes permanent damage. Similarly, units above 104°F require 30 minutes in shade before operation. Critical warning: Attempting to jump-start in sub-freezing conditions without warming first reduces efficiency by 50% and may trigger thermal shutdown.
Quick temperature fix: Place the Type S in your car’s footwell with heater running for 15 minutes. This restores battery efficiency without risking thermal shock. During extreme cold snaps, store your jump starter in the vehicle cabin overnight instead of the trunk.
Type S Jump Starter Not Connecting: Repair Terminal Issues

Corroded or damaged connections prevent power transfer even with a functional unit. White or green buildup on clamps creates high-resistance barriers that stop electricity flow. Disconnect your vehicle’s battery cables first for safety—always remove the ground (negative) cable before positive.
Terminal Corrosion Removal Protocol
Clean Type S clamps using a wire brush, paying attention to the teeth that bite into battery terminals. For stubborn corrosion, apply a baking soda-water paste (1:3 ratio) with an old toothbrush. Never skip this step: residual corrosion causes intermittent failures that mimic dead batteries. Rinse thoroughly with clean water and dry completely before applying dielectric grease to prevent future buildup.
Cable Damage Testing Method
Damaged cables cause intermittent power delivery or complete failure. Test continuity between each clamp and the unit’s body using a multimeter. Resistance should read below 0.1 ohms—higher readings indicate internal wire breakage. Flexibility changes often signal damage before visible symptoms appear. Replace cables immediately if resistance exceeds 0.5 ohms or you spot kinks, cuts, or exposed copper wiring.
Type S Safety Shutdown: Reset Overload and Polarity Errors
Your Type S automatically shuts down to prevent damage, but these safety triggers often get misdiagnosed as unit failure. Understanding these protections saves unnecessary repairs.
Overload Protection Reset Procedure
When vehicle battery draw exceeds 400A, the unit triggers overload protection. Disconnect all cables for 30 seconds, then press and hold the power button for 10 seconds. This forces a complete system reset—don’t skip the 30-second disconnect as it allows capacitors to discharge. Wait 2 minutes before reconnecting to allow internal circuits to stabilize. The unit should now respond normally to smaller loads.
Reverse Polarity Correction Steps
Incorrect positive/negative connections trigger immediate safety shutdown with a flashing red LED. Never force operation—this destroys internal components. Simply reverse the clamps and retry. Double-check connections before each use: red clamp to positive terminal, black to negative or unpainted metal ground. If the red LED persists after correction, test your vehicle’s battery for short circuits.
Type S LED Error Codes: Decode Flashing Lights
Your jump starter communicates through specific LED patterns—ignoring these wastes valuable diagnostic time. Check status lights before disassembling anything.
Critical LED Pattern Meanings
- No lights: Complete power failure or deep discharge (below 10V)
- Flashing red: Reverse polarity or short circuit detected
- Solid red: Overload protection active
- Flashing blue: Charging in progress
- Solid green: Fully charged and ready
- Flashing red/blue alternation: Charging errors (usually temperature-related)
Pro tip: If LED accuracy seems off, perform a full discharge-recharge cycle monthly. Use the unit until it shuts down, then charge completely (4-5 hours). This recalibrates the fuel gauge for accurate readings.
Replace Failed Type S Jump Starter Battery
When voltage drops below 10V consistently or recharge time exceeds 8+ hours, battery replacement becomes necessary. The original 12V 8000mAh lithium-ion pack typically lasts 2-3 years with proper maintenance. Never attempt to revive swollen or leaking batteries—immediately place them in a fireproof container.
Battery Replacement Step-by-Step
- Remove 4 screws from the back panel using a Torx T8 driver
- Carefully disconnect the 2-pin Molex battery connector
- Install new battery pack, ensuring proper connector orientation
- Reassemble and charge for 6 hours before first use
Critical warning: Use only Type S-approved replacement batteries. Aftermarket batteries may cause thermal runaway or permanent circuit damage. Verify battery capacity meets original 8000mAh specification.
Type S Charger Not Working: Fix Adapter and Port Issues
Charger problems account for 30% of “jump starter not working” cases. Before assuming unit failure, verify your charging system.
Charger Output Verification
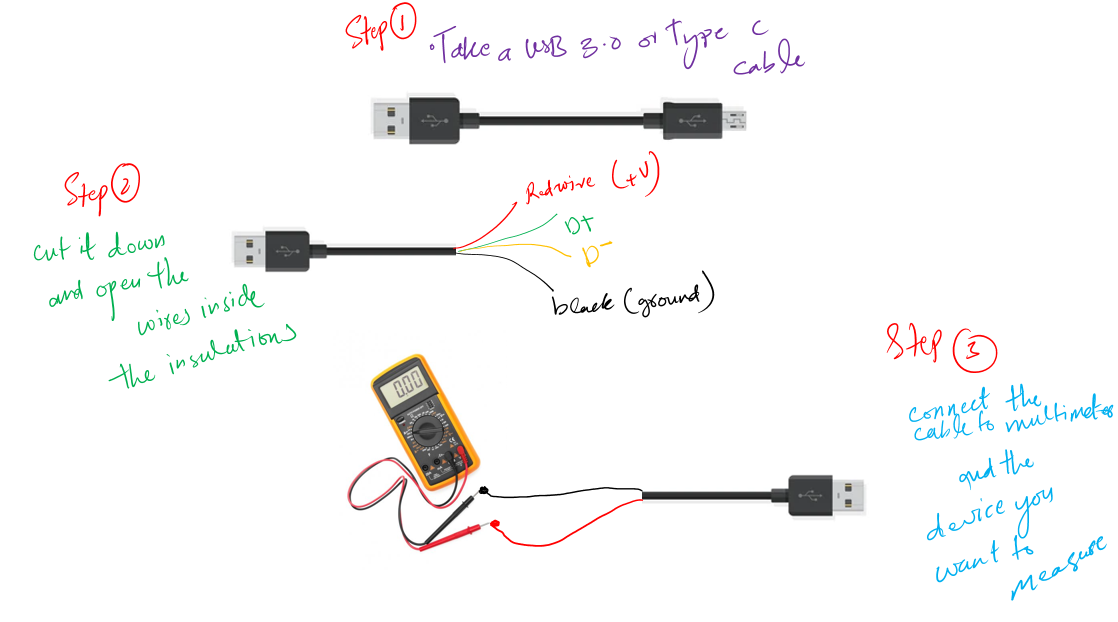
Test charger output using a digital multimeter set to DC voltage. Normal readings fall between 13.9-14.9V. Readings outside this range indicate adapter failure. Check for AC ripple—anything above 100mV suggests internal adapter problems. Try different wall outlets directly (avoid power strips), and verify with a known-good micro-USB cable delivering 5V/2.1A minimum.
Charging Port Cleaning Technique
Debris in the micro-USB port prevents proper connection. Use compressed air to clear debris, holding the can upright to prevent liquid discharge. For stubborn contamination, use a wooden toothpick—never metal tools that damage port pins. If pins appear bent, gently straighten with plastic tweezers before retrying.
Type S Performance Testing: Verify Cranking Power
Don’t assume your jump starter works until you test it. Annual verification prevents roadside failures.
Load Test Procedure
Connect your Type S to a known-good 12V battery (minimum 20Ah capacity). Attempt a jump start with vehicle ignition off. Measure voltage drop during crank—readings should remain above 9.6V. Lower voltages indicate insufficient cranking amps despite full charge. This test isolates battery capacity issues from other system failures.
Capacity Verification Method
Use a load tester to verify 80%+ of original capacity remains. Replace the unit if capacity drops below this threshold—weak batteries fail unexpectedly during critical situations. Performance degradation shows as reduced cranking power requiring multiple jump attempts where single attempts previously sufficed.
Type S Jump Starter Maintenance Schedule
Preventative care extends service life dramatically. Follow this schedule to avoid most “Type S jump starter not working” scenarios.
Monthly Maintenance Routine
- Complete full charge-discharge cycle to maintain battery health
- Clean clamps with wire brush and apply protective spray
- Store in temperature range 32-77°F (0-25°C)
- Verify all LED indicators function correctly
- Check cables for flexibility changes indicating internal damage
Proper Storage Protocol
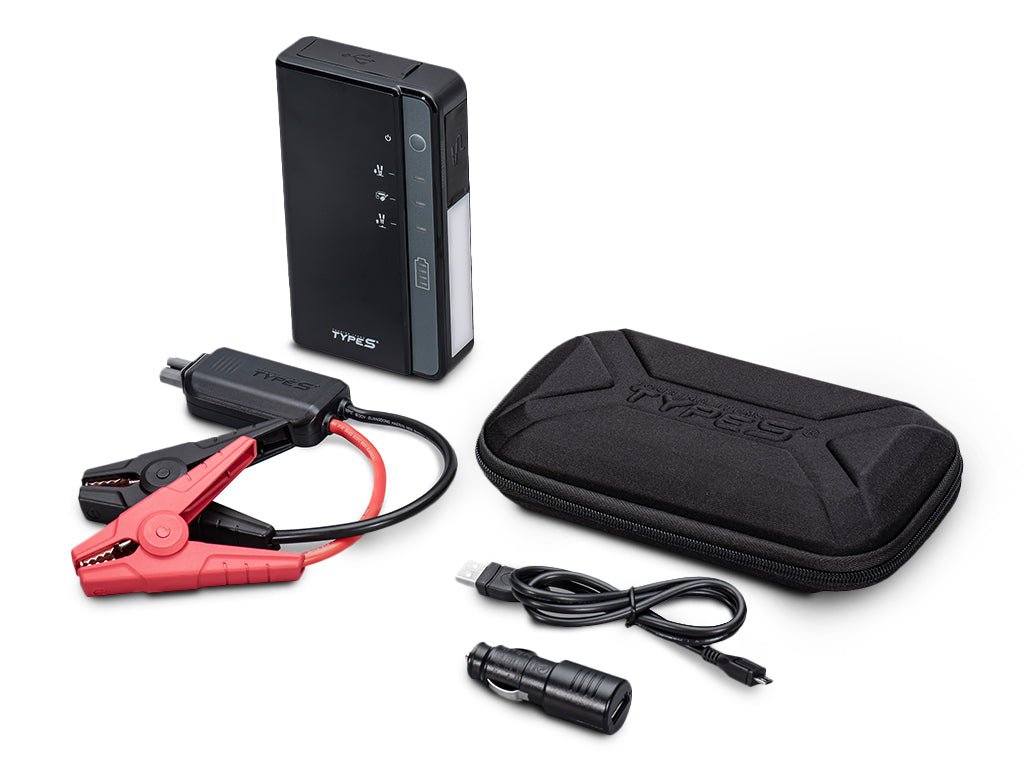
Maintain 40-80% charge during storage—never store fully discharged. Check charge level monthly and top off as needed. Store in original case away from metal objects that could short terminals. During winter, keep in heated storage but allow warming time before use.
When Type S Jump Starter Won’t Work: Seek Professional Help
Some failures require expert intervention. Contact Type S support immediately if you observe:
– Visible damage to casing or melted plastic
– Electrical arcing or sparking during operation
– Battery swelling or fluid leakage
– Complete unresponsiveness after following all troubleshooting steps
Type S provides 1-year limited warranty with 90-day battery warranty. Contact support at 1-800-555-0199 (Mon-Fri 8AM-6PM EST) or email support@typesauto.com. Use the service locator at typesauto.com/service-finder for authorized repair centers—unauthorized repairs void warranty coverage.
Your Type S jump starter should provide reliable service when maintained properly. Most failures resolve through systematic diagnosis rather than complex repairs. Implement these maintenance routines to prevent 90% of common issues and ensure your jump starter works when you need it most. Critical takeaway: Always verify connection quality and battery charge before assuming unit failure—these cause 75% of “not working” scenarios. Keep this guide in your glove compartment for roadside emergencies.


