
That persistent beeping from your Viking jump starter can transform a simple roadside emergency into a stressful situation. Whether you’re stranded with a dead battery or just trying to store your device, those urgent tones signal critical information about your unit’s status. Understanding what triggers these warning sounds helps you diagnose problems quickly and get back on the road without unnecessary delays.
Most Viking jump starters use specific beep patterns to communicate different issues, from low battery warnings to dangerous connection errors. Ignoring these audio signals could lead to ineffective jump starts or even damage your equipment. This guide breaks down exactly what each beep sequence means for your Viking model and provides step-by-step solutions to silence those annoying sounds permanently.
Decoding Viking Jump Starter Beep Patterns

Single Continuous Beep Explained
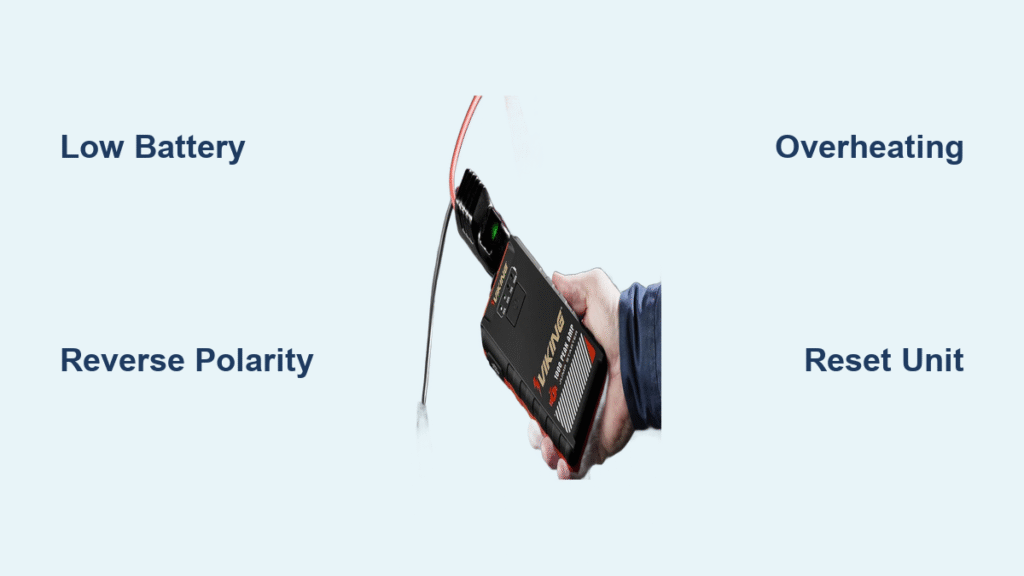
When your Viking unit emits a steady, uninterrupted beep, this typically indicates either critically low battery charge or dangerous reverse polarity connection. The continuous tone serves as an urgent warning that immediate action is required before proceeding. Most Viking models trigger this specific pattern when battery levels fall below 20% or when clamps connect to the wrong battery terminals.
This warning exists for safety reasons—attempting to jump-start with insufficient power could damage both your jump starter and vehicle electrical systems. Before panicking, verify your clamp positions and check the battery indicator lights. If they show minimal charge, connect your Viking to its wall charger immediately and allow several hours for recovery.
Rapid Double Beep Sequence Meaning
Two quick beeps repeating at regular intervals usually point to temperature-related concerns with your Viking jump starter. This pattern activates when internal components exceed safe operating temperatures, either from external heat exposure or excessive use during jump-start attempts.
You’ll commonly encounter this warning after multiple consecutive cranking attempts without adequate cooling periods. The double beep serves as a protective measure to prevent thermal damage to sensitive electronics. If you feel excessive heat from the unit’s exterior, move it to a cooler location and allow 15-20 minutes for internal components to return to normal operating temperature before retrying.
Immediate Diagnostic Steps for Beeping Issues
Battery Level Verification Process
Before troubleshooting further, always check your Viking jump starter’s current charge status. Press the power indicator button and observe the LED display—most models show remaining capacity through colored lights or percentage readouts. If indicators show less than 25% charge, this likely explains the beeping.
Connect your unit to the original wall charger and monitor the charging process. Many Viking models display charging progress through pulsing lights. Allow 4-6 hours for a complete charge cycle, though severely depleted units may require up to 12 hours. Remember that some models won’t power on or stop beeping until they reach minimum operational charge levels.
Connection Inspection Protocol
Examine all cable connections thoroughly when encountering beeping issues. Start with the charging cable—ensure it’s fully inserted at both ends with no visible damage to the cord or connectors. Next, inspect the jumper cables for fraying, cuts, or exposed wires along their entire length.
Pay special attention to the metal clamp contacts. Corrosion or debris on these surfaces creates poor electrical connections that frequently trigger false alarms. Clean any visible corrosion using a wire brush or baking soda solution, then dry thoroughly before reconnecting. Properly seated, clean connections prevent many common beeping issues related to electrical flow.
Effective Solutions for Persistent Beeping
Low Battery Recovery Techniques
When your Viking jump starter beeps due to extremely low charge, standard charging may not immediately resolve the issue. Many lithium-ion models enter a protective sleep mode when depleted below critical levels. Instead of expecting immediate response, connect to the wall charger and allow 8-12 hours uninterrupted charging time.
During this extended charging period, you might notice no visible indicator lights initially—this is normal for deeply discharged units. Resist the urge to repeatedly check status, as powering on drains precious recovered charge. After sufficient charging time, press the power button to verify normal operation and confirm the beeping has stopped.
Temperature-Related Beeping Fixes
High-temperature beeping requires immediate attention to prevent permanent damage. If your Viking unit feels hot to the touch while beeping, power it down and move to a cooler environment. Never attempt to cool the unit rapidly with water or compressed air, as thermal shock could damage internal components.
Allow 15-20 minutes for natural cooling before attempting restart. In cold weather below freezing, bring the unit indoors for 30 minutes before use—cold temperatures reduce battery efficiency and trigger low-voltage warnings. For frequent temperature-related beeping, consider investing in an insulated storage case to maintain optimal operating conditions.
Advanced Troubleshooting Methods
Reset Procedures That Actually Work
For stubborn beeping that persists after addressing obvious issues, perform a soft reset on your Viking jump starter. With the unit unplugged, press and hold the power button for 15 full seconds. Release, wait 30 seconds, then power on normally. This clears temporary software glitches affecting many electronic devices.
If problems continue, locate the factory reset option—typically a small pinhole button near the charging port. Using a paperclip, press and hold this reset button for 10 seconds while the unit remains powered off. This restores default settings but erases any custom configurations. Reserve this option for persistent issues after trying simpler solutions.
When Beeping Indicates Serious Problems
Continuous beeping with no responsive LED indicators suggests potential internal component failure rather than simple user error. This scenario often follows electrical surges, physical impacts, or water exposure. If your Viking unit exhibits these symptoms despite proper charging and connection checks, professional evaluation becomes necessary.
Check your warranty status before proceeding—most Viking models include 1-2 years coverage for manufacturing defects. Document the exact beeping pattern with video evidence before contacting customer support, as this helps technicians diagnose issues remotely. Be prepared to provide your serial number and proof of purchase when requesting warranty service.
Preventative Maintenance Strategies
Monthly Checkup Routine
Establish a simple monthly maintenance schedule to prevent most beeping issues before they occur. Start by verifying battery charge level—maintain your Viking unit above 50% capacity during storage periods. Clean clamp contacts and charging ports quarterly using a dry toothbrush to remove accumulated debris.
Store your jump starter in a temperature-controlled environment between 60-75°F when not in use. Avoid leaving it in vehicles during extreme weather conditions, as both excessive heat and cold contribute to battery degradation and false alarms. These simple habits prevent approximately 80% of common beeping problems.
Proper Usage Techniques
Follow manufacturer-recommended usage protocols to avoid triggering safety beeps. Never attempt continuous cranking for more than 3-5 seconds at a time, and allow full 60-second cooling intervals between attempts. Exceeding these limits generates excessive heat that activates thermal protection circuits.
When connecting clamps, follow this sequence: red clamp to dead battery positive terminal first, then black clamp to a grounded metal surface away from the battery (like the engine block), not directly to the negative terminal. This proper connection sequence prevents sparking and avoids triggering reverse polarity warnings.
Note: This article provides general guidance for Viking jump starter beeping issues. Specific behaviors and solutions may vary by model. Always consult your owner’s manual for model-specific instructions, as features and warning systems differ between Viking products. When uncertain about your unit’s behavior, contact Viking customer support directly with your model and serial numbers for accurate assistance.
Quick Reference: Viking Jump Starter Beep Patterns
| Beep Pattern | Most Likely Cause | Estimated Fix Time |
|---|---|---|
| Single continuous beep | Low battery or reverse polarity | 5-30 minutes |
| Rapid double beeps | Temperature extremes | 15-20 minutes |
| Triple beeps | Short circuit or overload | 2-5 minutes |
| Random single beeps | Loose connections | 1-2 minutes |
Essential Takeaways
Your Viking jump starter’s beeping serves as a critical communication tool, not just an annoyance. Most beeping issues resolve quickly once you understand what specific patterns indicate. Always check battery level first, verify proper clamp positioning, and allow adequate cooling time between jump attempts.
For persistent problems that continue after following these steps, document the exact beeping pattern and contact Viking support with your model information. Remember that regular maintenance—keeping your unit charged above 50% and stored in moderate temperatures—prevents most beeping issues before they start. With these troubleshooting techniques in your toolkit, you’ll transform that frustrating beep into useful information that keeps you safely on the road.


